This homemade honey butter sandwich bread is so easy to make, delicious, and budget friendly. With only a few minutes of hands on time you can fill your home with the welcoming scent of fresh baked homemade bread, and enjoy your baked goods without eating preservatives and conditioners.
How to make homemade sandwich bread
Baking bread is actually super easy. You only need a few basic ingredients, a few minutes of hands on work, a couple of hours for rising, and you’ve got yourself fresh homemade bread.
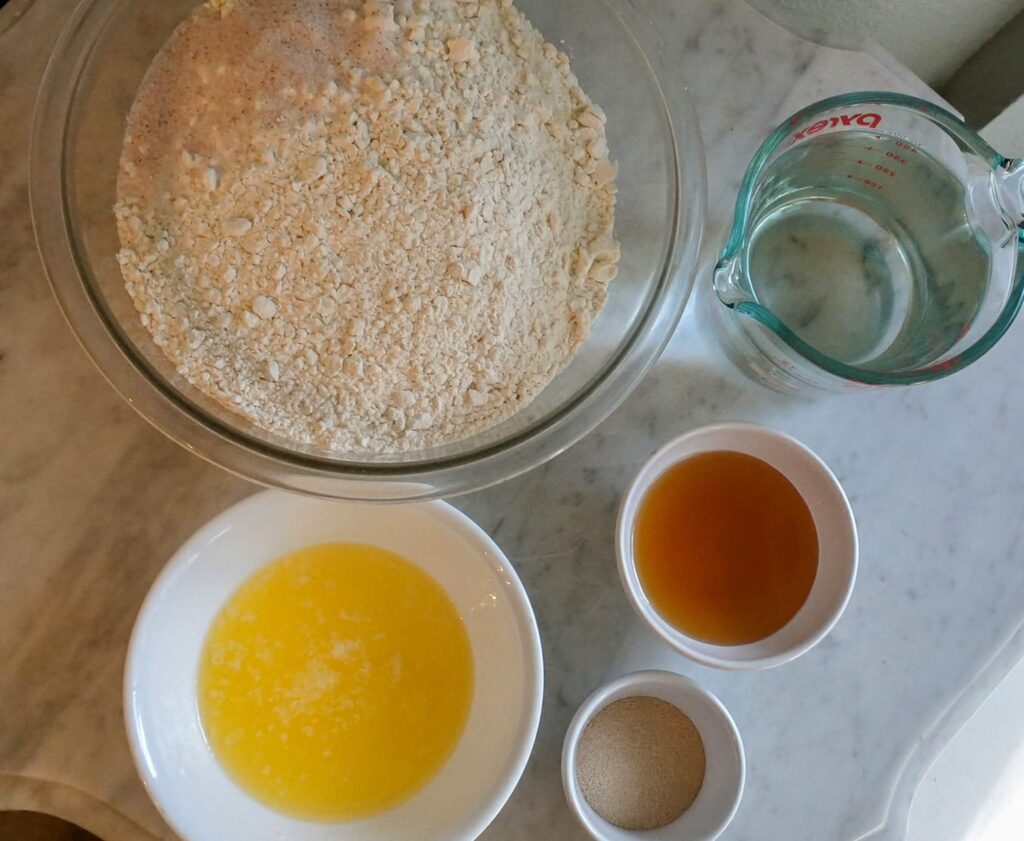
For this recipe you will need:
- All purpose flour. Use organic unbleached flour. You’re trying to make bread that’s better for you than store bought, so don’t go ruining that goal by using bleached flour. Ten pounds of flour will make about ten loaves of bread. So, even if the organic flour is more expensive than the bleached flour, you’re still saving money compared to store bought.
- Warm water. The warm water will help activate the yeast. You’ll want it to be around 105°F. Too hot and it will kill the yeast, too cold and it’ll take your bread longer to rise. It should be about as warm as a hot tub.
- Yeast. This recipe calls for active dry yeast, but you can also use instant yeast. If you are using instant yeast, you can skip activating the yeast and instead mix wet ingredients first and then start adding the rest of the ingredients until the dough forms a cohesive ball and cleans the sides of the bowl.
- Honey. If you can afford it, buying local raw honey is well worth the expense. It not only tastes better than store bought, pasteurized honey (which can be mixed with corn syrup), but it’s also packed with health benefits.
- Butter. What goes better with bread than butter? Why not make your bread with butter in it as well as on it?? You could also use olive, avocado, or coconut oil if you wanted but buying good quality seed oils is a bit more expensive than buying plain butter.
- Salt. We love Redmond’s Real Salt. We use it for all of our cooking and you really can taste the difference. It’s also unrefined which means that we are getting trace minerals along with the delicious flavor of the salt.
How to make homemade sandwich bread step by step
- The first step is to activate the yeast. In a mixing bowl, or the bowl of a mixer, combine warm water, yeast, and honey. Cover and let sit for about 5 minutes or until the yeast has “bloomed”.
- Next, add the butter and salt. Stir to combine. Then, one cup at a time, mix in the flour. Add flour until the dough begins to stick together as a ball and cleans the edges of the bowl. It should be slightly sticky but manageable to work with.
- Once the flour is incorporated and the dough has reached the right consistency, it’s time to knead the dough. Knead for about 10 minutes. You want to dough to become stretchy and easy to work with. The goal is to pass the “windowpane” test. However, close is good enough :D.
- Cover and allow the dough to rise until it has doubled in size, about an hour. Turn the dough out onto a slightly floured surface and knead for another minute or two to form a nice ball.
- Cut the ball in half and roll out the halves into logs. Tuck the edges underneath the log to form a loaf and place the shaped dough into a greased bread pan. Cover the loaves and allow to rise for another hour.
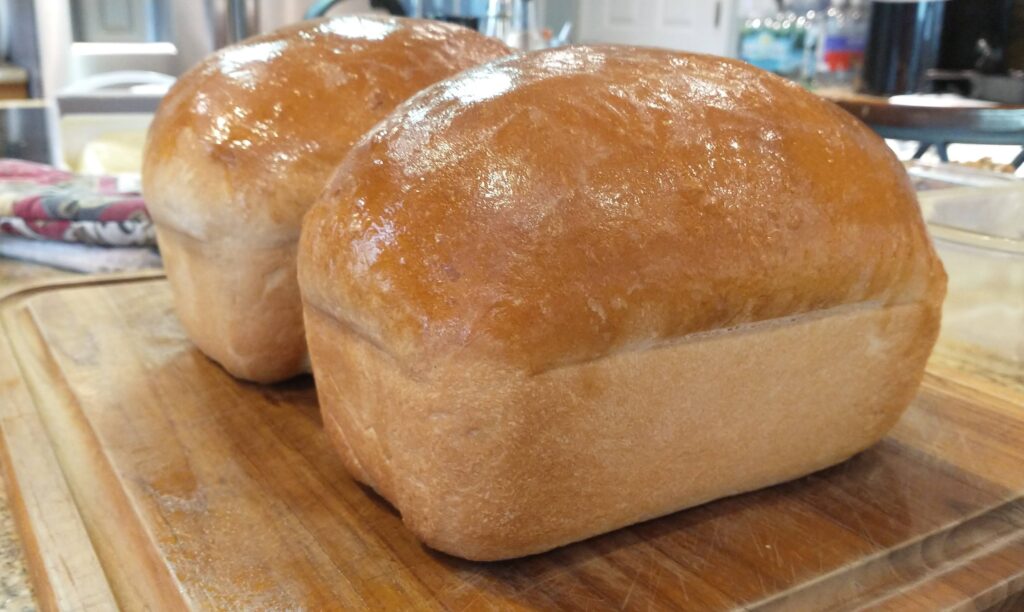
- Bake at 365°F for 35-40 minutes. You’ll know when the bread is done if the top is nicely browned and sounds hollow when you tap on it. The internal temperature should be 190°F.
- Butter the top of the loaves to keep the crust from becoming crunchy. Allow to cool for a few minutes before slicing. This is the hardest part since there’s nothing quite like the taste of hot bread straight out of the oven 😋🤤
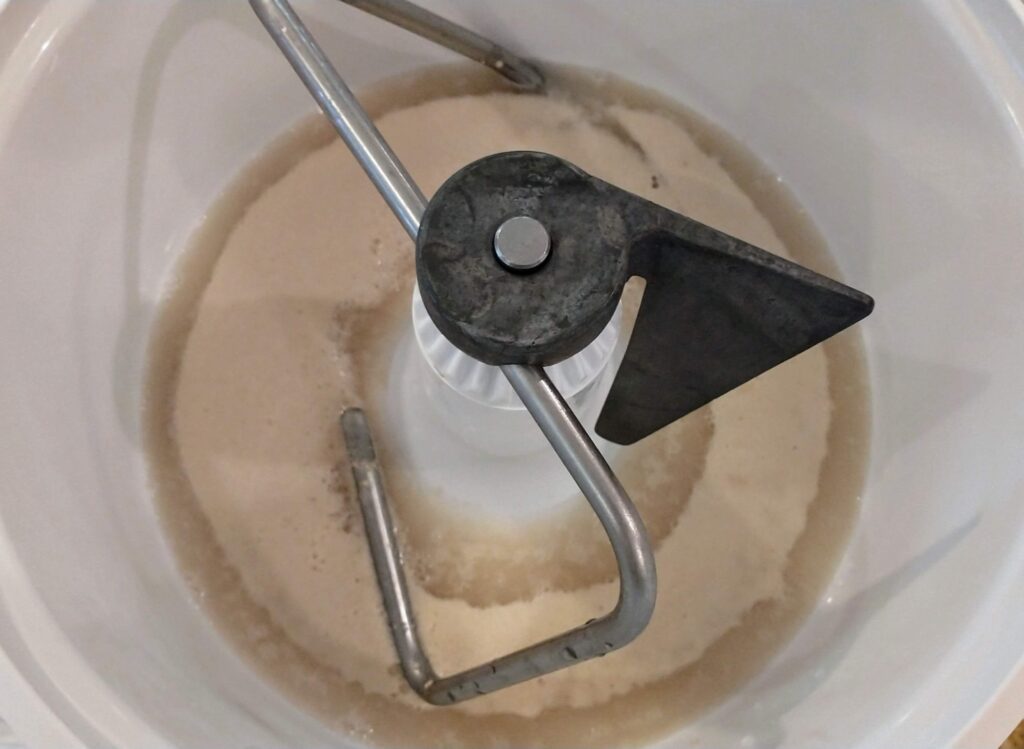
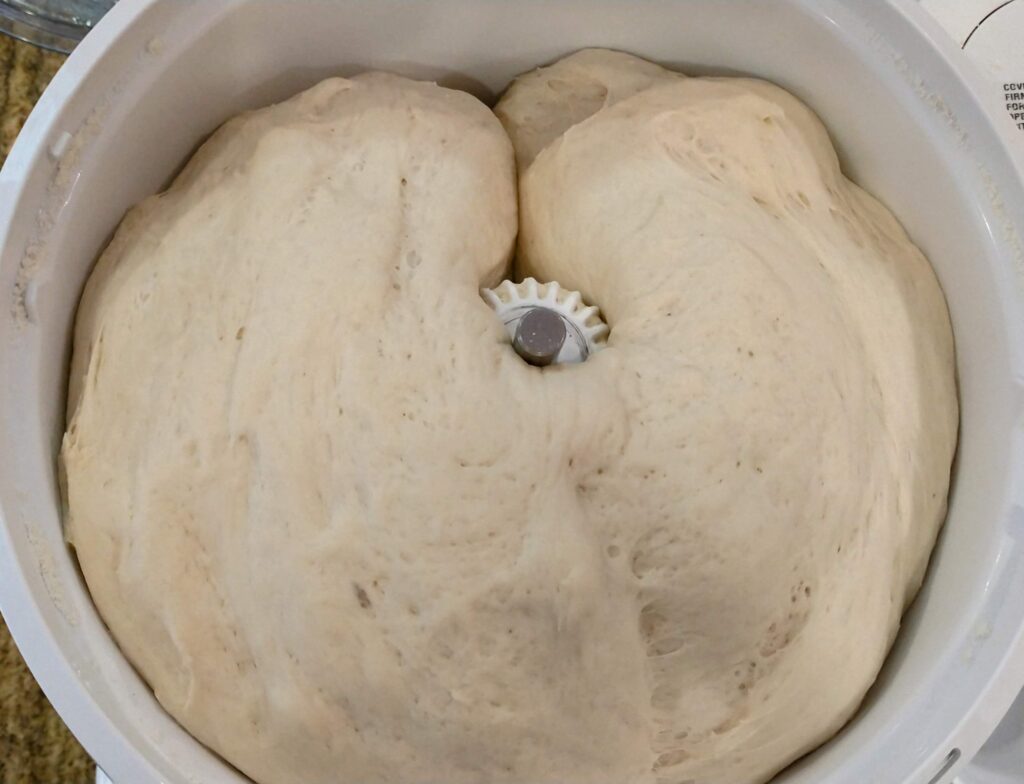
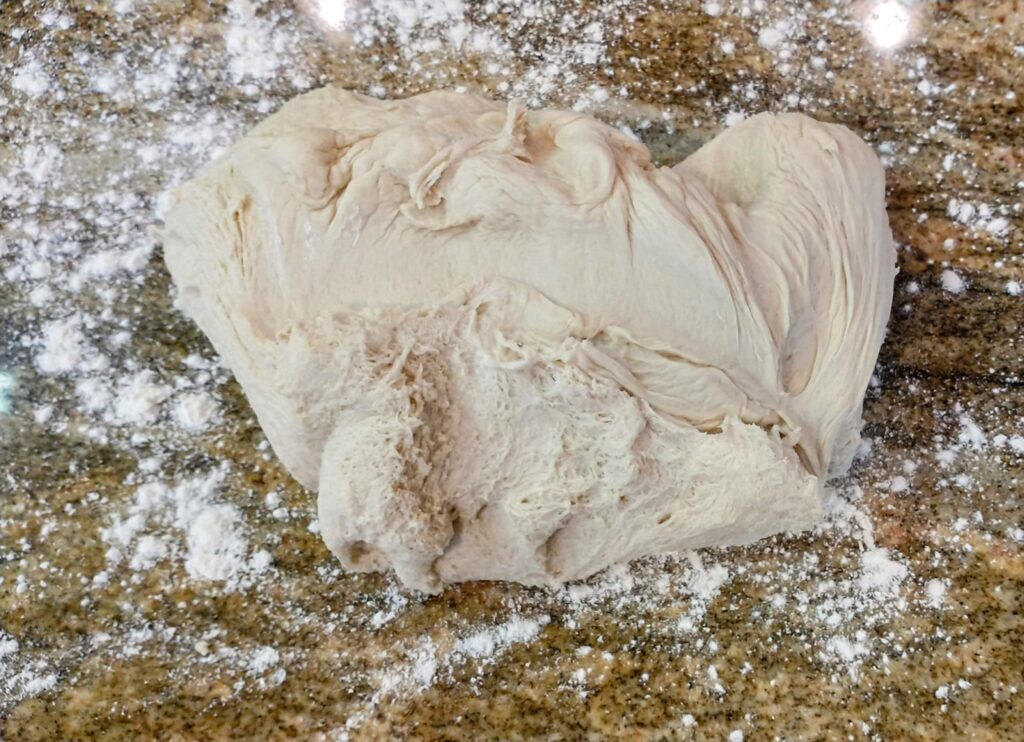
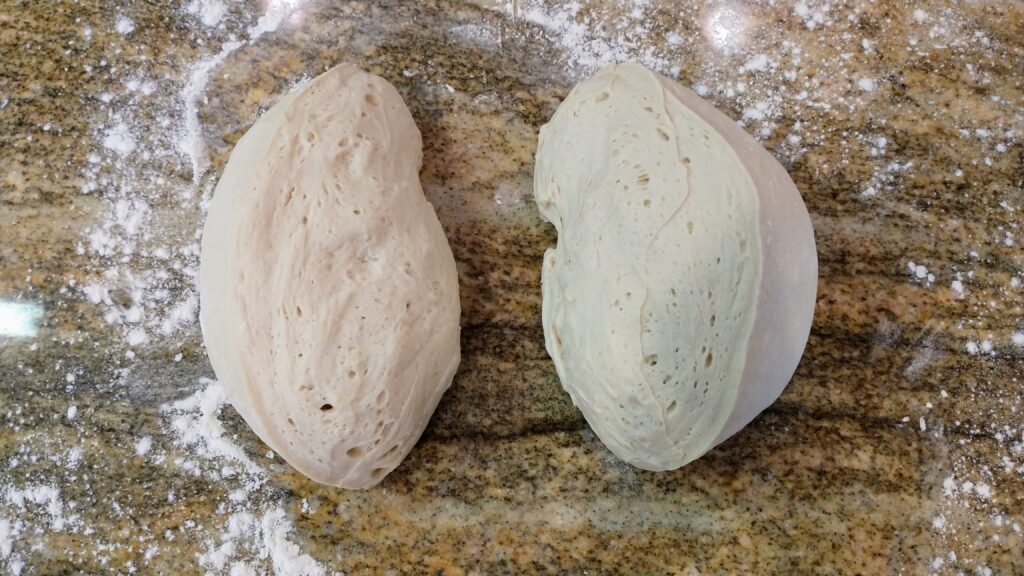
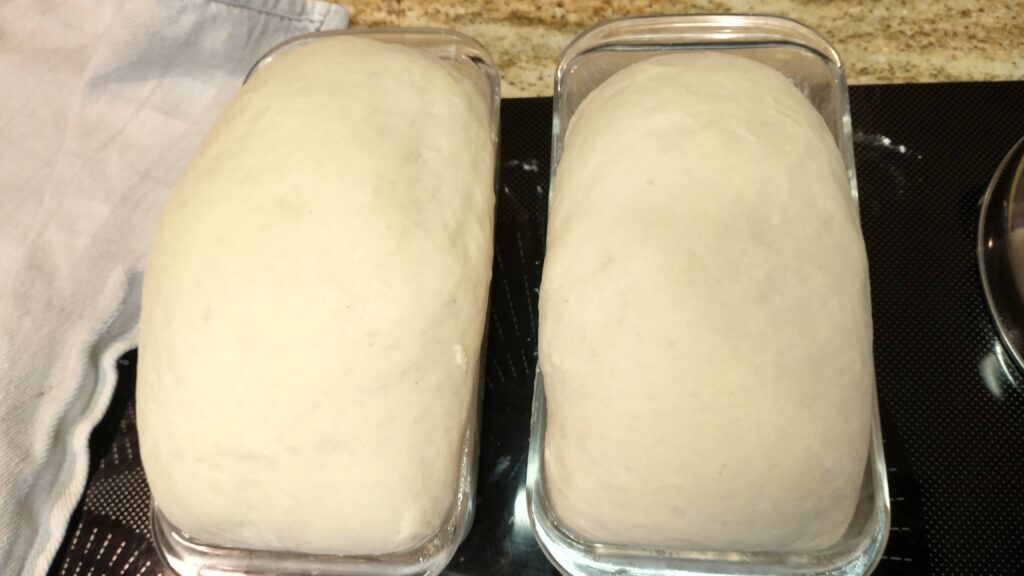
You can make bread by hand, which is a great arm workout! The methodical kneading process is very soothing, if you’ve got the time for it I’d do it. Or if you need to save yourself some time, say you’ve got a baby in one arm, then a stand mixer like a Bosch or Kitchen Aid is going to become your best friend. It also kneads the dough a lot faster than you could by hand. Plus, while it’s kneading the bread, you can go off and do other things! Multitasking at its finest 😁
Making your own bread is worth it!
If you are a stay at home mom you can help your family tremendously by cooking food from scratch. You’ll improve their health and make your money stretch further. You can also take these homemade loaves and turn them into casseroles, breadcrumbs, or croutons, to give you some ideas of what you could do with this homemade sandwich bread.
This is also a great way to teach your kids how to cook. Bread is so simple to make that even small children can participate in the process. My kids love to scoop the flour for me and sprinkle the flour onto the counter. My older son enjoys shaping the bread into loaves and of course they all love to eat the fresh bread once it comes out of the oven. 💕
Even if you aren’t home all day every day, making bread for your family doesn’t require a lot of time and work. If you have a few hours where you’ll be home, maybe on the weekends, you can make all the bread your family will need for a week.
If you want to do even more food prep, you could make enough bread for the month! That would take a huge chunk out of a day, but bread stores easily in the freezer, and reheats beautifully in the oven at a low temperature. You can have fresh, hot bread that you baked several weeks ago using this strategy. To reheat bread in the oven, turn the temperature to around 250°F and wrap your loaf in tin foil. You can place the loaf directly on the oven rack but I’ve found that it makes the bread crust extra crisp, which is okay on some things, but I prefer my bread loaves to be softer.
I’d love to hear if you’ve tried this recipe and how it turned out for you in the comments below. If you’ve played around with the recipe and made some tweaks to it, I’d love to hear how your experimenting went!
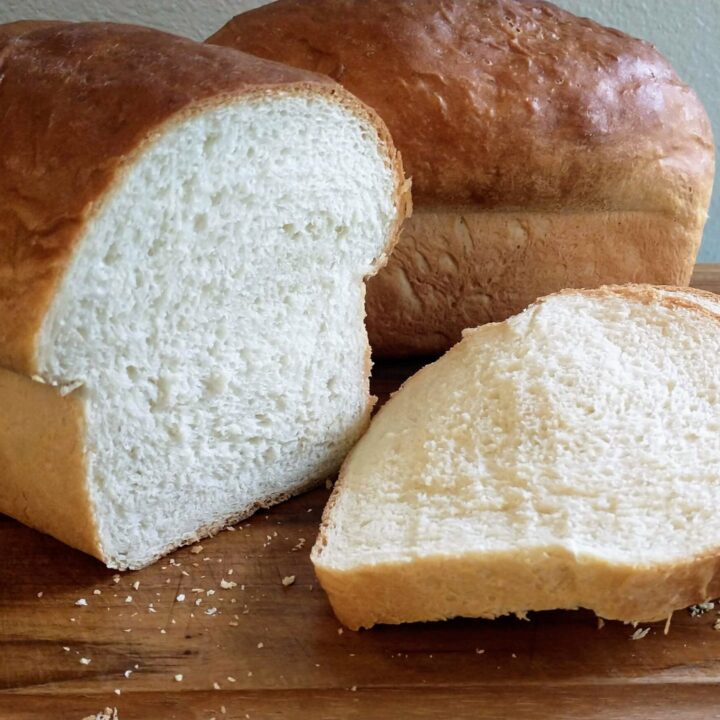
Honey Butter Sandwich Bread
What goes better with bread than honey and butter? This recipe is so simple and delicious, it's perfect for those new to baking bread.
Ingredients
- 2 1/2 cups warm water
- 1/3 cup honey
- 1 tbsp active dry yeast
- 5 tbsp butter, melted
- 1 tbsp sea salt
- 6-7 cups all purpose flour, unbleached
Instructions
- Warm water to about 100°F. Add to a large bowl, or the bowl of a stand mixer. Add honey and yeast, stir to combine.
- Cover for 5-10 minutes to allow the yeast to "bloom". It will look foamy and bubbly.
- Add butter and salt, combine.
- Add flour one cup at a time until you reach five cups. Then add 1/2 cup at a time until the dough reaches a slightly sticky, but manageable dough.*
- Knead for 10 minutes or until the dough becomes stretchy.*
- Cover and rise for about an hour or until the dough doubles in size.
- Grease bread pans with butter or oil.
- Turn out dough on slightly floured surface. Knead for 1-2 minutes until smooth and form dough into a ball.
- Cut the ball into two equal halves. Shape each half into a log and tuck the ends underneath to form a short rectangle. Place shaped dough into greased bread pans.
- Cover and let rise for another hour. Preheat the oven to 365°F.
- Bake for 35-40 minutes, or until the crust is golden brown and the bread sounds hollow when tapped. Remove from bread pans and butter the crust.
- Let cool for five minutes before cutting.
- Store, covered, at room temperature for five days. Or store in the fridge for a week or in the freezer for several months.*
Notes
* I usually add 6 cups of flour to the dough and use the extra for flouring the counter when shaping.
* Even if you don't knead for long the bread will still turn out great. Kneading longer helps the gluten develop, becoming softer, and more relaxed. This makes the dough easier to work with when shaping.
*Wrap the bread with plastic wrap, or beeswax wrap. To reheat the bread after freezing, if you want it hot, set the oven to 250°F and wrap the bread in tinfoil. Leave it in the oven for about half an hour. Otherwise you can set the bread on the counter to defrost at room temperature.

Leave a Reply