Modern conveniences like stand mixers, and bread machines have made bread making such a hands off process that can save us a bunch of time. But what do you do if you can’t afford one of those nifty gadgets? Afterall one of the main points of cooking more from scratch is to save money. Here I’ll walk you through the steps to making bread without a mixer, only your hands and a bowl are needed (and really… Do you need a bowl???).
Disclaimer: This method does take longer than using a mixer, keep reading for tips on how to efficiently make bread without a mixer!
What you need to make bread without a mixer
The basic equipment needed is a bowl and your hands. If you want to get really fancy you can even throw in a wooden spoon!
Next is the ingredients. Bread can be as simple as flour, yeast, water and salt. And if you are making sourdough all you need is flour, water, and salt. What ever bread recipe you are following, the basic principles will still apply.
Also, you’ll need a clean work surface, like a counter, table top, or even a large cutting board. And finally you’ll need something to bake your bread in. This could be loaf pans, casserole dishes, cast iron skillets, dutch ovens, even a pot with a lid over the stovetop would work.
The process
If you are working with a yeasted bread (not sourdough), the first step will vary depending on the type of yeast you use.
Dry active yeast needs to be activated prior to adding into the flour. To do this, take the liquid required in the bread recipe and warm it to about 110°F. While not essential, you would at this point add some kind of “food” for the yeast, like sugar or honey, to the liquid. Cover the mixture with a cloth or lid and after about five minutes your yeast will be bubbly and activated. It’ll also smell like bread, and who doesn’t love that smell?
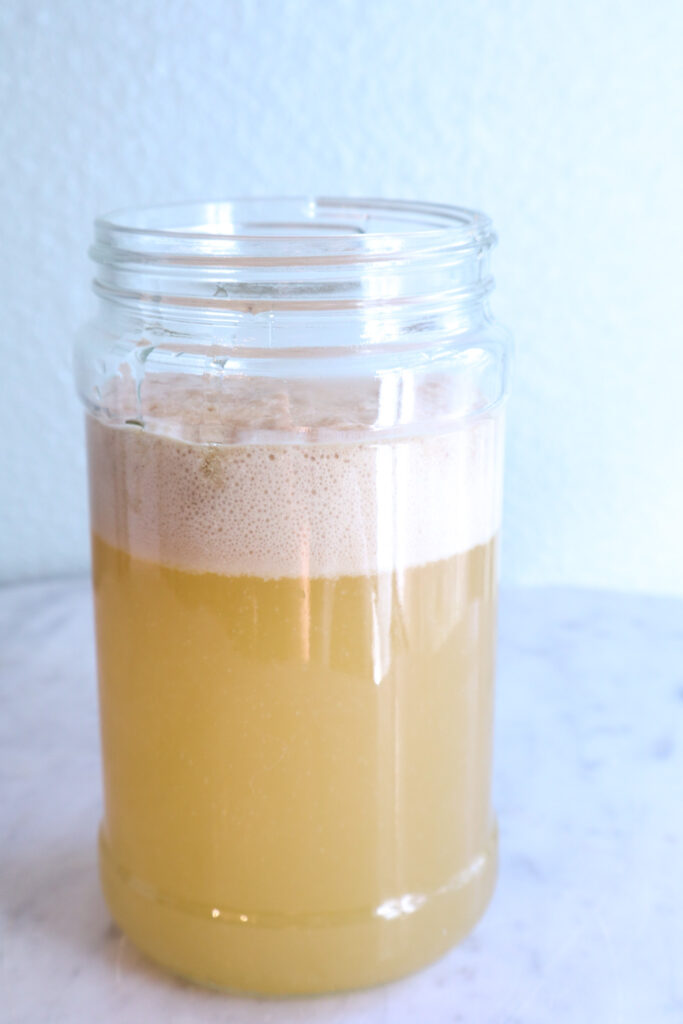
Instant yeast allows you to throw all ingredients for the bread together immediately and start mixing. The yeast does not need to be activated before hand so you don’t need to wait for the yeast to proof before adding to the dough.
Active yeast and instant yeast can be used interchangeably at the same amounts in recipes that call for yeast. Now you know what to do if a recipe calls for instant yeast, but you only have active yeast 🙂
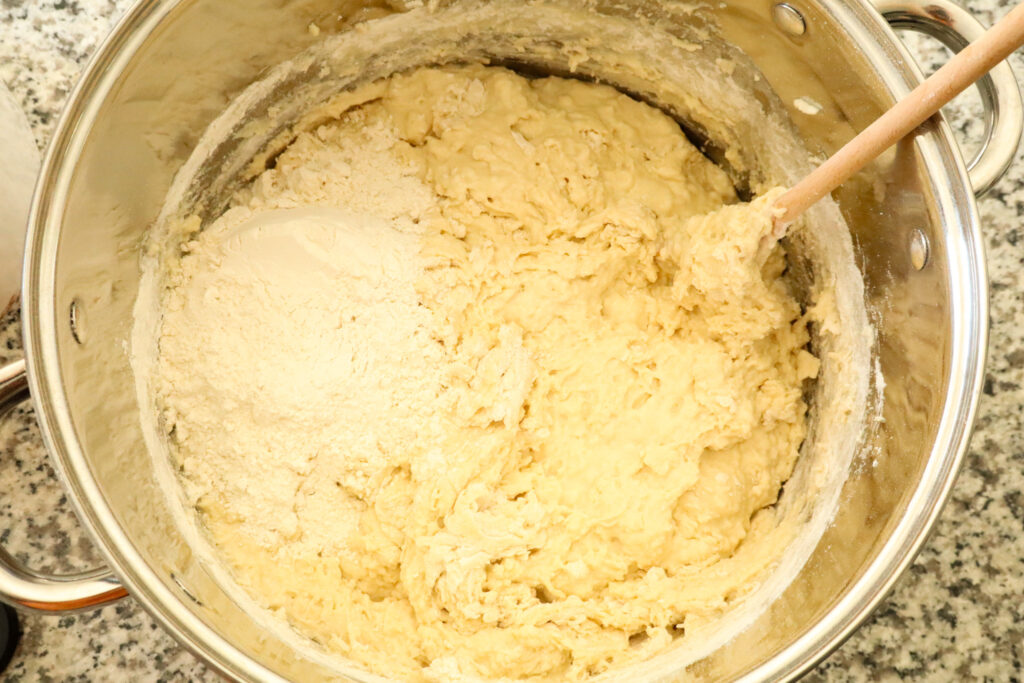
Once you’ve activated your yeast (if needed) then next will be adding flour. I’m sure you’ve noticed how most bread recipes provide a range of flour needed for bread making. This is because everyone’s home environment/climate will be different.
If you live in a humid environment you’ll need to work with more flour than someone living in the desert. So, to know when you’ve added enough flour you’ll need to learn how to read your dough.
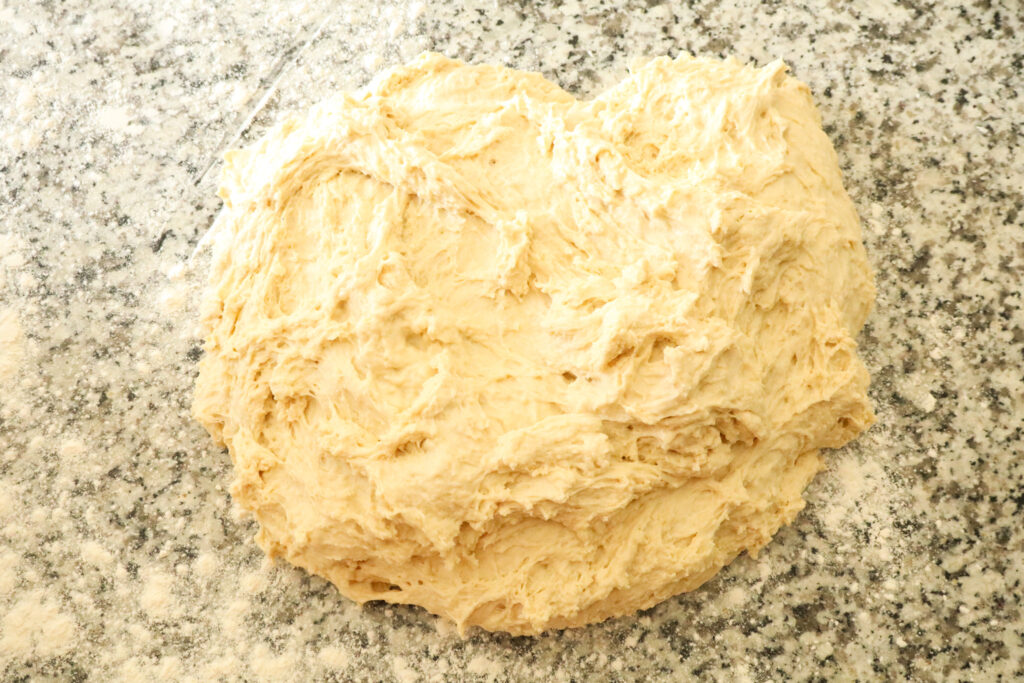
Is the dough sloppy and sticky? You need more flour. Shaggy and sticky? You need more flour. Does it hold together in a ball and feels slightly less sticky? Then you are good to go 🙂
I like to mix the first few cups of flour with a wooden spoon, switching to my hands once the dough becomes to thick for the spoon to be any use.
How to knead dough by hand
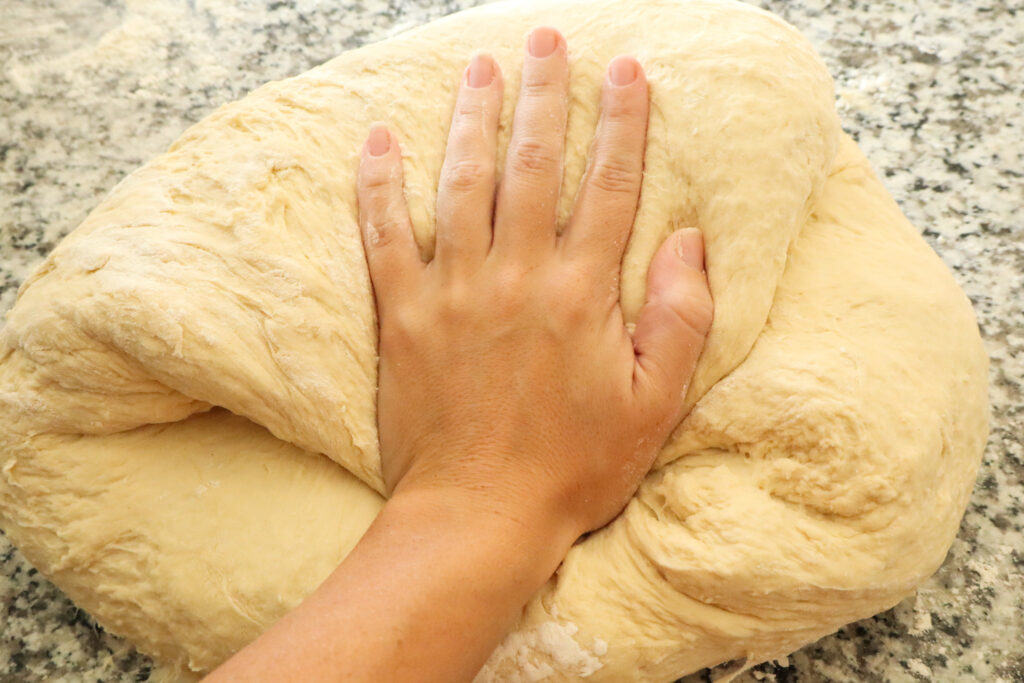
Kneading is a process where you fold and press the dough over and over to develop the gluten which results in a softer, lighter bread. Make sure you work on a floured surface to prevent the dough from sticking too much to the counter.
It’s okay for the dough to be sticky. Don’t give in to the temptation to add more flour to keep the dough from sticking to your hands. Too much flour will result in a denser dough, which is okay if you are making bagels but not exactly desirable in sandwich bread and dinner rolls.
You’ll know when the bread is done kneading when it has passed the window pane test. To do the window pane test, take a golf ball sized chunk of dough in your hands. Gently stretch the dough thin. If you can see light passing through the dough without the dough tearing, it’s sufficiently kneaded and you can allow the dough to rise.
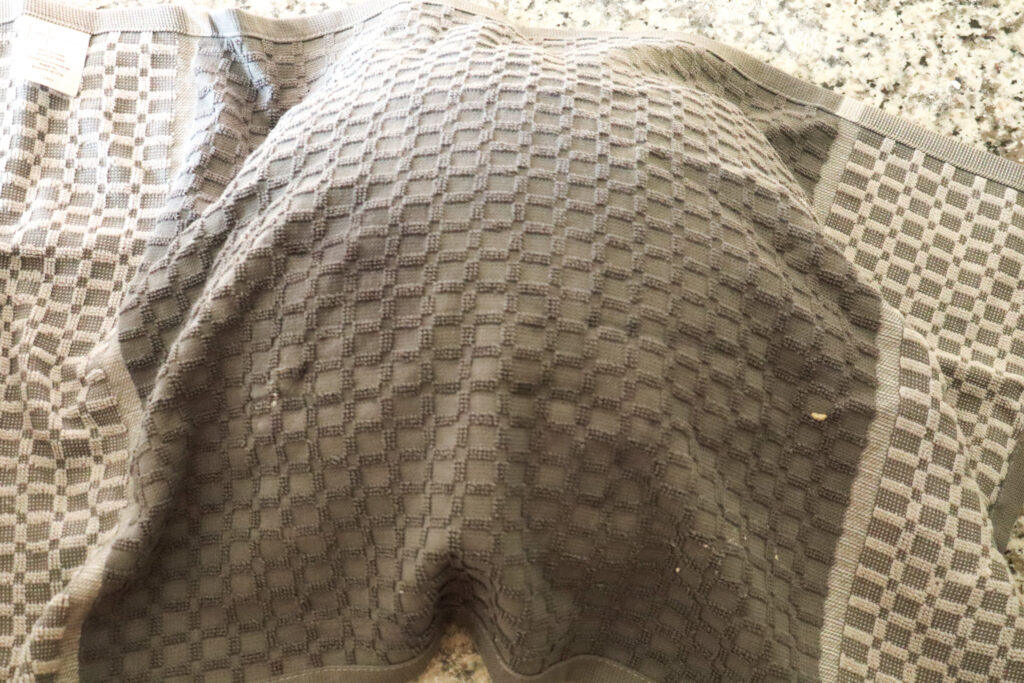
Make sure to keep the dough covered while rising. You can use a rag, plastic wrap, or a lid if your bowl has one. If working in a dry climate, you may need to dampen your rag if you choose to use one. Allow the dough to rise for at least an hour or until its about doubled in size.
If you can’t get back to your dough when it’s done rising, you can punch the dough down to give yourself more time. This pushes the gases out of the dough allowing it to shrink back down to its original size.
To knead or not to knead?
By kneading the dough you are speeding up gluten development in the bread. A no knead bread will need a longer rest period to allow the gluten to develop on its own. Bread is very forgiving and allows you a lot of room for experimentation to find which method you prefer and the flavors you enjoy best. For more about kneading, check out this article.
More often than not, I do opt to knead my breads. I find the kneading process relaxing and enjoyable. However, if you, too, have a whole bunch of little kids running around, have your husband watch them for a few minutes so that you can knead in peace. Or, if he’s unavailable try to plan your bread making adventures for nap time.
If your kids are a little older teaching them how to knead bread can be a fun activity as well. Just be forgiving of the dough you find all over their clothes and the house afterwards. 😂
How to efficiently bake bread without a mixer
With just a few of hours you can make enough bread to feed your families for a couple weeks. Find yourself a bread recipe that you really enjoy, like my all purpose yogurt bread dough. A lot of baked goods can be made with the same exact dough. So, even if your favorite bread recipe is specifically for cinnamon rolls doesn’t mean that you couldn’t take that dough and turn it in to hamburger buns and sandwich loaves.
Next, take that bread recipe and double or triple it. You’ll easily be able to make more this way and it hardly takes any more time then making a single batch. Plus the extra bread will keep wonderfully in the freezer and will taste just as fresh when thawed and reheated. Making a lot at once saves so much time in the future.
You may need to play around with the baking temperatures and times while you experiment with different bread creations. Smaller things like buns and knots cook faster and can be cooked at higher temperatures, around 400°F works well. Loaves need to cook longer so a lower temperature is best for them, about 350°F.
You want your bread golden brown with an internal temperature of 190°F.
Since making bread without a mixer does require a little more work on your part, making a big batch at once, when you’ve already set aside the time to do it, really helps maintain an efficient kitchen.
Have you been making bread for a while or are you just now trying to learn this skill? Have you been wanting to make bread but wasn’t sure it would be feasible without a mixer or bread machine? I’d love to hear any comments or questions you may have in the comments below 🙂
Happy baking!

Leave a Reply