Making your own chicken bone broth is not only easy, but it’s also delicious, nutritious and a thrifters dream. If you hate wasting anything, especially food, then you will love being able to repurpose and upcycle food scraps.
How to make Chicken Bone Broth
Most bone broths will be made exactly the same way; simmering bones, veggie scraps, and seasonings in water over low heat for twenty four hours. Fish broth and vegetable broth are the only exceptions I can think of to this.
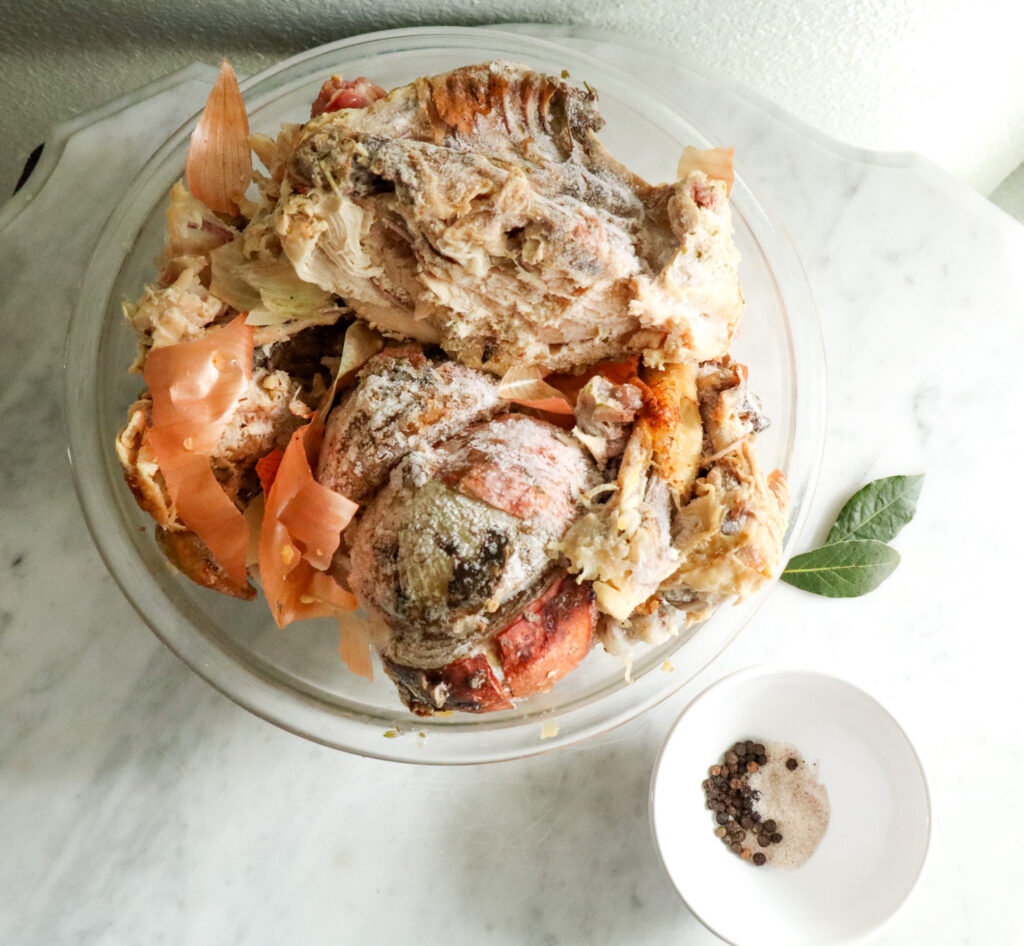
Step 1: Cook a chicken dinner.
First off you will need the carcass of a chicken or two. I prefer to use the bones of two chickens, which yields six quarts of bone broth. However, you can use one and get just as much and equally delicious of a finished product. If you haven’t tried my roast chicken recipe, go over and try it now.
Step 2: stock up on veggie scraps.
The next thing you will need is veggie scraps. You could literally use anything for this. Carrot tops, onion peels, garlic peels, celery crowns, herbs, potato skins… I’ve even heard of people throwing in egg shells to their broths. The world is your oyster here, use whatever you think would go well in your broth.
Everytime you prepare a meal, take the scraps you would like to add to your broth and put it in a ziploc in the freezer. A dedicated gallon ziploc bag is great for storing the bones and scraps. When it is full, dump the whole thing into your crock pot.
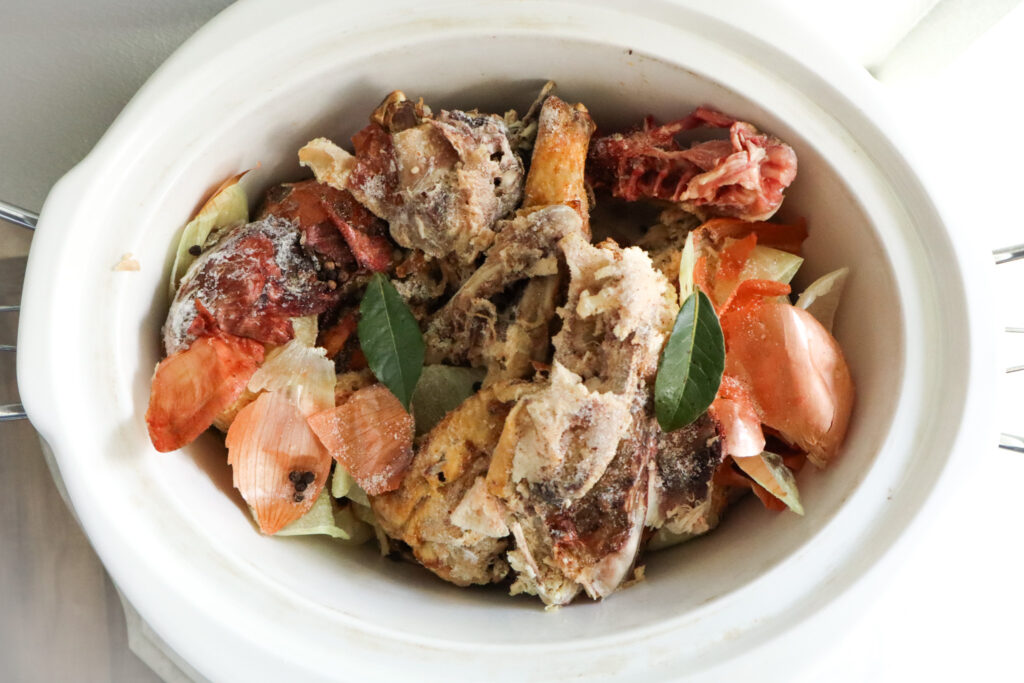
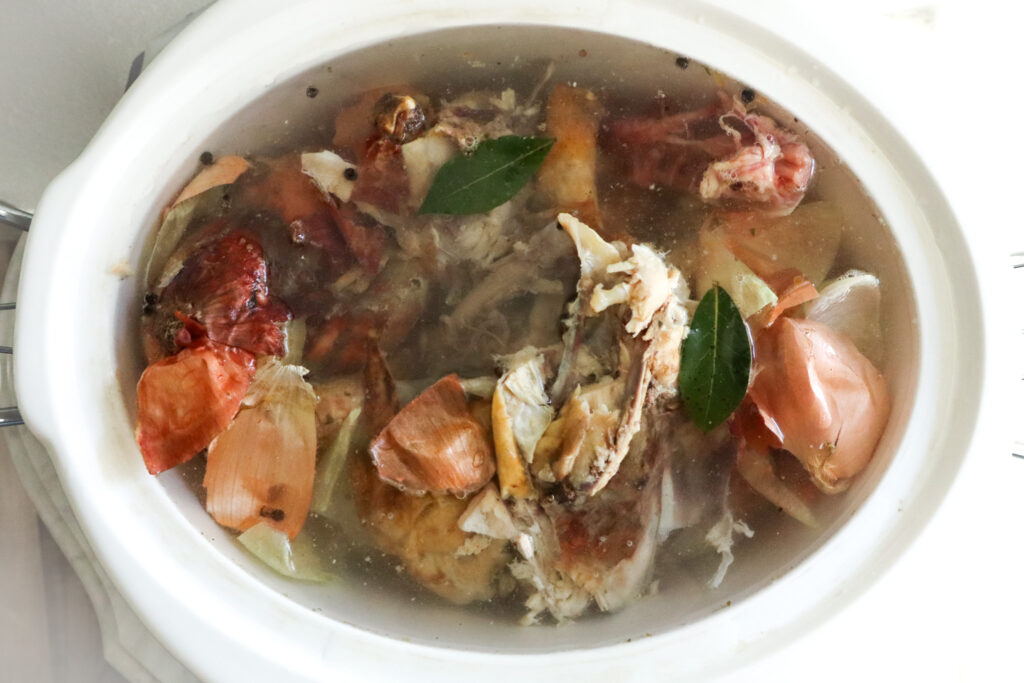
Step 3: simmer for 24 hours.
Once you’ve accumulated enough scraps and bones for your chicken broth, add it to a large crock pot, 6 or 7 quarts is great. Add a little bit of salt, peppercorns, and a couple tablespoons of apple cider vinegar. This is an optional step, you can keep your broth as simple as bones and water if you wish. Cover everything with water and set your crockpot to low.
If you only have a small crockpot, or a pot, don’t worry you can still make bone broth. Just fill whatever cooking vessel you have with bones, scraps, and water, simmer for 24 hours and you’ve got yourself delicious, nutritious broth. After the first 24 hours is up, pour off the broth and strain it into a large bowl. Add more water to the pot, with everything still in it, and cook for another 24 hours.
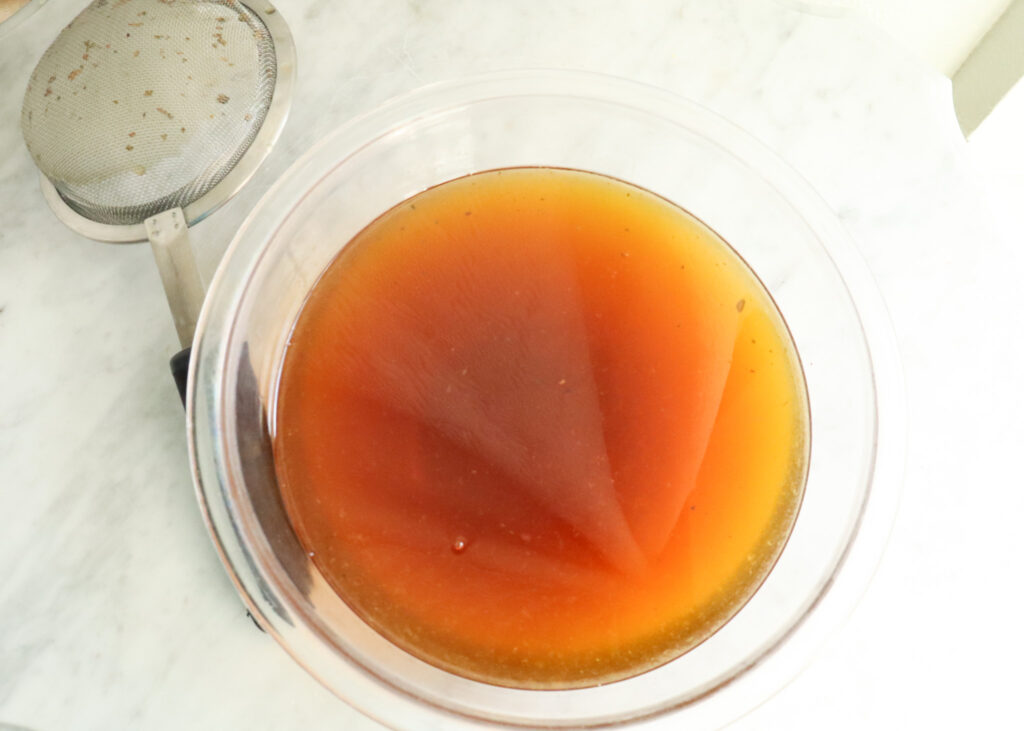
Step 4: chill the chicken bone broth.
Allow the broth to cool for about an hour before placing it in the fridge. By chilling the broth you’re allowing the fat to solidify and the broth to gel. The gel will make your broth look like jello when it’s chilled. This is a good thing! That means your broth is packed full of collagen. Collagen not only promotes healthy skin, it also provides a protective covering for your organs, makes up your bones, muscles, ligaments, and tendons, helps your blood clot, and keeps your arteries flexible and elastic.
If your broth has not gelled after fully chilled, consider adding feet and heads to your next batch. This might seem a little weird, however, the feet and the heads contain the most collagen in the chicken. I don’t know about you but if you’re gonna kill an animal to feed your family, it would sure be a shame to let any part of that animal go to waste.
Step 5: the second cooking.
I alluded to this in step three. After you have cooked your broth for 24 hours you will strain out the liquid and allow it to chill. There’s still a lot of nutrients left in the bones and veggies in your stock pot. So, refill the pot with water, add a little more salt and allow it to simmer for another 24 hours. After that, strain and chill the broth. You’ll notice that this broth doesn’t gel as much as the first batch. That’s okay, most of the collagen will be cooked out over the first 24 hours. There’s still a lot of nutrients and deliciousness in this second batch, though.
What to do with the bones after you’re done making the broth?
This step is optional, but you can still do a lot with the remains of your broth making adventure. It’s likely there might be some meat left on the bones. You could collect the meat and use it in any recipe that calls for shredded chicken.
Or you could do that and dehydrate the bones and powder them. Blood and bone fertilizer is expensive stuff, but after this whole process it’s almost free. Check out here how to make blood and bone fertilizer.
Or, you could simply decide to discard the whole thing. If you have pigs, they would loooovvveee to get some of that. Or you could compost the scraps, making sure no animals can dig it up. The choice is up to you.
How to store chicken bone broth
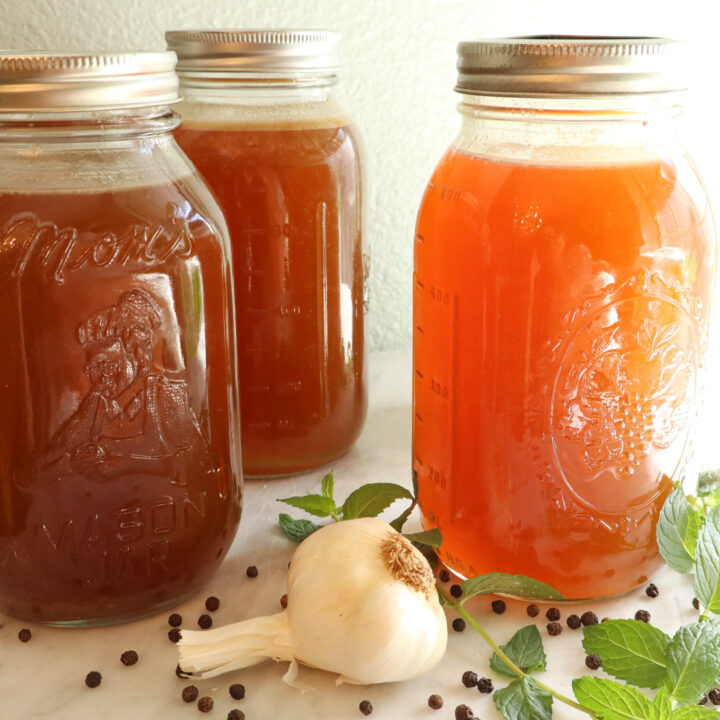
We typically store our broth in glass jars in the freezer. We have lost more jars than I would’ve liked using this method, even when giving plenty of headspace. Note that wide mouth jars are less likely to break than regular mouth jars. However, this is still the method we use since I don’t like buying single use products if I don’t have to.
It’s recommended to leave 1” headspace for freezing liquids in jars. In my experience this simply does not work with regular mouth jars, they will break. Wide mouth on the other hand, 1” headspace works great for them. My best advice is to fill a regular mouth quart jar up to about three cups, or ½” below the shoulder.
Chicken bone broth recipe:
Ingredients
1-2 chicken carcasses, feet and heads if possible
2 cups of veggie scraps (or as much, or as little as you’d like)
1 tsp salt (divided between both cookings)
1 tsp pepper corns
2 tbsp apple cider vinegar
3-4 quarts water (per cooking)
Directions
- Place all ingredients into a large pot, or crockpot. Simmer for 24 hours over low heat.
- Pour the broth through a fine mesh strainer into a large bowl. Allow broth to cool before chilling in the refrigerator.
- Refill pot/crockpot, with wate,r 3-4 quarts or enough water to cover everything and fill the pot/crockpot. Add ½ tsp salt.
- Repeat steps 2 and 3
- After the broth has chilled, scoop off the solidified fat. Store in jars in the freezer for several months or in the fridge for 3-5 days.
Chicken Bone Broth
Making your own chicken bone broth is not only easy, but it's also delicious, nutritious and a thrifters dream. Once you try your own homemade bone broth, you'll never go back to store bought.
Ingredients
- 1 -2 chicken carcasses, heads and feet if possible
- 2 cups vegetable scraps, onion peels, celery leaves/crowns, carrot tops, etc
- 1 tsp sea salt, divided
- 1 tsp peppercorns
- 2 bay leaves
- 1-2 tbsp apple cider vinegar, optional
- 3- 4 quarts water, or enough to completely cover bones
Instructions
- Add all ingredients to a large pot or crockpot. Cover and simmer over low heat for 24 hours.
- Strain out the broth using a fine mesh strainer. I like to scoop the broth out, and strain into a large bowl. Allow the broth to cool for one hour before placing in the fridge.
- Refill the pot with an additional 3-4 quarts of fresh water, adding the remaining 1/2tsp salt. Cook for another 24 hours over low heat. Repeat step 2.
- Once the broth has chilled for several hours, the fat will have solidified on top, scoop that off if desired. Store in jars in the fridge for 2-5 days or in the freezer for several months. To freeze jars leave at least 1" headspace for wide mouth jars or fill regular mouth jars with 3 cups of broth.
Notes
Bone broth can be as simple as bones and water. Every other addition adds flavor to the broth but isn't necessary. You can add whatever vegetable scraps you can get. You can also add in whatever you might think would be good in your broth.
Leftover bones can also be dehydrated and turned into bone meal fertilizer for the garden. You can also compost the cooked vegetables scraps and bones.

Leave a Reply