There are plenty of “how to make yogurt” posts out there, so why make my own post? Well, yogurt has been such a staple in our home from the time that I first learned how to make it, I can’t not share how I make it.
When my kids were younger (they are still quite young) I wanted to feed them yogurt but it wasn’t very economical. A quart of plain yogurt is $3 where I’m at, add fruit and that price jumps to $5 a quart.
I needed to feed my family wholesome, good food on a budget and making yogurt has been key in that goal. One gallon of milk can cost anywhere from $3 to $5 (up to seven in some states, yikes 😬), meaning on the low end we can make yogurt for $0.99 or up to $1.68 per quart. (I’m comparing the cost of plain whole fat Danon yogurt). Either way, we are saving money every time we make yogurt instead of buying it. Woohoo!
What do you need to make yogurt?
The beauty of yogurt is its simplicity. All you need is milk, and a yogurt culture (If you are working with pasteurized milk, like we are.) To make yogurt really easy and almost guarantee consistent, tangy, thick yogurt, I highly recommend you make it using an Instant pot with a yogurt function.
If you want to be extra fancy you can also get a cheesecloth to strain out the excess whey. Although, if you are making yogurt with whole milk you may not ever need to strain it. I prefer the taste of the yogurt with the whey mixed in and the whole milk creates a beautiful, thick and creamy yogurt.
The Process
Here, I’ll be showing you how to make yogurt using the Instant Pot. However, you can make yogurt just fine using a pot on the stove and your oven light.
Step 1) If you are working in the instapot, the first step is to sterilize it. This is done by adding a few inches of water to the pot and turning on the steam setting adjusted for five minutes. After it’s come up to pressure and the five minutes are up, change the valve to vent. When the pot has depressurized carefully remove the pot with hot pads and dump out the water. Set aside until the pot feels cool to the touch. It will dry as it cools and this doesn’t take very much time at all. Maybe ten minutes?
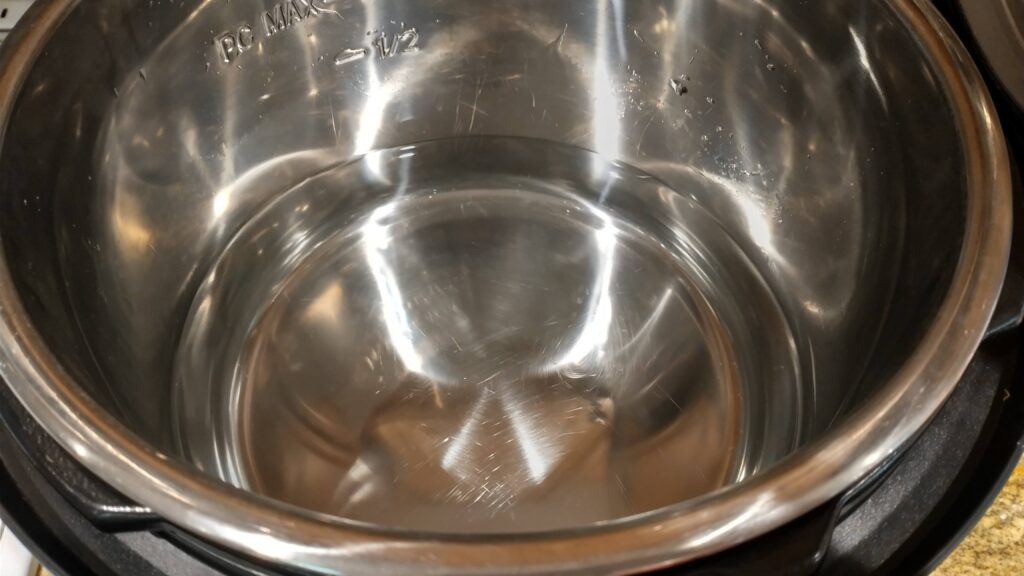
For a while I thought this step was unimportant, the pot is already clean and in the next step it will get quite hot. However, in those early days several pots became overrun with yeast. Although still edible, none of us wanted to eat it so we gave it to the quails and we had to start over with a new starter. I’ve never lost a pot to yeast since sterilizing the pot every time before making yogurt.
Step 2) Scald the milk until it reaches 180°F. The instapot makes this so easy. Fill the pot with a gallon of milk. Close the lid and press the yogurt button.
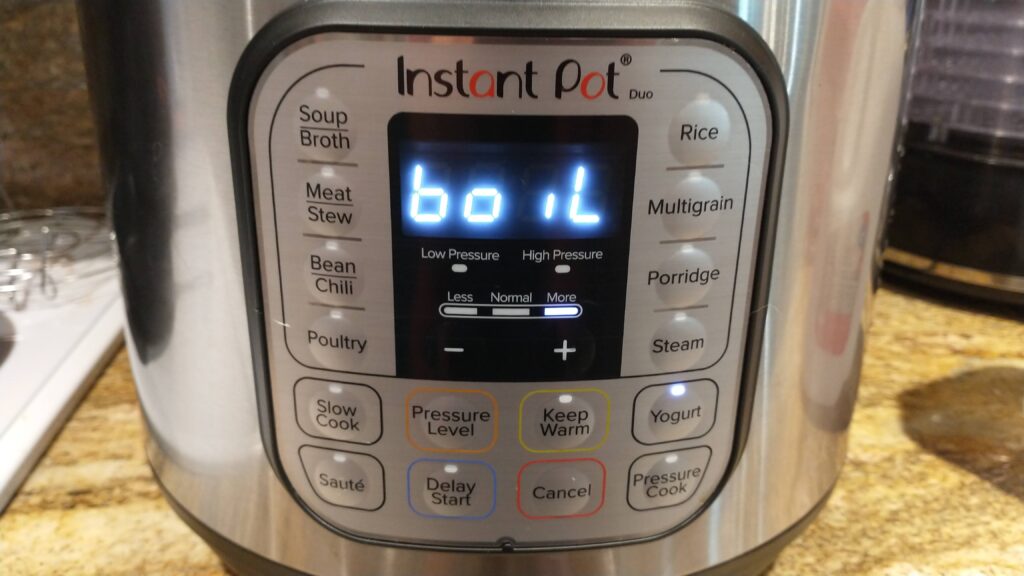
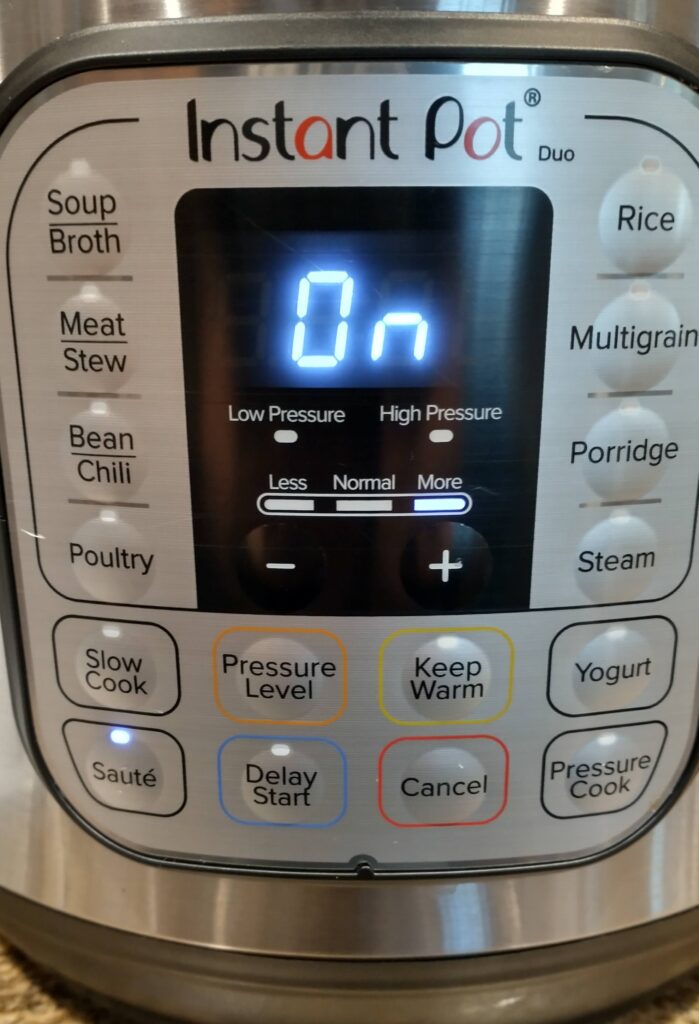
You may have to press it a couple times before the display reads “Boil”. After about an hour the boil function will end. Check the temperature using a candy or meat thermometer to see if it reached 180°F. Sometimes the milk will only reach 160°F during the boil cycle. If it’s not hot enough yet, turn on the saute function until it reaches 180°F, stirring occasionally.
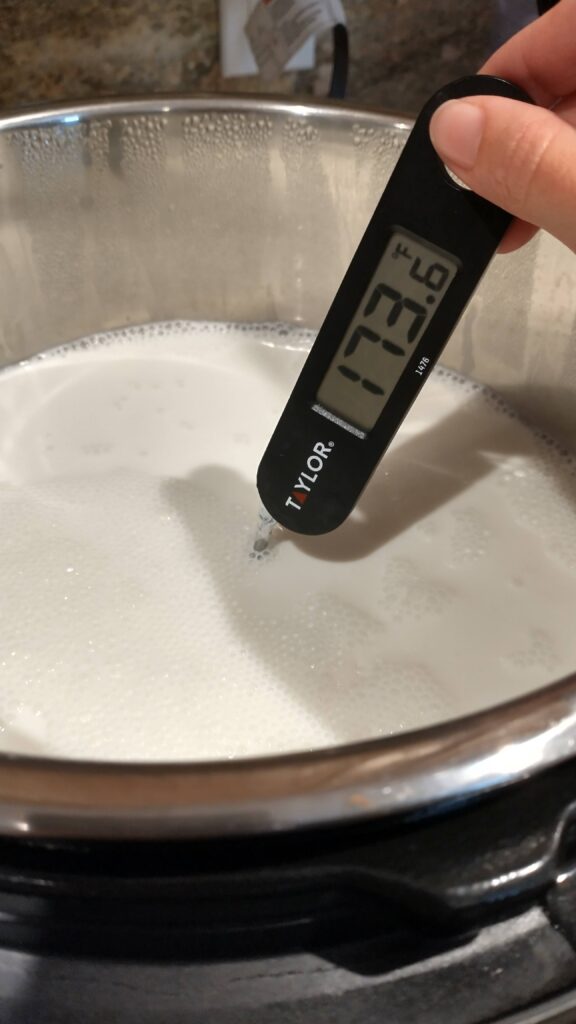
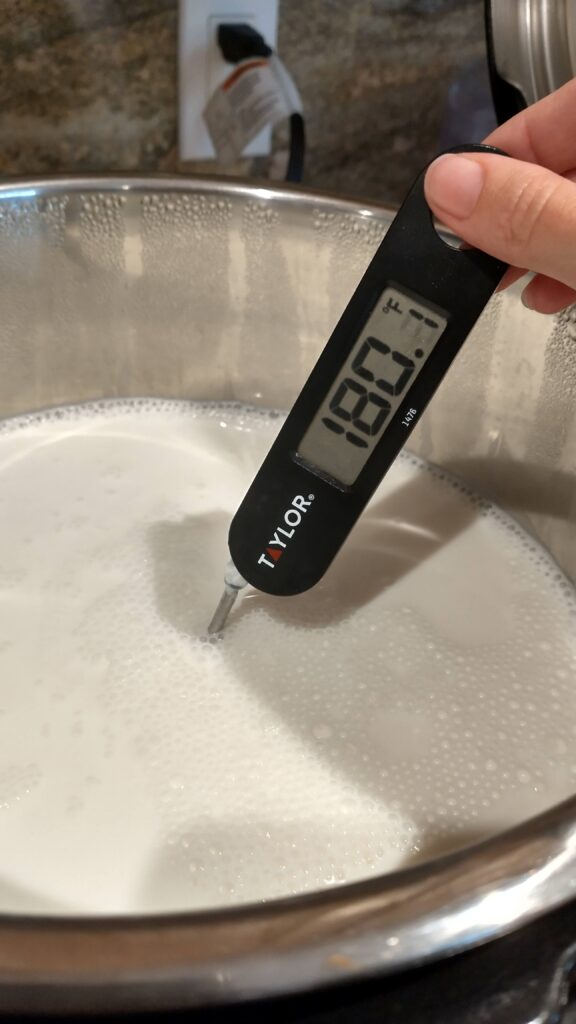
Step 3) Allow the milk to cool until it reaches 110-115°F. Take the pot out of your instapot and set it on the counter to cool. This can take several hours. If for some reason you want the milk to cool faster you can place the pot in a large bowl with ice water, or fill a clean section of your sink with ice water.
I’ve found it to be much simpler to just leave it on the counter and forget about it for a while. Don’t worry if you forgot about it for too long and the milk has cooled nearly to room temperature. Guilty 😅. The Instant pot will warm the milk up during incubation.
If you don’t have that option, you can put the milk on the stove for a couple minutes, monitoring the temperature carefully so that it doesn’t exceed 115°F.
After sitting for a while, the milk will form a skin over the top. Remove it before adding the starter if you don’t want the added texture.
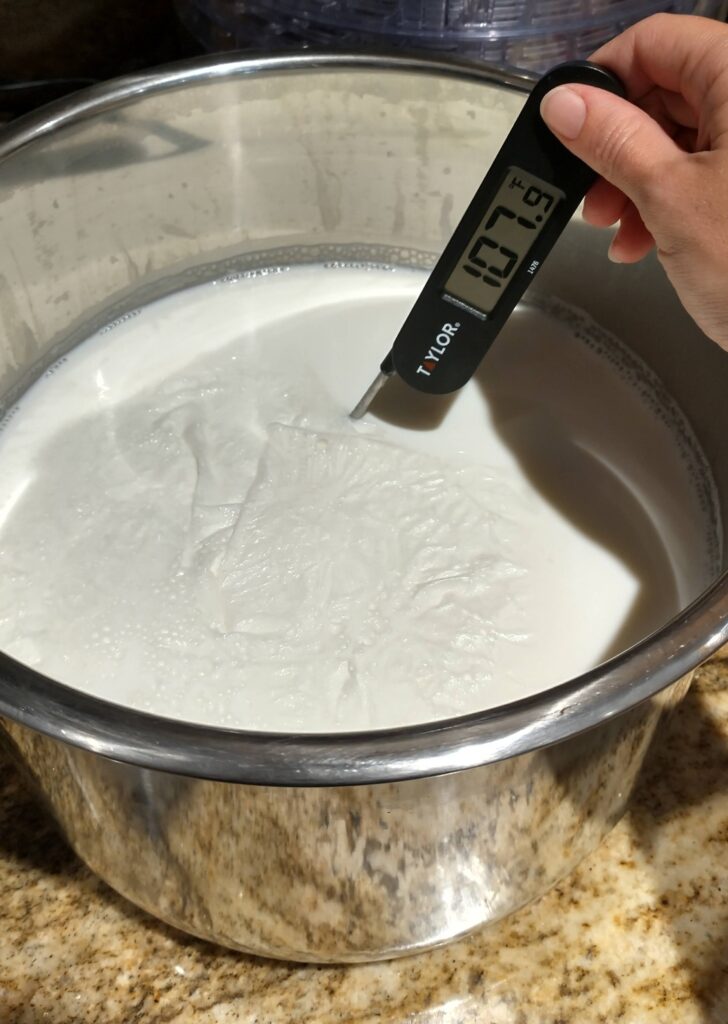
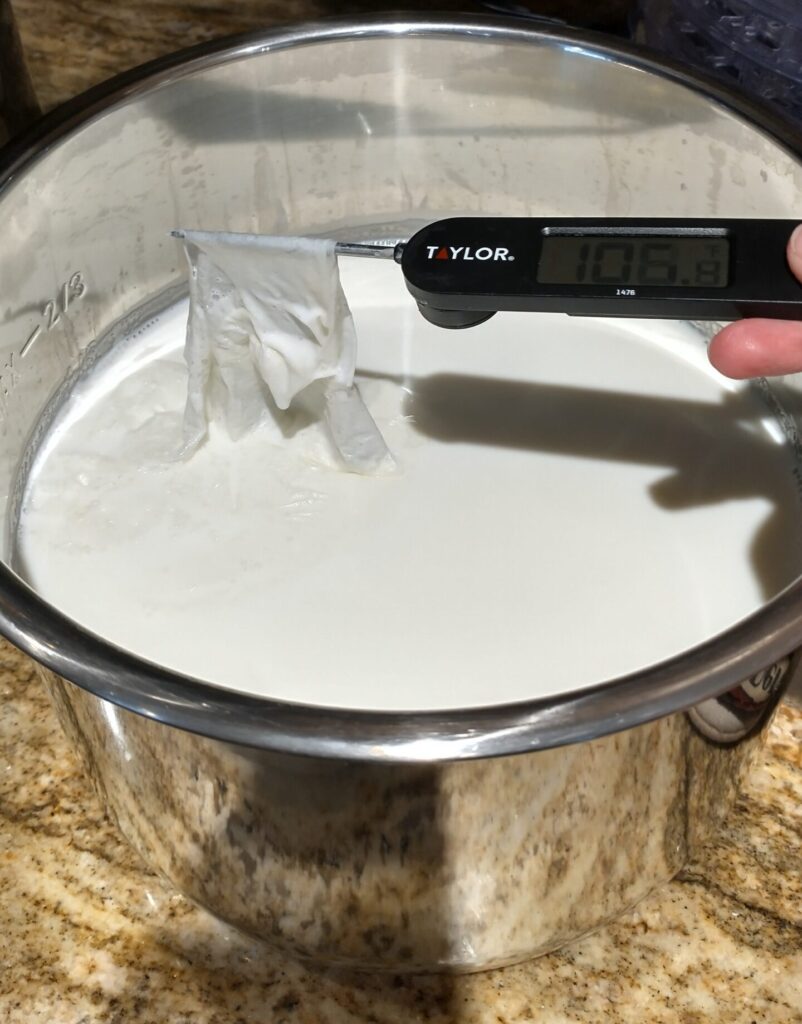
Step 4) Add yogurt culture. This is totally unnecessary if you have a cow, or raw milk, so I’ve heard. But us less blessed folks will be working with pasteurized milk from the store. You can buy freeze dried yogurt starters or buy a plain quart from the store. I’ve tried both, and I love Danon plain yogurt. The taste is better to me and I’ve always had consistent results. Some say that you can’t make a store bought yogurt culture last for more than a few months, however, ours has been going strong for over a year now.
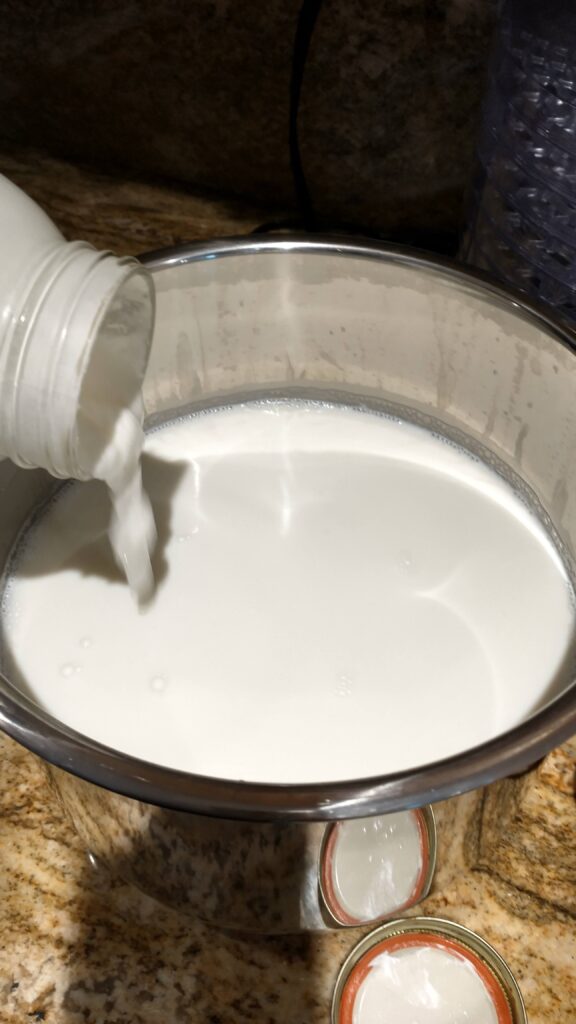
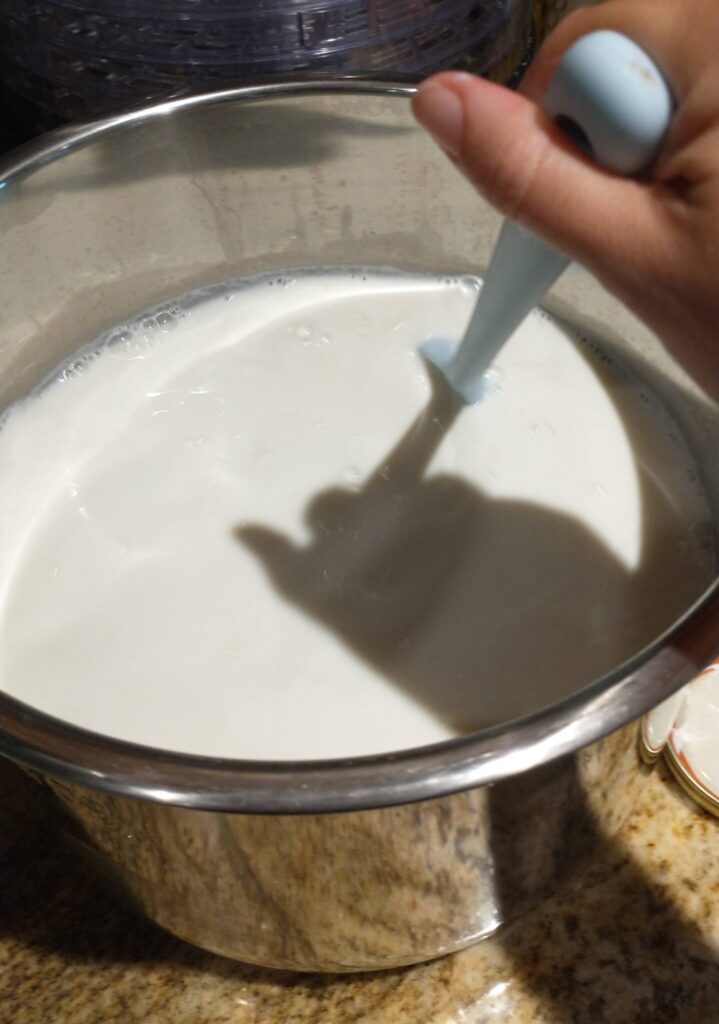
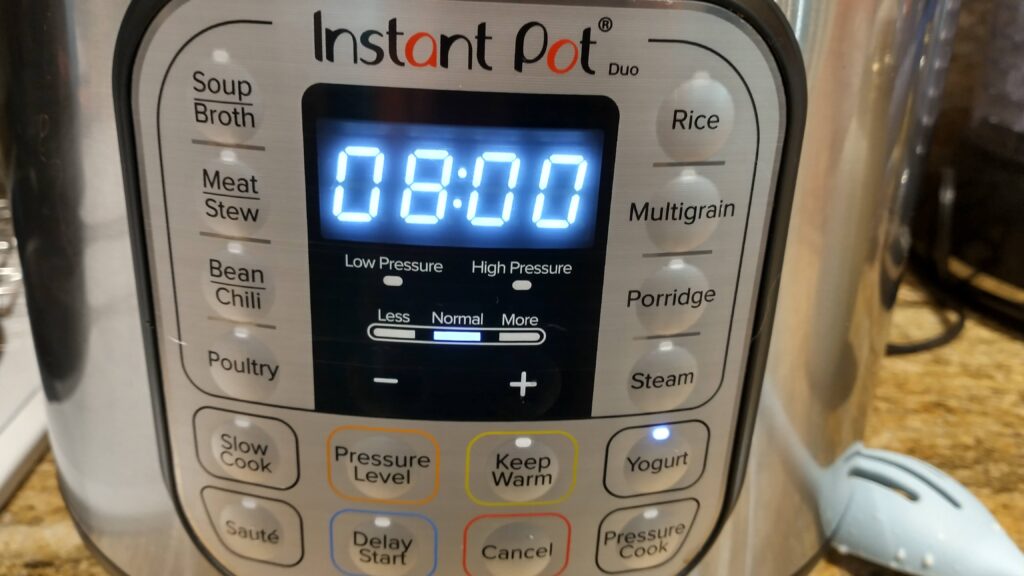
Step 5) Incubate for 8 hours or overnight at 110°F. You could also let this go up to 48 hours if you like a more sour product. After the incubation is finished the milk should be set with an obvious separation of whey and yogurt.
If you do not have an Instant Pot, place the pot of warm milk, covered, in the oven with the light on. You could also get really creative and place the pot in a sunny spot outside if the weather is warm.
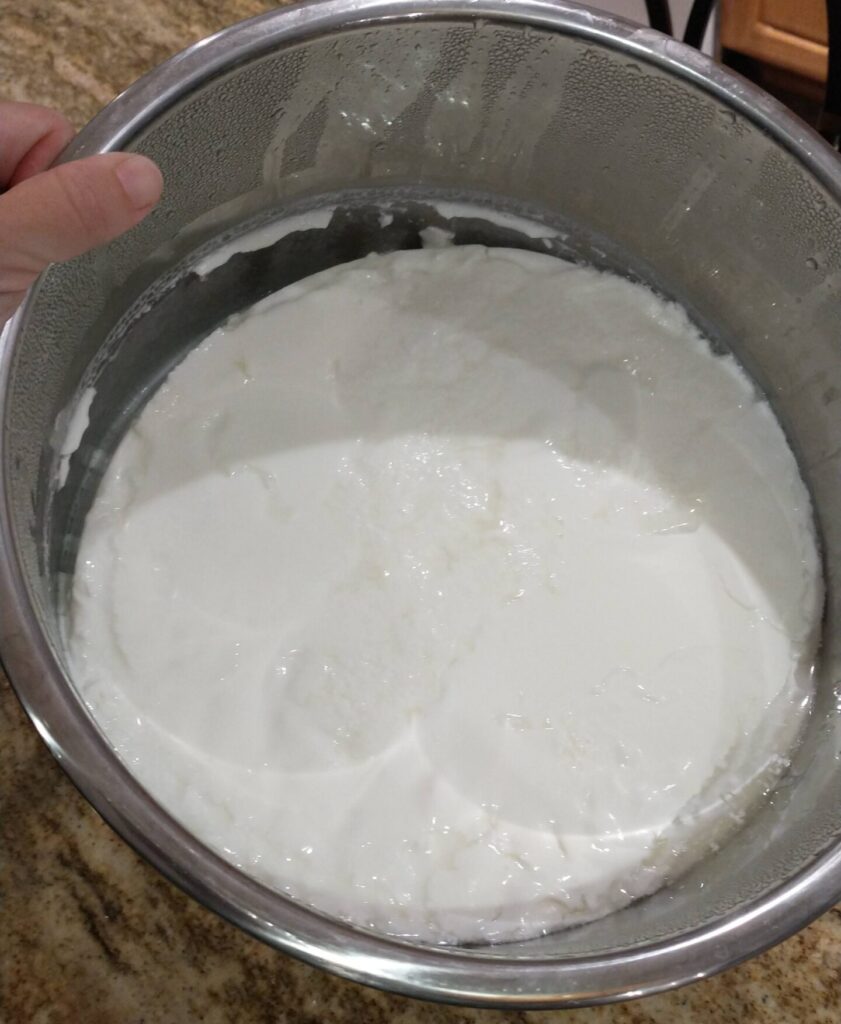
Step 6) Cover pot with foil, plastic wrap, or beeswax wrap, and place in the fridge to cool. This stops the fermentation process (slows it considerably), and can take several hours to finish cooling completely.
Step 7) Line a colander with a cheesecloth and place into a large bowl. Place yogurt into the lined colander and allow to drain for two hours or longer for a thicker product. If you are using low fat milk, you will have a lot of whey, and straining will be necessary. However, if you are using whole milk, straining is totally optional. For us, one gallon of whole milk = one gallon of yogurt. Why strain when you don’t have to?
Step 8) Scoop yogurt into jars and store in the fridge for up to two weeks. Two weeks is stretching it a little bit, ideally you’ll want to use up all your yogurt, (except what is needed to make the next batch) in a week to a week and a half.
It may seem like a lot of steps, but making yogurt takes hardly any hands on time. You’re mostly moving it from one place to another, from the stove or instant pot to the counter, back to the instant pot, or oven, then to the fridge. The taste of homemade yogurt far out ways what you could get at the store, too. After a few attempts, making yogurt will become a habitual part of your week.
Homemade Yogurt Recipe
Equipment needed: instapot, thermometer, cheesecloth (optional)
Ingredients:
1 gallon of whole milk
1 quart water
¼ active plain yogurt starter, Danon whole fat yogurt
Directions:
- Fill instapot liner with a few inches of water. Close valve and turn on the steam function. Adjust timer for five minutes. When the cycle is complete, turn valve to vent. After fully depressurized remove lid and with hot pads, remove pot and pour out the water. Leave the pot to cool and dry on the counter.
- Once pot is cool to the touch, add 1 gallon of whole milk to the liner and place back into the instapot. Close the lid and press the yogurt button. Press until the display reads “boil”. When the boil function ends (about an hour) test the temperature to see if it reads 180°F. If it’s not hot enough, turn on the saute function. Stir occasionally until the milk reads 180°F. Remove pot from the instapot and set aside on the counter to cool to 110-115°F. This can take several hours. To speed up the process, place the pot into a large bowl with ice water.
- When the milk reads between 110-115°F add ¼ cup of water. Stir and place the pot back into the instapot. Replace the lid and select the yogurt button. Incubate yogurt for 8 hours or overnight. For a tangier taste you can incubate up to 48 hours. Note: The milk can form a skin over the top while it cools. Simply remove it before adding the yogurt if you don’t want the added texture.
- After incubation is done, the milk should look set with an obvious separation of whey and yogurt. Cover and place in the fridge until fully cool.
- Optional step: If you want your yogurt extra thick, line a colander with a cheesecloth and place into a large bowl. Scoop yogurt into the cloth lined colander and allow to drain for at least two hours. This allows excess whey to drain off.*
- Scoop yogurt into jars and use within two weeks. Leave enough leftover for making the next batch of yogurt.
*Don’t throw away the whey! Add it to smoothies, baked goods, or if you have livestock give it to them.

Homemade Yogurt
Homemade yogurt is so easy to make, delicious, and packed full of gut healthy probiotics.
Ingredients
- 1 quart water, use only if making yogurt in Instant Pot
- 1 gallon whole milk
- 1/4 cup yogurt starter, Danon plain yogurt is great.
Instructions
- If using Instant pot, pour water into the liner. Select the steam cycle and adjust for 5 minutes. Set the valve to seal. Once the cycle is finished, change the valve to vent. After fully depressurized, carefully remove the pot, and drain the water. Set aside to cool.
- Once the pot is cool to the touch, place it back into the Instant Pot. Pour the milk into the pot, replace the lid, setting the valve to vent, and select the yogurt function. Press until the display reads "Boil". When the boil function ends (about an hour) test the temperature to see if it reads 180°F. If it's not hot enough, turn on the saute function. Stir occasionally until the milk reads 180°F. Remove pot from the instapot and set aside on the counter to cool to 110-115°F. This can take several hours. To speed up the process, place the pot into an ice bath.* Alternatively, place the milk in a large pot on the stove over medium heat. Stir occasionally until the milk reaches 180°F. Set aside to cool.
- When the milk reads between 110-115°F add yogurt starter. Stir and place the pot back into the Instant Pot. Replace the lid, setting the valve to vent, and select the yogurt button until the display reads "8:00". Incubate yogurt for 8 hours or overnight. For a tangier taste you can incubate up to 48 hours.* If you are working without an instant pot, cover the pot of warm milk and place into the oven with the light on, or set in a warm place for at least 12 hours.
- After incubation is done, the milk should look set with an obvious separation of whey and yogurt. Cover and place in the fridge until fully chilled, this can take several hours.
- Optional step: If you want your yogurt extra thick, line a colander with a cheesecloth and place into a large bowl. Scoop yogurt into the cloth lined colander and allow to drain for at least two hours. This allows excess whey to drain off.*
- Scoop yogurt into jars and use within two weeks. Leave enough leftover for making the next batch of yogurt.
Notes
*It is so much simpler to let the milk cool on the counter instead of trying to speed it up in an ice bath.
*It's okay if you forget about the milk while cooling and it drops below 110F. The Instant Pot will warm it back up. The yogurt also sets better when it's closer to 110°F than 115°F. If working with the stove, simply bring the milk back up to 110°F before adding the starter.
*The milk will form a skin over the top while it cools. Simply scoop it out if you don't want the added texture. I'm not a fan of it so I usually give it to the birds.
*If you strain your yogurt, do no throw away the whey. Add it to smoothies, baked goods, or feed to your animals. However, if you used the whole milk you'll find the yogurt is quite thick already and you may not need to strain at all.

Leave a Reply