
This soap recipe is such a classic combo with the oats and honey. Add in some nourishing tallow and you’ve got yourself a luxurious soap bar that’s great for even those with sensitive skin. This oats and honey tallow soap is perfect for gifting or simply using yourself. Plus these finished bars look great lined up on a bathroom shelf.
If you’ve never made homemade, from scratch soap before, check out this post first. This will give you an idea of the things you’ll need, but more importantly gives you some safety tips for working with lye. There’s no reason to fear lye, but you do need to respect it. Once you’ve finished reading up that post, meet me back here.
This recipe makes 2 1/2 pounds of soap. If you do not want or need that much soap cooking at one time, cut this recipe in half. This soap mold is perfect for a smaller batch of soap, plus the bees and honey comb design kinda fit this soap recipe, don’t cha think? It was given to me as a gift, and I love making soap with it 😊
This post may contain affiliate links. As an Amazon Associate, I earn from qualifying purchases. Read full disclosure here.
What you need to make Oats & Honey Tallow Soap
You’ll need some basic equipment to make this soap:
- Stainless steel bowls
- Heat proof glass
- Immersion blender
- Rubber spatula
- Stainless steel whisk
- Digital scale
- Thermometer – either a candy or infrared thermometer
- Cavity silicone mold – I really like this mold for making a bunch of rectangular bars at a time. It’s thick, which keeps the sides from falling out and each bar is about 4oz.
Aside from that you have some simple safety gear you’ll don to keep yourself safe while handling the lye:
- Rubber or nitrile gloves
- Eye goggles/glasses
- Long sleeves and an apron
Oats & Honey Tallow Soap Ingredients
I’ve kept this one simple on the oils. Perhaps in the future I’ll mix up more oils in a single soap, but not today! 😅 We’ll need:
Avocado oil
I love this oil in my soaps, I think it’ll be a go to in just about every soap recipe I make. It’s cleans while moisturizing and makes for lovely bubbles. It’s high in oleic acid, the same that makes tallow and olive oil so popular for skin and hair.
We’ll need 510g.
Castor Oil
This oil is great for the skin and hair. It’s definitely another one that will be in just about every soap recipe I make. It’s the only source of ricinoleic acid we soapers have at our disposal. In small amounts it contributes to better lather and the creaminess of your soap.
This uses 191g.
Coconut Oil
This oil is high in lauric acid which is a cleansing powerhouse. While moisturizing as an oil, once turned into soap this oil cleanses away everything, which makes it great for a homemade dish soap. When used in moderation, coconut oil yields a soap bar that lathers beautifully and cleans gently.
You’ll also need 191g.
Tallow
This recipe uses grass fed beef tallow. You can absolutely make beautiful soap using the tallow of deer, lamb, or bison, but those tallows have a different SAP value than beef tallow. If you are going to substitute the beef tallow for another tallow you’ll need to run the recipe through a lye calculator. Tallow is such a great ingredient to have, not only for it’s many benefits, but also it’s versatility.
This recipe will use 383g.
Lye NaOH
Without this ingredients we wouldn’t be able to turn fats into soap. It’s pretty darn cool. Lye is a highly caustic chemical before going through saponification, so treat it with respect.
We’ll be using 167g.
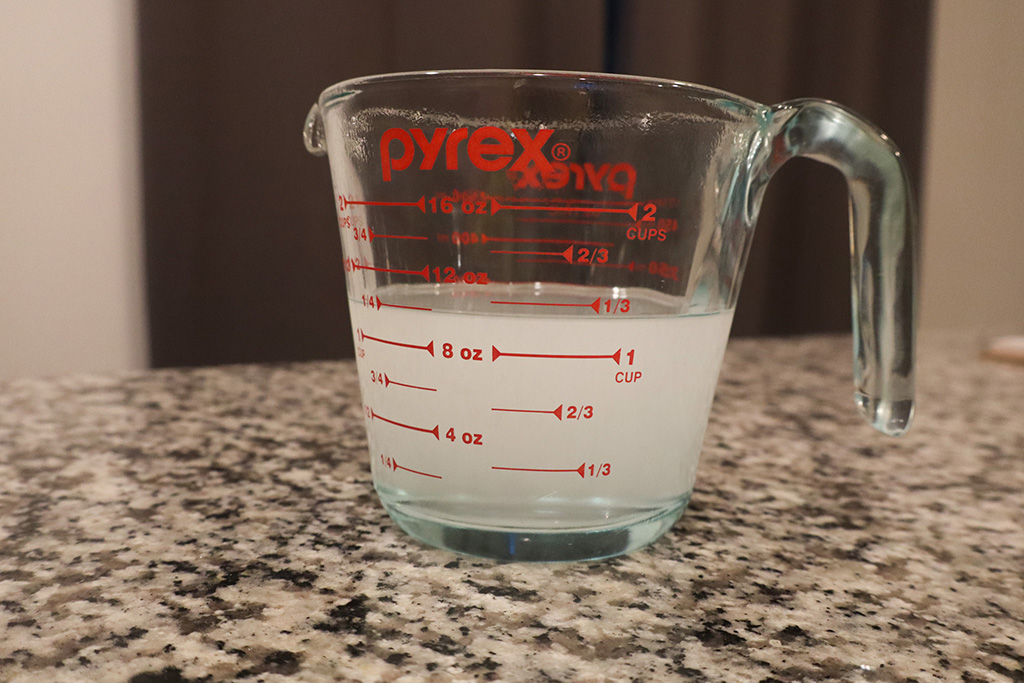
Distilled Water
Soft water is the best for soap making. Hard water can definitely be used, but the minerals in the water can shorten the life span of your soap bar and contribute to DOS (dreaded orange spots) in your soap. We have hard water where I’m at, so we purchase distilled water for the purpose of soap making. It’s very cheap and lasts a long time.
You’ll need 273g.
Honey
We buy our honey from a local farm store. It’s great quality and we love supporting local agriculture. Don’t at all feel bad if you use a cheaper honey from the store. After all, a lot of the things we love about honey will be lost when it comes into contact with the lye. This is probably the only case where a lesser quality honey might be worth using.
If you want to retain more of the honey’s natural goodness you could decide to make this soap a melt base. Make the above soap recipe but omit the honey. Then after the soap has cured for 4 weeks or so, cut it up and place it into a crockpot or small pot on the stove and set it to melt over the lowest setting possible. Stir occasionally and spritz it with water from time to time if it looks like it’s drying out.
Once melted, add in the honey and mold as before. This soap will be ready to use as soon as it hardens and cools. It may not look as nice as the cold process soap above, but it will retain more of the honey’s nourishing qualities.
You’ll need 1 tbsp.
Colloidal Oats
These are oats that have been blended up to be super fine. You can easily make colloidal oats by blending some oats in a food processor, blender, or spice grinder. Sift the oats to remove the coarser bits, those make a great decoration for the top of your soap bars or you can add them into the soap batter in small amounts. Coarse oats makes for a scratchy soap bar, which may very well be what you are going for. If so, add in a small amount only, trust me, a little goes a long way.
We’ll be using 2tbsp.
How to make Honey & Oats Tallow Soap
Before beginning have your mold ready to go. Place the cavity mold on a parchment paper lined baking sheet and set aside.
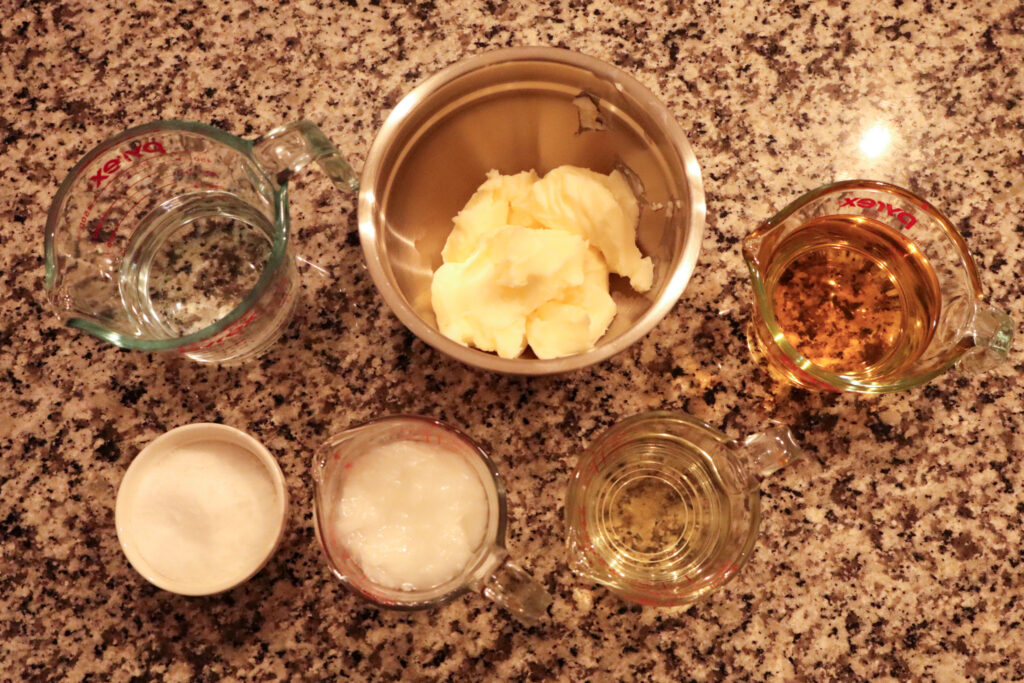
Weigh out ingredients
Now, weigh out all of your ingredients into separate bowls. Start with the fats, then the water, and finally the lye.
– Lye is hygroscopic, meaning it attracts water to it. The longer it’s exposed to humid air the more moisture it pulls in, reducing its effectiveness in your soap. Don’t leave it out for too long.
Make lye solution
Next, make your lye solution. Working in a well ventilated area, carefully pour the lye into the water, never the other way around. Snow falls on the lake. Stir with a stainless steel spoon or whisk until no granules remain. The liquid will still look cloudy at this point.
The lye solution will initially create a lot of heat and fumes. This is toxic, do not inhale! Cover your face with a cloth or a face mask or have a fan blowing gently behind you while you work if you’d like. With that done, set the lye solution aside somewhere it won’t be disturbed and move on to mixing and melting your oils.
Mix and Melt oils

Combine all oils into a large stainless steel pot or bowl. Set the bowl over low-medium heat and stir occasionally as the oils melt. Once fully melted check the temperature of your fats. If it’s at or under 140F, remove from the heat and check the temperature of your lye solution. We want the fats and lye solution to be under 140F and within ten degrees or so of each other.
We are adding honey to this soap recipe which will generate extra heat during saponification then it would without. So, allow your soap to be a bit on the cooler side, closer to 110-120F is great. The cavity molds keep the soap from getting too hot while it saponifies, but mixing the oils and lye solution at a lower temperature is still a good idea.
Make the soap batter
When your oils and lye solution are in your ideal temperature range, add the lye solution to the oils. To reduce air bubbles, pour the lye solution into the fats over the shaft of your immersion blender. Burp the immersion blender to remove any air bubbles trapped underneath the bell and then pulse for 20-30 seconds. Stir.
Repeat pulsing and stirring until the soap batter reaches a light trace, the consistency of gravy. Set the immersion blender aside and whisk in your 2 tbsp of colloidal oats and 1 tbsp honey. If you’d like to use essential oils, add those in now as well.

Once that’s thoroughly mixed, pour the soap batter into your molds. Decorate the top as desired. Here, I used a chopstick to make swirls in the top. You can also sprinkle on some oats if you’d like.
Set the molded soap somewhere well out of the way where it can saponify for the next 24 hours. Then, unmold and place in a well ventilated area to cure for 4-6 weeks before use.

Soap making can seem intimidating at first, but it’s actually fairly simple and there’s lot of room for creativity. If you give these bars a try, let me know what you think in the comments below. Also, if you have any questions pop them down below and I’ll help you out best I can.
Happy soaping 😊

Oats & Honey Tallow Soap
Ingredients
Equipment
Method
- Before you begin make sure you can work distraction free for at least two hours. No kids or pets running around when you are making soap! Make sure your work area is clean. Tie back you hair and don your safety gear.
- Place silicone cavity mold onto a parchment paper lined baking sheet and set aside.
- In separate bowls, weigh out all of the ingredients starting with the fats/oils, then the water in a stainless steel bowl or heat proof glass, and lastly the lye.
- Carefully pour lye into the water, never the other way around. Snow falls on the lake.
- Stir with a stainless steel spoon or whisk until all the lye has dissolved. Do not inhale the fumes produced at this time.
- Set aside to cool.
- In a stainless steel bowl or pot, combine all oils. Melt over medium low heat, stirring occasionally until all the fat has melted. Remove from heat.
- Check the temperature of the oils and the lye solution. If they are under 140F and within ten degrees of each other proceed to making the soap batter. If they are still too hot, allow to cool for a few more minutes.
- Pouring over the shaft of your immersion blender, add lye solution to oils/fats. Burp the immersion blender to remove any air bubbles trapped underneath the bell.
- Pulse for 20-30 seconds then stir. Repeat until the soap batter reaches a thin trace, the consistency of gravy.
- Set the immersion blender aside. Whisk in honey, oats, and essential oils if using.
- When fully combined, pour soap batter into the prepared mold. Set the molded soap somewhere well out of the way to saponify for the next 24 hours.
- After 24 hours, remove the soap from the mold and set in a well ventilated area to cure for the next 4-6 weeks before use.
I love to make handmade soap but have never made it with tallow. Thanks for the recipe and instructions.
I used to make and sell so much soap but haven’t in a few years. This has helped inspire me to get back to it. I just rendered some tallow so maybe I will use that instead of lard, which is what I usually do. Thanks!
I’d love to try my hand at soap making. I love that this one uses tallow! Sounds super nourishing for the skin 🙂
I’ve never added honey to a soap before, I typically do a tallow base. I’ll be experimenting with honey on the next one. Thanks.