
Making your own homemade soaps is a rewarding and beneficial hobby. You can make your family non toxic, nourishing soaps that cost a fraction of what you could buy online or at the local craft fair. Plus, it’s so satisfying to use a homemade bar of soap that you’ve put so much love and care making. Here’s what you need to know before starting so you can safely make homemade cold process soap.
This post may contain affiliate links. As an Amazon associate I earn from qualifying purchases. I’ll never share anything that I don’t personally use and love.
What do you need to make soap?
First off, you’ll need the basic ingredients.
Soap can be as simple as water, lye and oil/fat. For bars of soap we will be using sodium hydroxide, NaOH. Liquid soap is made with potassium hydroxide, KOH.
Once you’ve acquired those ingredients then you’ll also need some simple equipment.
- digital kitchen scale
- measuring cups/bowls for weighing out your ingredients and making your lye solution
- immersion blender
- meat or infrared thermometer
- molds
- pots (stainless steel or glass. absolutely no aluminum.)
- rubber spatulas
- stainless steel spoons
- a spray bottle filled with rubbing alcohol (this is optional but spraying your soaps with isopropyl alcohol will help prevent soda ash. Soda ash is perfectly safe and it doesn’t hinder your soap from working, but… it doesn’t look great.)
Stay away from any aluminum products in your soap making adventures. Aluminum will react with the lye and ruin your soap. Stainless steel, heat proof glass, ceramic, and thick plastic are great materials for your soap making vessels.
Then you’ll need some safety gear.
- gloves (rubber or nitrile)
- eye protection/goggles
- aprons/long sleeves
The process to safely make homemade cold process soap
First off, find yourself a good soap recipe or make your own using a lye calculator (as a beginner it’s best to follow a recipe).
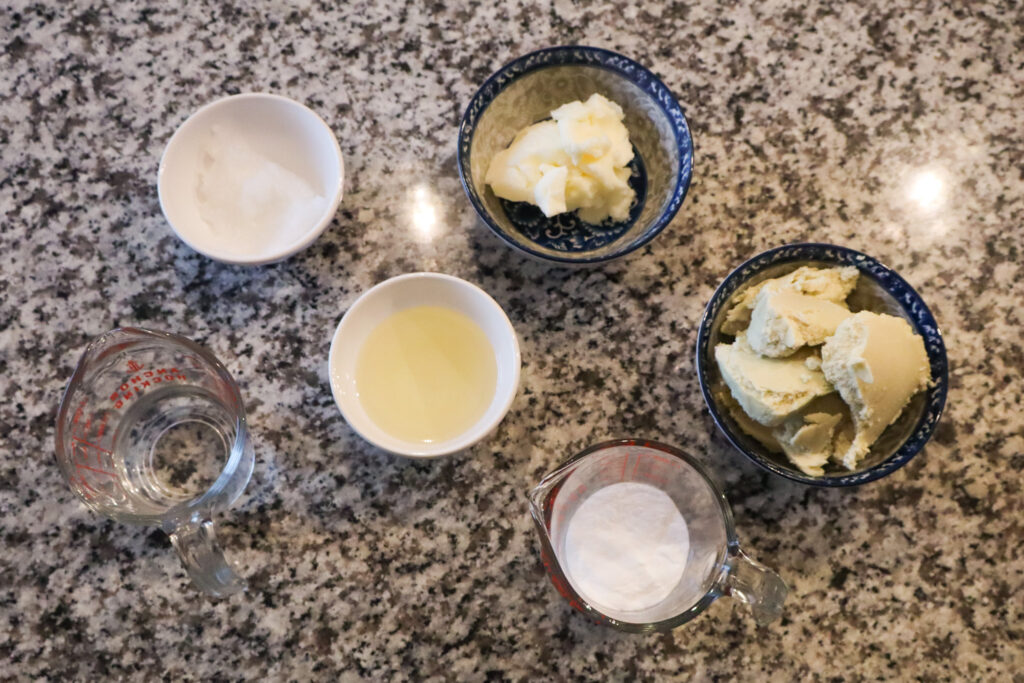
Then measure out your ingredients in separate bowls. All measurements should be made using your scale. Soap making is not like throwing a whole bunch of random ingredients in a pot then adding salt to taste. It needs to be precise.
Every oil/fat is unique and needs a certain amount of lye to turn into soap. You can’t simply swap out one fat/oil for another, or add a little more of this or that without running the modified/new recipe through a lye calculator. I like to use soap calc.
Otherwise, you may end up with a soap that has leftover lye in it, or a soap that is way too oily. You don’t want to make something that will hurt your family, so make sure you follow recipes closely and measure out your ingredients carefully.
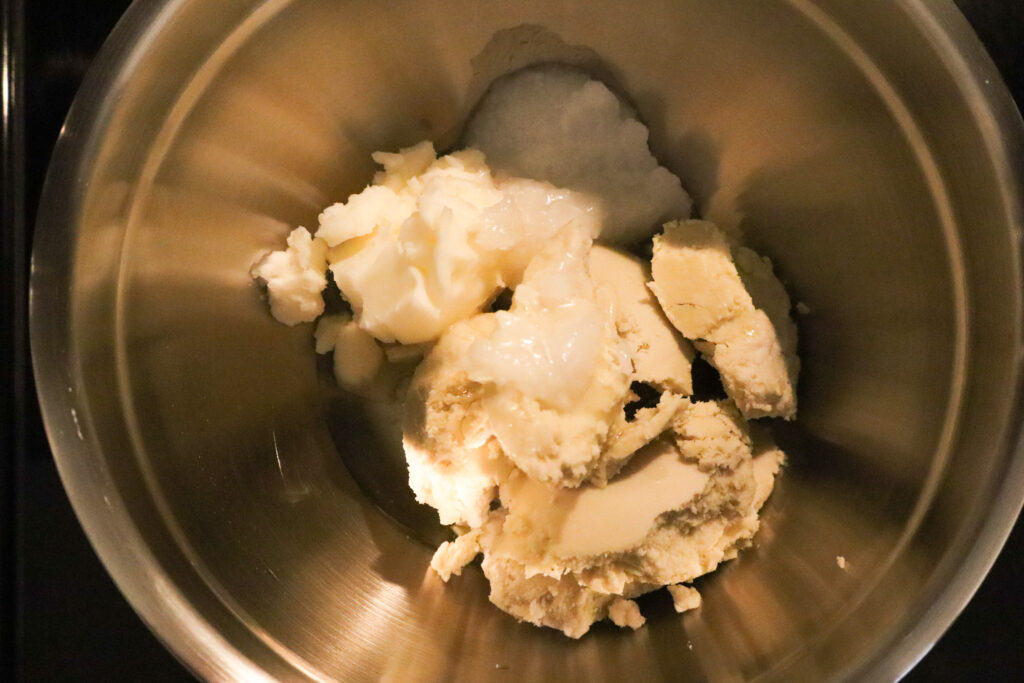
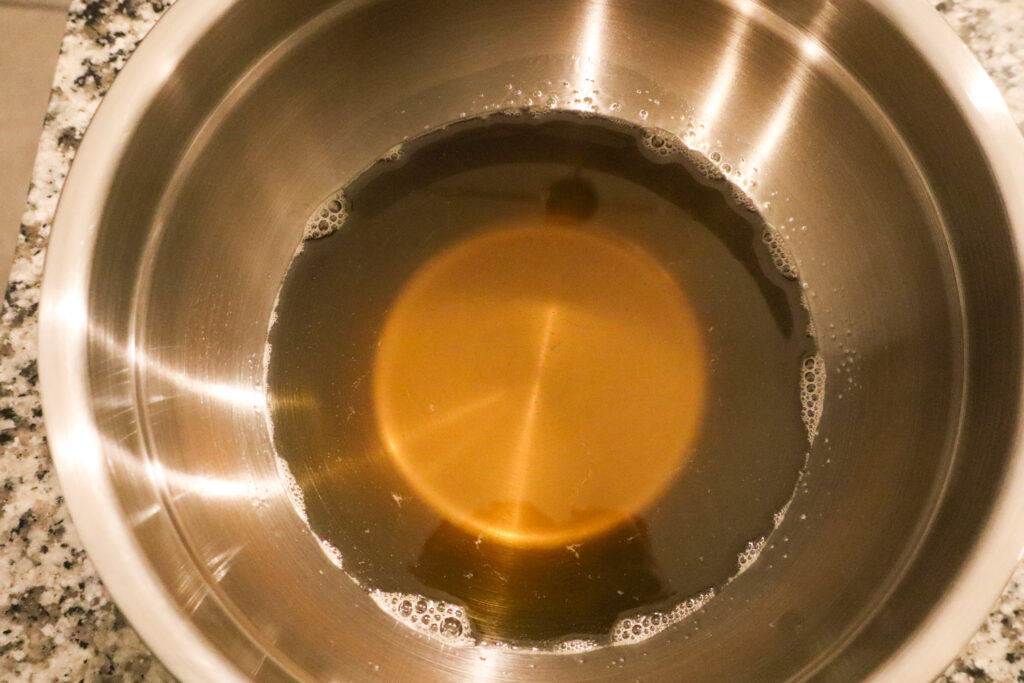
Then you’ll melt your oils (if you are working with solid oils) and make your lye solution.
Next, let’s talk about the basics of working with lye.
Respect the lye!
This cannot be overstated. Lye is not something you can handle the same way you would with baking powder. It is a highly caustic material that can cause chemical burns if not handled correctly.
That being said, you don’t need to fear lye either.
Wear safety gear
Make sure whenever you make soap you wear gloves, protective glasses or goggles (goggles are best), and long sleeves/apron to protect yourself from splashes or spills. If you have long hair, tie it back. Always make your soap in a well ventilated area. When you add the lye to liquid it heats up fast, up to 200°F and even hotter if you add sugar (like those naturally occurring in milk) incorrectly. The fumes produced are toxic and should not be inhaled.
I like to have a fan blowing gently behind me to make sure there is constant airflow over my workspace. You might also consider wearing a face mask when you make your lye solution.
Always add lye to your liquid, remember this, snow falls on the lake. Add the lye slowly and stir constantly until all the lye has been added and dissolved. You don’t want to run the risk of a caustic volcano ruining your hopes of natural, homemade soaps.
After making your lye solution, what’s next?

Okay, lye solution made. No disaster occurred and everyone is still alive. 😎
Set aside your lye solution to cool in a safe area, as well as the oils you melted earlier. You want them to get at or below 110°F before combining them. If you are planning on adding honey or anything else that may contain sugars allow the oils and lye solution to get even cooler before mixing. Around 90°F should be fine.
The sugar reacts with the lye to create more heat. It’s not impossible to work with, after all there’s so many goat milk soaps out there, but there are other precautions you’ll need to take when adding a sugar to your soap recipe.
Now it’s time to combine all the ingredients!

This is where the fun really happens in my opinion.
Add your cooled lye solution to your melted oils. Remember you want them close in temperature to one another, ten degrees difference is okay. Pull out your handy immersion blender and start blending away.
Fully immerse your immersion blender and “burp” (to release any air bubbles trapped under the bell) it before turning it on. Pulse and mix and pulse and mix until the whole thing has emulsified and the soap “batter” has reached trace.
You’ll know you’ve reached trace when the soap batter begins to thicken slightly and you can leave a trail of the mixture over the top and it doesn’t immediately sink back into the rest of the batter. It looks a bit like pudding at this point.
Don’t over mix as that can make for a really firm soap batter goo that’s hard to pour into molds.
At this point you’ll add any essential oils, colorants, or additives such as honey, oats, herbs, salts or clays. Mix these by hand with a rubber spatula.
Pour your soap batter into a mold and allow to sit for at least 24 hours before unmolding and cutting into bars. You can also wrap your molds in a blanket to trap the heat if you’d like your soap to go through a gel phase. This brings a bit more vibrancy to the colors in your soap and some believe it also extends the life of your soap bars.
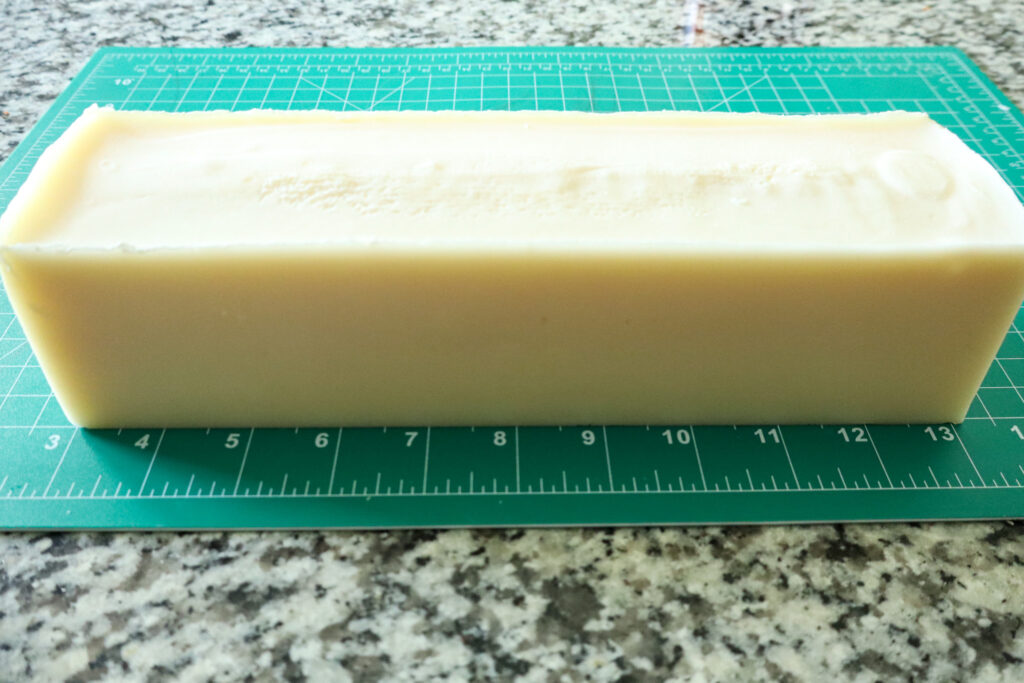
It is so satisfying to unmold your freshly made soaps! It’s hard not to stare at your little creations in awe that you actually made something using chemistry! (Yeah… I failed chemistry twice 😂)
Allow your precious soap bars to cure in a well ventilated area out of direct sunlight. I’d say cool and dark but I live in Florida, so, such a place does not exist. You may want to flip your bars every day or two to make sure they cure (dry) evenly on all sides.
How to clean up after safely making homemade soap
There are two ways you can go about cleaning up after your soap making venture. On one hand you can clean up everything as soon as you’re finished.
This has the benefit of simply getting the task over with so that you can put everything away and have a tidy home again. Because the soap hasn’t finished saponifying, the batter is caustic so you’ll need to continue wearing your safety gear while you clean up.
On the other hand you can set aside your soap making supplies until the next day when the soap batter has turned into soap.
The choice is up to you. There’s really not a wrong way to go about this.
I like to keep a bucket of warm soapy water next to me as I work so that every measuring cup, spoon, or bowl can go into it as soon as it’s purpose has been fulfilled. For my immersion blender, I will pulse the wand into the soapy water a couple of times before detaching it and adding it to the bucket. (This could also be your kitchen sink if you’d prefer to make your soap inside.)
Clean your work surfaces with warm soapy water as well. You can also do a vinegar rinse to clean up your work space.
I like to rinse out my supplies outside, since I don’t want oil down my drains, and then throw everything in the dishwasher.
If you opt to allow your soap batter to finish saponifying before washing, then there’s no need to worry about oil/fat clogging your drains.
How to handle splashes or spills
Eventually you’ll make a bit of a mess when you make soap. Especially if you are adventurous and trying to experiment with your own recipes. If you happen to get some soap batter or lye solution on you, don’t panic! It will take a while before any real damage can happen.
If it gets on your skin rinse it off with cool, running water. If any gets on your clothes or apron just take them off and get them washed. They’ll be fine.
Keep your goggles on the whole time while you are working with your soap so as to avoid getting anything in your eyes. In the off chance that something does get into your eyes, rinse it with cool running water for several minutes.
Remember the emergency wash stations in science class rooms? Basically that’s what you will do if you get lye on you. Rinse it off and all will be well.
You can always call poison control if you feel the need. Especially if you do get any caustic soap batter in your eyes, as this can be very damaging.
As long as you ensure to take all necessary steps to safely make homemade soap, you’ll be just fine :D.
More helpful tips to safely make homemade soap
- Make sure you have plenty of time to fully dedicate your attention to making soap. You’ll need at least two hours uninterrupted to complete the process. To safely make homemade soap you can’t have lots of distractions around you.
- I almost always make soap on the weekends when my husband is able to watch the kids. You could also make soap during nap time or after the kids have gone to bed.
- Have a dedicated area to keep your soaping supplies. It’s makes for an easier, more efficient soaping experience when all of your tools are nearby in one spot.
- If you decide to add honey to a soap recipe, using cavity molds such as ovals or rectangles will help prevent your soap from getting too hot while it saponifies.
- Place silicone cavity molds on a baking sheet before adding soap batter to them. This way you can safely and cleanly transport them. It’s a mess to try to move the cavity soap molds once they are full of batter.
- Lye draws water to it so you don’t want it sitting exposed to the air for too long. Measure your lye last so that you can make your lye solution right away. Or cover it after weighing to prevent it from getting wet.
- Store granulated lye in a cool, dark place or at least out of direct sunlight. Keep it well out of reach from children.
- Spray rubbing alcohol into your mold and onto the top of your soap to prevent soda ash from forming. Soda ash is a harmless substance that is created when the lye comes into contact with the carbon dioxide in the air. You can easily rub it off, but for a prettier bar, it’s nice to avoid it all together.
If you have any questions feel free to drop them in the comments below. And if you are an experienced soaper, what advice would you give to someone just starting out?
Check out these basic, beginner friendly soap recipes if you’re ready to get started on your soap making journey 🙂
Happy soaping!
Leave a Reply