
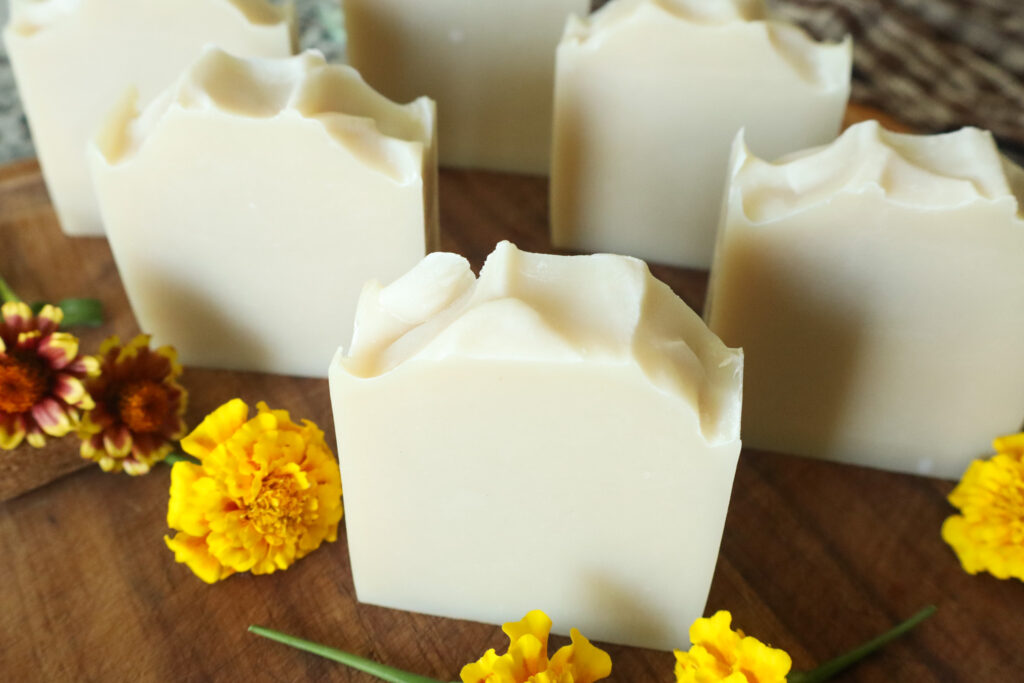
Homemade skin care can and should feel fancy and luxurious. This shea butter soap bar recipe definitely hits the mark. It’s simple, beginner friendly and best of all cheap! No fancy equipment needed either, just some safety gear, kitchen scale, bowls, and a whisk.
Shea butter and tallow are so gentle and nourishing for our skin. With our baby girl arriving in ten weeks or less (!!!) I wanted these bars to be ready to go for when she gets here. Shea butter is great for anyone who deals with dry, irritated skin. If you’ve never been around a new born… they have super dry skin. Plus shea butter smells really nice in soap 🙂
If you’d like to use these shea butter soap bars for your babies, just note, it is not tear free! Be careful to keep any soap from getting in your little one’s eyes.
So, lets gather together our ingredients and tools and make some skin loving soap bars.
If you’ve never made soap before, read through this post first, then meet me back here. 😊
This post may contain affiliate links. As an Amazon Associate I earn from qualifying purchases.
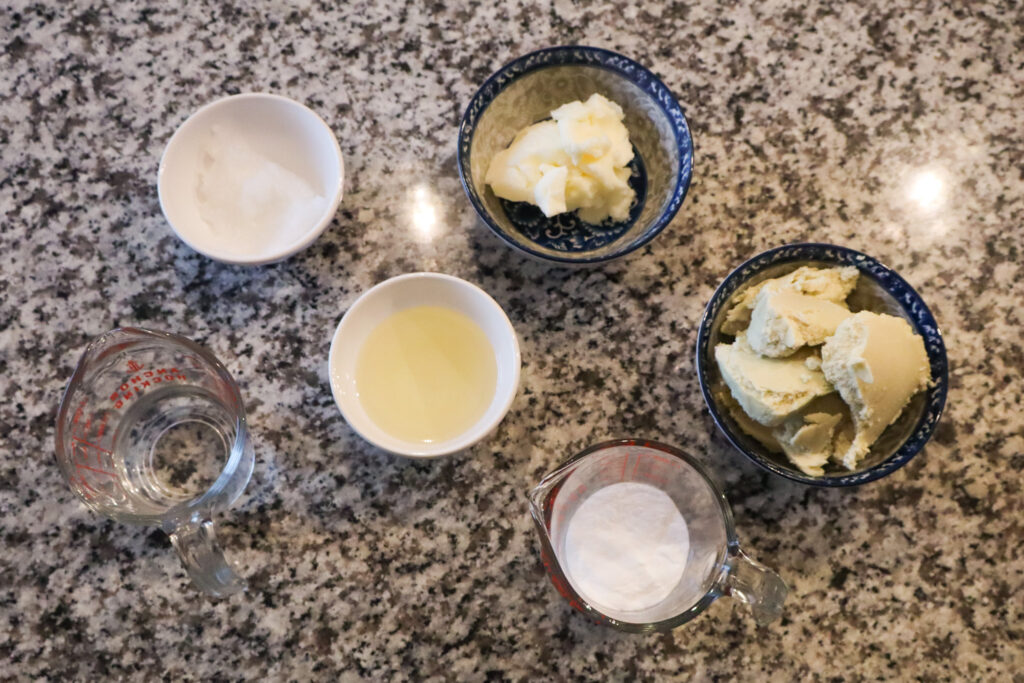
Ingredients for our shea butter soap bars
This recipe uses six simple ingredients. If you buy your fats in bulk then your cost per 4-5oz bar will be somewhere around $1 each. See, told ya it’s cheap 🙂
Distilled water
If you have a source of filtered soft water you can use that instead of distilled. If you have hard water, you can still use that, but it will affect the shelf life of your soap.
Because we are working with a large amount of saturated fats, we will be using a high water to lye ratio. This recipe uses a 28% lye concentration.
For this recipe we will need 298g of distilled water.
Lye, NaOH
Without lye soap simply wouldn’t exist. Handle it with respect and it won’t harm you or your loved ones.
Here we will be using 116g of granulated lye.
Shea butter
Shea butter is such a powerhouse for the skin. It’s packed with essential fatty acids, vitamins and minerals. It’s so gentle on the skin that it’s even safe for babies. Of course, with babies test a small area first to see if there’s any allergy.
Shea butter makes up half the fat in this soap recipe, leaving behind it’s distinct smell in the finished product. Personally, I love the smell of the unscented shea butter soap bar, but you can add your favorite blend of essential oils for even more fragrance.
We will need 454g for this recipe.
Tallow
I love throwing tallow into just about every soap recipe I make. It’s also delicious in baking 😉 Who doesn’t love a multi purpose ingredient? Tallow is high in oleic acid, the same fatty acid that makes olive oil so famous. It’s gentle on the skin and deeply nourishing.
For this recipe we will use 182g.
Castor Oil
This is another oil that I would never want to be without. It’s really the only source of ricinoleic acid we DIY soap makers can get our hands on. It’s anti microbial and anti inflammatory, soothing and cleansing at the same time.
It also imparts such a beautiful, luxurious lather to your homemade soaps. Once you start making your own soaps, you’ll understand the slight obsession with bubbles 😂
We’ll need 136g.
Coconut oil
With all the highly moisturizing oils in this recipe, coconut oil adds the cleansing balance this shea butter soap bar recipe needs.
While coconut oil is great for moisturizing skin, saponified coconut oil is a powerful cleansing agent. It’s high in lauric acid which can clean so well it’ll leave your skin stripped, dry and irritated.
Since coconut oil only makes up 15% of the total fats in this recipe, we will be left with a gently cleansing soap bar that is still high in moisturizing properties.
We’ll need 136g.
How to make your own shea butter soap bars
Before beginning any soap making adventure, make sure you can work distraction free for at least two hours. Don your safety gear and tie your hair back 🙂
Weigh out your ingredients
It’s best to weigh out all of your ingredients in separate containers. However, if you like to keep the dishes to a minimum you can weigh out all of your oils in the same bowl… just go slow and be careful. Especially with the liquid oils. Once those are in the bowl it’s hard to get them out.
Always weigh out the water and lye separately.
I prefer to weigh out all of my oils first, then the water and finally the lye. This way the lye is not exposed to the air for long. Once it’s weighed we can immediately move on to the next step.
Make your lye solution and melt the oils

Working in a well ventilated area, carefully pour your lye into the water, never the other way around. Snow falls on the lake. Stir continuously until the lye is fully dissolved. The solution will generate a lot of heat, be careful not to inhale any of the fumes this produces.
Set aside in a safe place to cool.
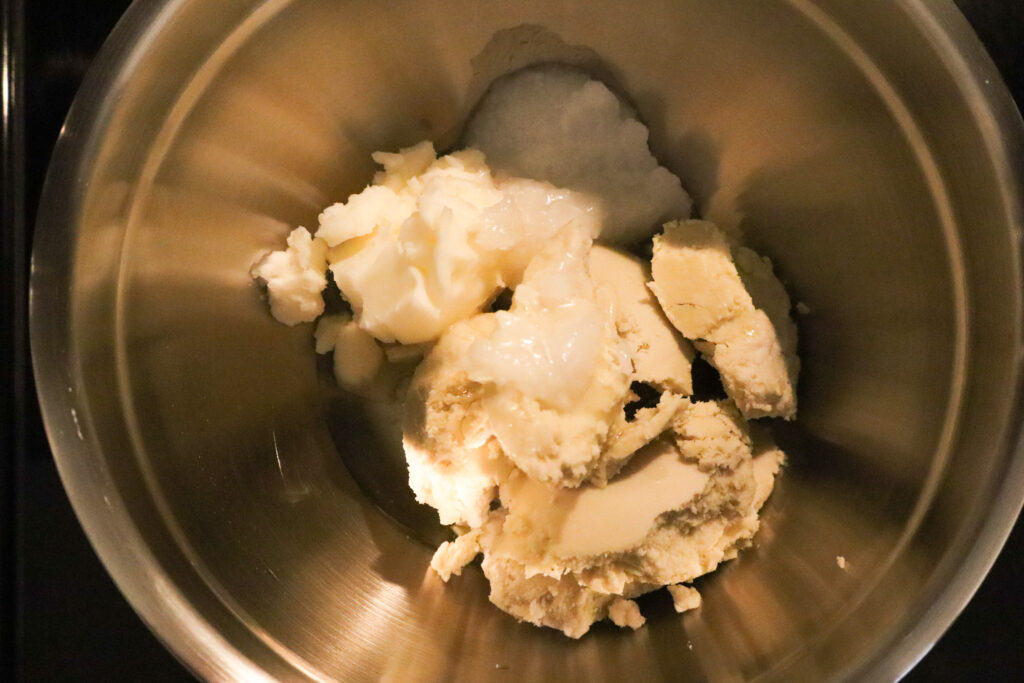
Meanwhile, combine the oils into a stainless steel pot or bowl and place over low heat on the stove. You could also do this with a slow cooker set on low.
Shea butter can become grainy if heated to quickly. So, low and slow heat is the way to go with this fat. By the time it’s fully melted the oils and lye solution will be fairly close in temperature. Routinely we end up with a temperature of 120F by the time the oils are done melting.
You want the oils and lye solution to be under 140F and within ten degrees of each other before moving to the next step.
Add lye solution to oils

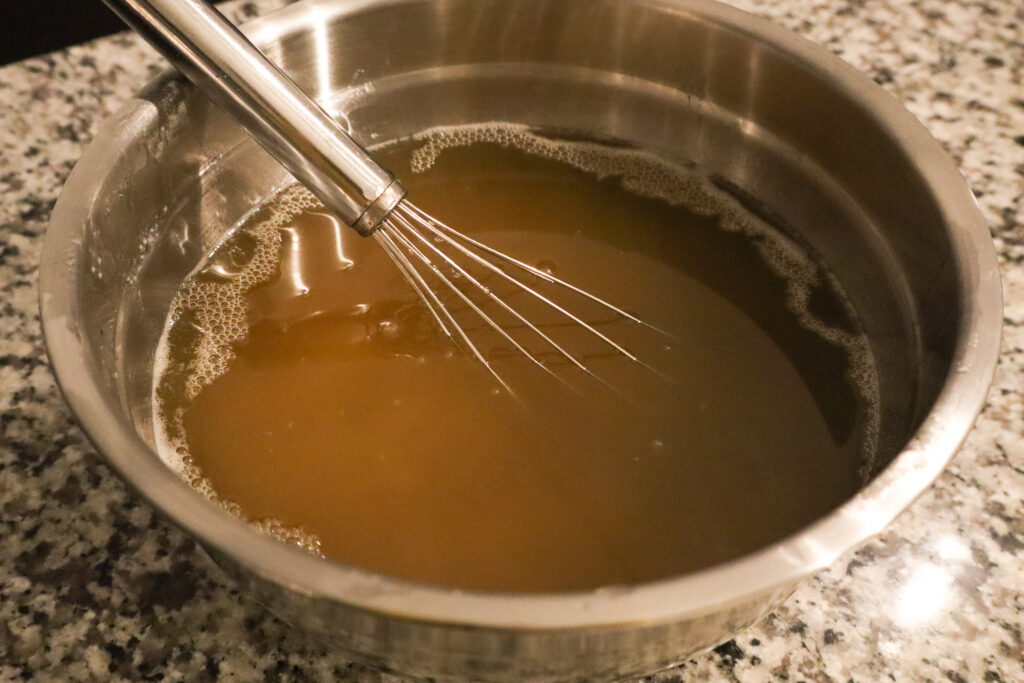
Carefully pour the lye solution into the melted oils. Whisk the mixture until the soap batter has fully emulsified and reached trace. This will take 1-2 minutes of somewhat vigorous whisking.

If you’d like to add any essential oils, whisk those in now.
Mold, cut, and cure

Pour the soap batter into your prepared mold. This recipe is formulated to fill one 42oz loaf mold. Wiggle around the mold and gently (or not so gently) bang it on the counter to release any air bubbles and smooth out the top of the soap.
Decorate the top of your shea butter soap bar loaf as desired. You could even sprinkle some dried flowers or herbs for an extra pretty look 😍 To help prevent soda ash formation, spritz the top with some rubbing alcohol.

You can wrap your mold in a towel or old blanket to help insulate your soap while it goes through saponification. It’s also totally okay if you don’t wrap it at all.
Put the soap-batter-filled-mold in a safe place to saponify for the next 24 hours.
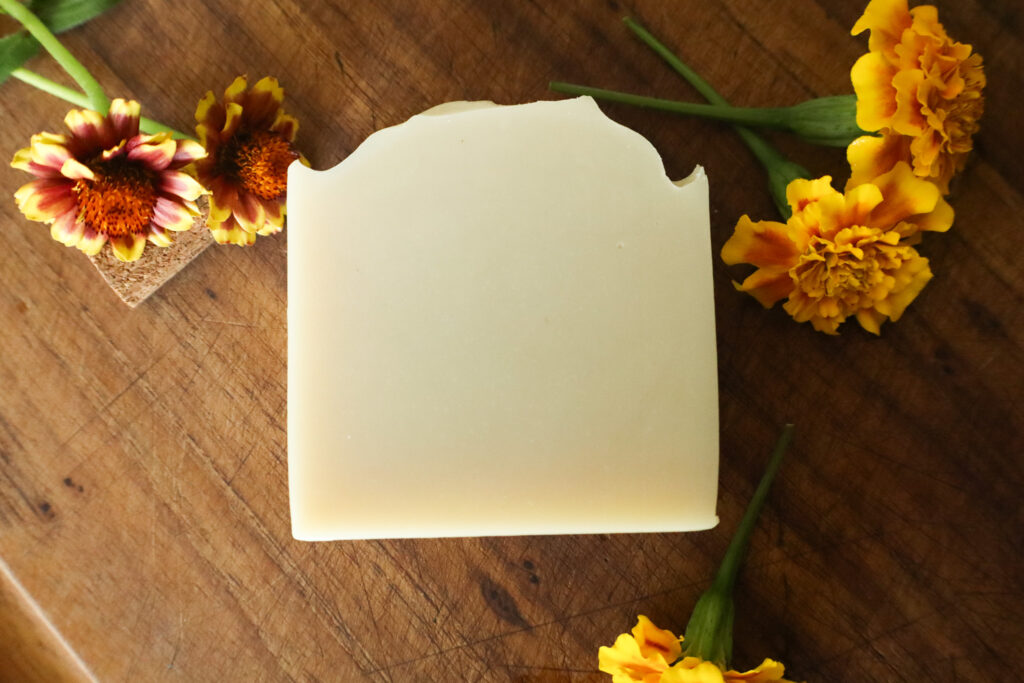
The next day, unmold your soap and cut the loaf into 1″ wide bars. Each bar should weigh between 4-5oz.
Store these bars in a well ventilated area out of direct sunlight to cure for the next 4-6 weeks before use.
That’s it folks 😀 If you give this recipe a try let me know what you think in the comments!
And if you love the idea of using shea butter in your own handmade soaps, check out this shea butter and tallow shampoo bar recipe 😀
Happy soaping! 😊

Shea Butter Soap Bars
Ingredients
Equipment
Method
- Before beginning make sure you can work distraction free for at least two hours. No kids or pets around when you are making soap. Wear your safety gear and tie back your hair if it's long.
- In separate bowls weigh out all ingredients. I like to weigh out the oils/fats first, then the water, and last the lye.
- In a well ventilated area, carefully pour the lye into your water, never the other way around. Snow falls on the lake. Stir continuously until the lye has fully dissolved. Do not inhale any fumes the lye solution will produce at this time.
- Combine all oils into a stainless steel pot or bowl. You can also use a crockpot. Set the oils to melt over low heat. Shea butter can become grainy when heated to quickly. Break apart any large chunks and stir occasionally as it melts.
- Once the oils have fully melted check the temperature of the oils and the lye solution. If they are under 140F and within ten degrees of each other, move on to the next step. If they are still too warm, give them a few more minutes to cool down.
- Carefully pour the lye solution into the melted oils. Stir vigorously with a whisk for 1-2 minutes or until the oils and solution are fully emulsified and the soap batter has reached the consistency of a thin pudding, aka trace.
- If you'd like to add any essential oils, do so now and whisk those in.
- Pour the soap batter into your prepared mold. Wiggle it around and bang in on the counter to release any air bubbles and smooth out the top. Decorate the top as desired.
- Optional. You can spritz the top of the soap with rubbing alcohol to help prevent soda ash formation. You can also wrap your soap in a towel or old blanket to help the soap go through a gel phase.
- Set aside in a safe place for 24 hours.
- The next day, unmold the soap and cut into 1" wide bars. Place the bars in a well ventilated area out of direct sunlight to cure for the next 4-6 weeks before use.
I love how you explained everything so well!
Hello , I made the shea butter soap recipe. When melting the oils ,they stayed opaque, never got clear . After. An hour of heating on the double boiler I gave up and combined the lye solution and oils . It started to seize immediately. I was able to add my FO and I to my mold . What did I do wrong?
I’m so sorry you had trouble with the soap! Shea butter can be a bit finnicky. It needs to be heated slowly and that can take an hour or so. It also reaches trace super fast after adding the lye solution which is why I use a whisk for this recipe. Did you add the fragrance oils after the soap batter reached trace?
Such a great post with excellent tips on making soap! I love how you break it down and make it doable for us newbies to soap making. Thank you for sharing!
This looks wonderful! Can’t wait to give it a try x
Such a cool recipe!
Can I substitute olive oil for the castor oil?
You would have to run the recipe through a lye calculator since olive oil has a different SAP value than castor oil. I use Soapcalc.
Here’s the info you need for the calculator: Total fat = 32oz Lye concentraion 28% Super Fat 8% Shea Butter 50% Tallow 20% Olive oil 15% and Coconut oil 15%. I havent tried this exact combination of oils myself but with the olive oil you can bet this will be a very gentle, moisturizing soap bar. I’m sure it would be lovely. Hope that helps!