
These DIY Olla’s are so simple and easy to make. Plus, making these yourself saves you so much money! When I last checked, a gallon sized olla costs about $30-$40. That’s not exactly cheap when you are trying to find a watering system for dozens of trees and plants. This DIY project makes ollas the perfect solution for watering your plants when you are on a tight budget.
What is an Olla?
Ollas, pronounced oy-yah, are clay (often terracotta) pots that you bury next to your crops and fill with water. The porous terracotta allows water to pass through it when the ground around it is dry. This is a watering method that has been documented in ancient cultures all around the world. This watering method reduces waste, making your precious water go further, and puts the water directly where your plants can access it, at the roots.
Thanks to osmosis, this watering method will never overwater your crops. When the ground is wet, the water stays in the pot. When the soil is dry the water moves through the porous clay to water the ground around it.
This watering method is perfect for all soils, but especially helpful for those of us with poor soils that refuse to hold onto moisture. Olla’s are often advertised for those who live in dry, arid climates. But I’d argue it’s perfect for those of us down in Florida who have sandy soil. Despite all of our rain, soil without organic matter won’t hold water. This is a great solution for us while we build our soil.
If you are also trying to garden in Florida, check out this post for my favorite crops to grow in our hot climate.
This post may contain affiliate links. As an Amazon Associate, I earn from qualifying purchases.
What You’ll Need To Make DIY Olla’s
- Terracotta pots – Two of the same size per olla. The cheaper ones work great, but they can be a hit or miss. Even if your pots are a little wonky, you can still make them work so don’t feel like you have to buy the top of the line pots. We used 4″-6″ pots but larger ones can also be made. The six inch pots will hold over a gallon of water, which is more than enough for most purposes.
- Terracotta pot saucers – the four inch size is perfect for both four and six inch pots. We will use this as a lid for our ollas. You could also use a stone, anything to cover the hole.
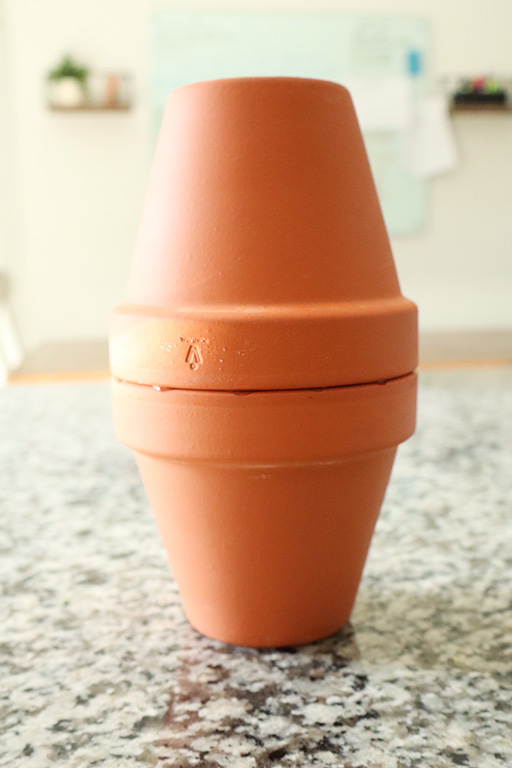
Not sure what’s going on with this wonky olla. Maybe something was spilled on it? But hey, it happens and it was cheap! We’ll see if a soak in some vinegar water makes a difference. —->

I like to buy the pots in person so that I can inspect them for cracks and make sure the tops of my two pots line up nicely. If there are small cracks in the pots, they can be sealed, but an uncracked pot is definitely preferable.
- Super glue – this is optional but this gives me some peace of mind knowing that my pots will hold together.
- Silicone caulk sealant – this will keep water from leaking out of the seam where we attach our pots. We use this one from Gorilla. One tube will seal about 8-10 six inch pots or a dozen four inch pots.
- Paper towels for wiping off excess sealant.
- Rubber gloves for keeping your hands clean.
How to make DIY Olla’s out of terracotta pots
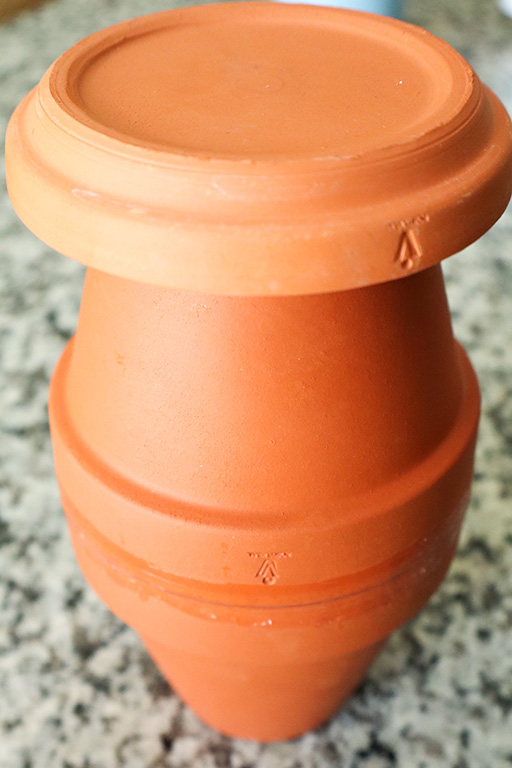
Start by making sure your pot rims are free of any dust, dirt or tape from price tags, etc. Add one drop of super glue every 2″ around the rim of one of the pots. Place the other pot on top, lining it up best you can, and hold it in place for 30 seconds or so.
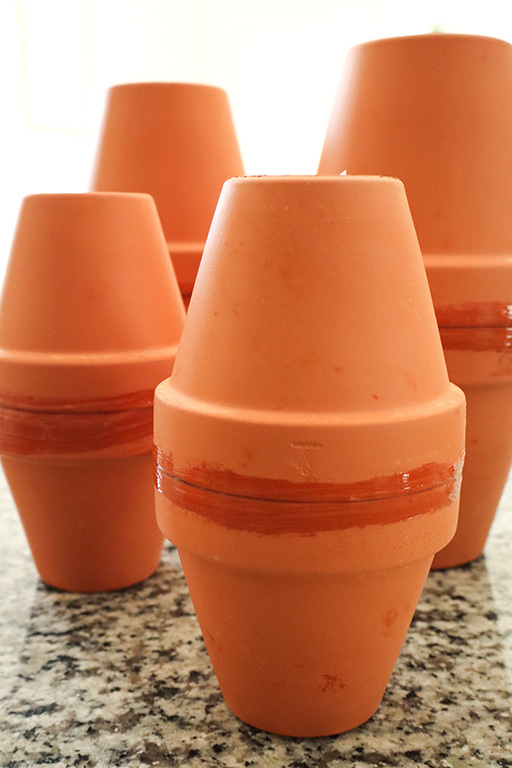
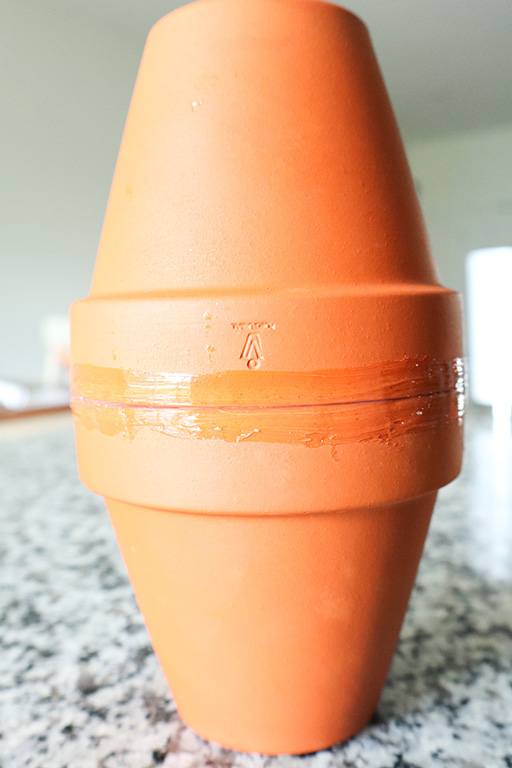
Then, take your silicone sealant (following the directions per the manufacturer) and place it over the rims of the pots. Wipe off excess sealant with a paper towel.
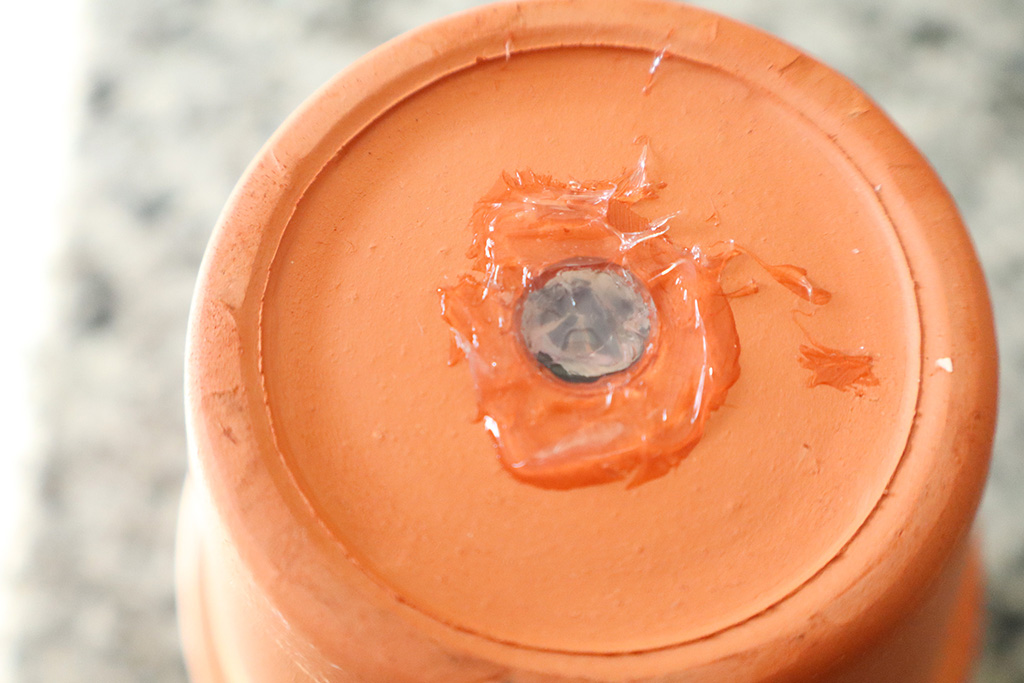
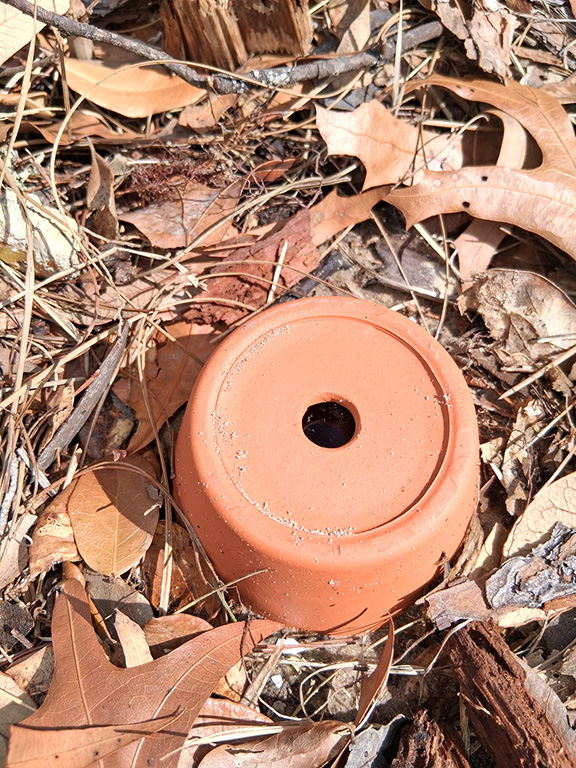
Some terracotta pots have holes in the bottoms, some do not. If yours does, use the sealant to cover the hole of only one of the two pots used for the DIY olla’s. If it doesn’t have a hole, make sure you have a plan for adding one. Soak the pot before attempting to drill a hole in it.
Set aside the sealed pot in a well ventilated area and allow it to cure for 24 hours or as the manufacturer directs.
After curing for the proper amount of time, we are ready to test the pot for leaks. Pour water into your homemade olla through the hole in the top. You can widen this hole to make adding water easier in the future.
The pots will go from light to dark as the clay is saturated with water, you may even see droplets form on the outside of the pot.
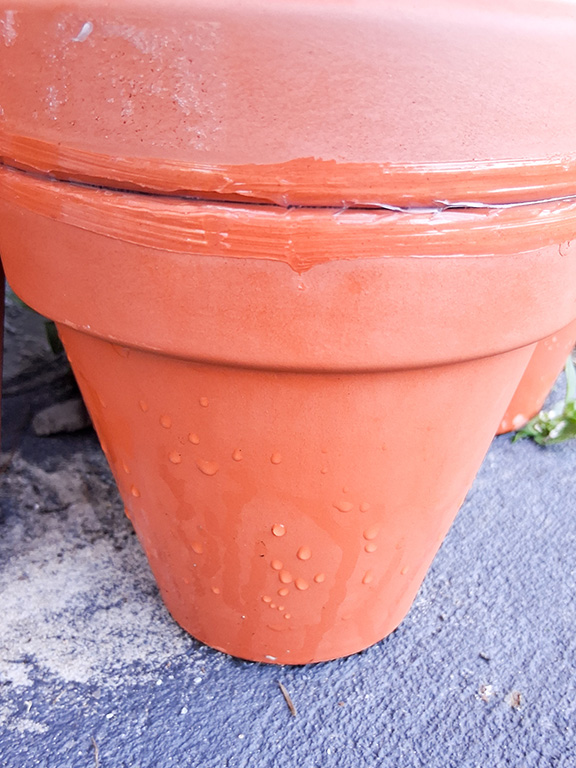
- Don’t worry if you don’t see droplets of water on your olla even if it’s been holding water for several hours. I’ve only seen these droplets on our olla’s in the morning after sitting with water in them all night.
- Notice the difference in color from the DIY olla to the lid? This pot is full of water and the lid is bone dry. Pop this pot in the ground with confidence that your plants will have all the water they need.
If you notice any leaks, dump out the water and allow the pots to dry completely before sealing over the leaks. Allow the pot to cure again for the needed time. Refill the pots with water and check for leaks again. Hopefully, all is well at this point.
How to Use DIY Olla’s
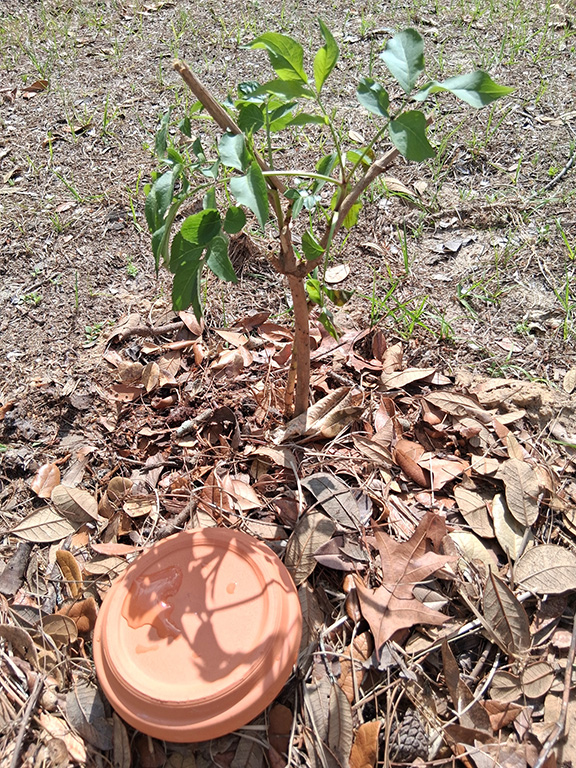
Bury your ollas next to any tree, shrub, or crop at the time of planting. Make sure the top of the pot sticks out of the ground by a few inches so you can add water as needed. Cover the ground with mulch all around your plant and olla. Keep the lid over the hole between water refills.
We use our DIY olla’s to water our perennial crops and trees that we’ve planted around the edge of our 1/4 acre lot. The majority of my gardening time goes towards growing our annuals. I simply don’t have the time or energy to walk around our whole yard and water everything everyday. These olla’s have simplified chore time significantly in the garden/food forest and it didn’t cost a fortune!
If you live in an area where your ground freezes in winter, it’s probably best to remove the olla’s during winter and bring them in until the ground thaws. I’ve not experienced such cold myself, so I’m afraid I don’t have much advice for you folks.
These DIY Olla’s are a great budget friendly project that keeps your plants well watered. If you have any questions, drop them in the comments below, I’d be happy to help 🙂
Happy gardening and DIYing 😊
This is brilliant and seems so simple and affordable to make! I had never heard of this but love the idea of trying it in my garden this summer. Thanks for sharing.
It really only takes a few minutes to put together and saves so much time in the garden!
Love ollas, I have a few in my garden and they have made a huge difference, especially with my herbs.
I’ve always struggled with herbs, I’m very hopeful these olla’s will help 🙂
oh wow! I haven’t heard of this before. I really hope i can get into gardening this year 🙂
You’ll love it!
This is a great idea! I would love to not have to water everyday!