
If you have an abundance of woody material around you and less than fertile soil, then making a hugelkultur bed might be the solution for you.
Hugelkultur is a gardening method hailing from Germany. The word “hugelkultur” simply means mound culture or hill culture. It takes a material that’s often burned or tossed into landfills and puts it to work in your garden.
Hugelkultur is so adaptable to your needs in your garden. You can use it to make raised beds for easier access. Or, you can make inground beds where you’ve dug in logs and branches. You could also make your hugelkultur beds on contour to act as natural retention walls. Retention wall and garden all in one! Who doesn’t love multi purpose things? 😀
The benefits of making a hugelkultur garden bed
If your soil is dead then hugelkultur is a great way to bring life back to your soil. You’ll know if you are working with dead soil if you can dig and dig without finding a single earthworm.
Hugelkultur capitalizes on carbon resources. Carbon is anything that is woody. If you’ll remember back to high school biology class, carbon is the building block of life. You need it in abundance if you wish to have healthy soils that can sustain healthy ecosystems. Carbon is the antidote to sandy or heavy clay soils.
This wood will also bring in fungi which is critical to many plants success. Even plants who don’t rely on a mycorrhizal relationship still need the nutrients that fungus will release from decaying materials.
The wood will also act as a sponge, storing valuable rain water where your plants can access it.
Because you are essentially gardening over a compost pile, your soil will remain warm even into the colder months. This will help naturally extend your growing season. This is great if you live in a cold area with a short growing season. Hugelkultur allows you to give warm weather crops warm, toasty roots.
The drawbacks of hugelkultur
There are some things you’ll need to be aware with this method of gardening.
When wood starts to decompose it’ll tie up nitrogen in the soil, so you won’t be able to grow heavy feeders like corn, tomatoes, or squash during the first season. Instead, grow legumes, leafy greens, herbs and flowers during the bed’s first year. Potatoes are considered a pioneer crop so you might have success with them, too.
It does take more work to set up a hugelkultur bed than other methods of gardening. You have to collect the wood, which may mean cutting logs, breaking branches, and many trips into the forest.
Overtime as the wood decomposes, the garden bed will shrink. So, you’ll need to continually top off with compost and mulch. You’d be topping off with compost and mulch no matter what gardening method you are using, though. As you keep building up your soils fertility and growing more crops, you’ll have plenty of resources to produce your own compost and mulch.
If you are using hugelkultur as a water retention strategy then you’ll need to consider how much to add each year to maintain the height of the beds necessary to capture water.
However, despite these drawbacks this gardening method is a sustainable long term, low input garden that overtime will only make your soil and produce healthier. (Low input after the initial set up.)
What you need to make a hugelkultur garden bed
You are going to need a decent amount of woody materials. They don’t all have to be large logs, you could just pile high a whole lot of sticks if that’s what you had. Put the largest logs/sticks on the bottom of your bed, getting smaller and smaller the higher you go.
After the woody materials, branches, sticks and what nots, you’ll want to gather some smaller things like leaves, grass clippings, even food scraps. This will be used to fill in the gaps of our beds.
Then top it all off with several inches of compost and mulch.
The bed can be planted right away or you can make these beds in the fall if you live in an area with cold winters. Giving the bed some time to start decomposing will benefit your plants later on, however, it’s not necessary to wait if you don’t want to.
If you want to design your hugelkultur to act as a water retention wall then check out this post here from the Oklahoma State extension office.
How we built our hugelkultur beds

As you can see from the photo, our soil is straight sand. Typically I’d stay away from digging into the soil. However, with “soil” as lifeless as ours we decided digging would be fine. And no… we didn’t find a single earth worm.
Also, grass is a pain in the butt to deal with down south. Even a stray blade of grass can root and take over a garden bed. So, our digging had two purposes, remove the grass and fill the land with organic matter.

We only dug as deep as needed to remove the grass roots before filling the spot with branches and leaves. Our beds here are four feet wide and twenty feet long. This set up does take a lot of upfront work and we did build it in phases, one section at a time.
You don’t have to dig into the ground if you’d prefer not to. You could cover the ground with cardboard to smother out the grass. Or, you can count on the tied up nitrogen to slow down the grasses growth enough to give your crops a good head start.
I’m hoping, by digging out the grass that we won’t have as much weeding to do in the future. Here’s to hoping! Those roots systems can be pretty aggressive though, the grass will likely come back eventually.
After stacking several layers of branches and sticks, we gathered fallen leaves, grass clippings, and food scraps to fill in the gaps. We topped off with several inches of mulch (which was largely more leaves), only adding compost/garden soil where we planned to sow seeds.
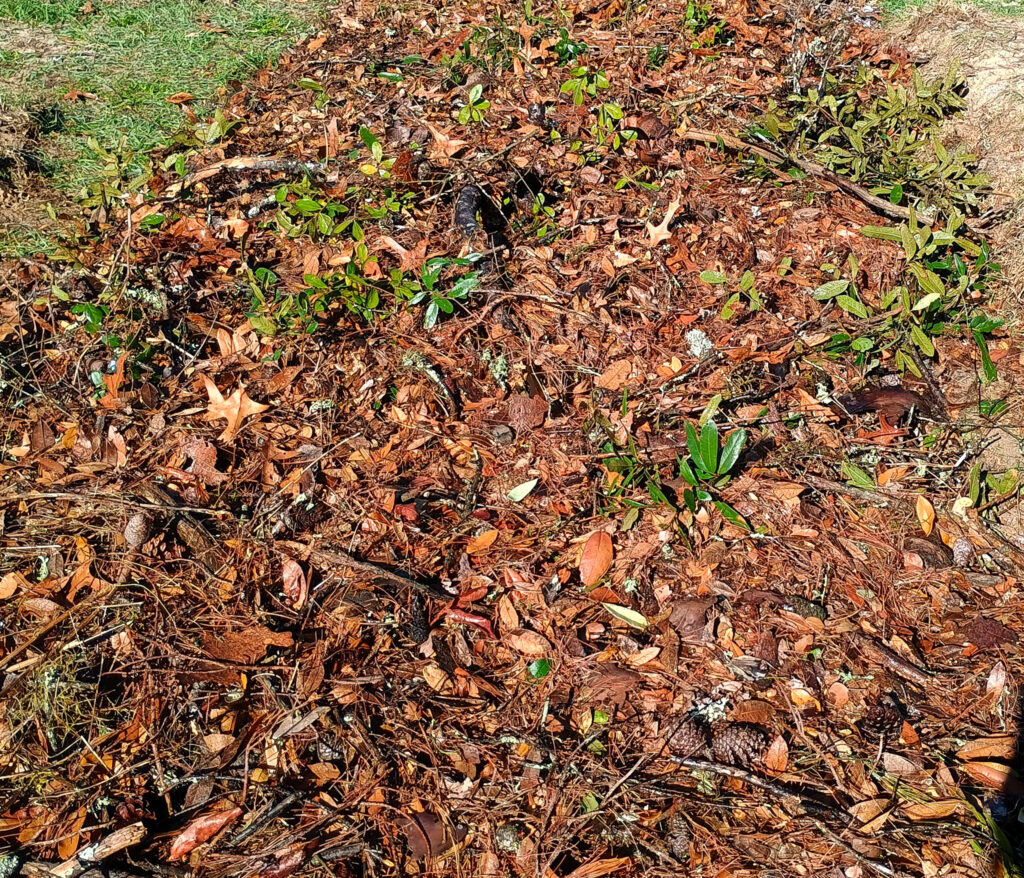
Soak down the leaves and sticks as you go to help them settle into any gaps. You can make your bed as tall, wide, or skinny as you’d like. We kept our beds low to the ground, but if you want a raised bed, and don’t want to spend time digging, than stack those branches, logs, and sticks nice and high.
This is a great way to add carbon to poor soil. It will take a lot of up front work, but the boost in your soils health will be worth it. If you don’t or can’t keep animals where you are, then making a hugelkultur bed is probably the fastest, simplest method for increasing your soil fertility while staying on budget.
Let me know if you guys have ever tried making a hugelkultur bed and how it went for you. And of course, if you have any questions I’d love to help any way I can 😀
Happy gardening! 🙂
Leave a Reply