
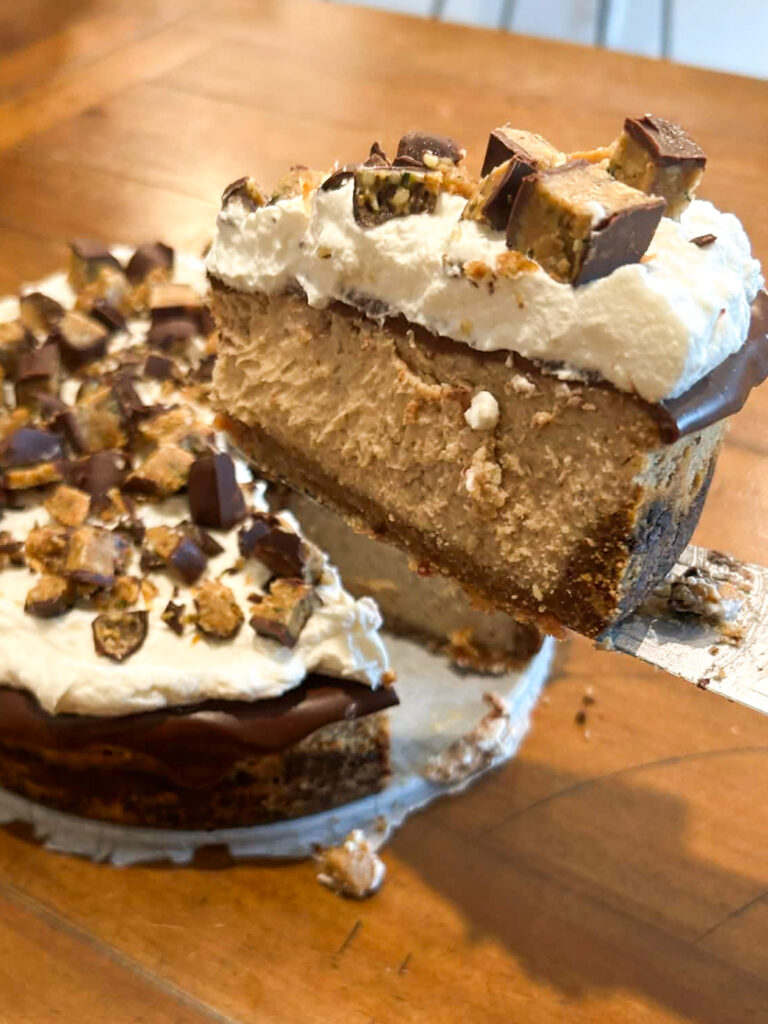
My favorite sweet treat in the whole world would have to be a peanut butter cheesecake. Paired with chocolate ganache, whipped cream and chopped reeses what could possibly be better? Well, how about a peanut butter cheesecake without any processed sugars, no gluten and actual nutrients??? That is exactly what this homemade refined sugar free peanut butter cheesecake offers. This cheesecake is made with natural peanut butter (not the fake stuff) and sweetened with maple syrup (or honey), you will not believe this cake is actually healthier than traditional recipes.
Trust me, I nearly cried after the first bite 😂
This post may contain affiliate links. As an Amazon Associate, I earn from qualifying purchases.
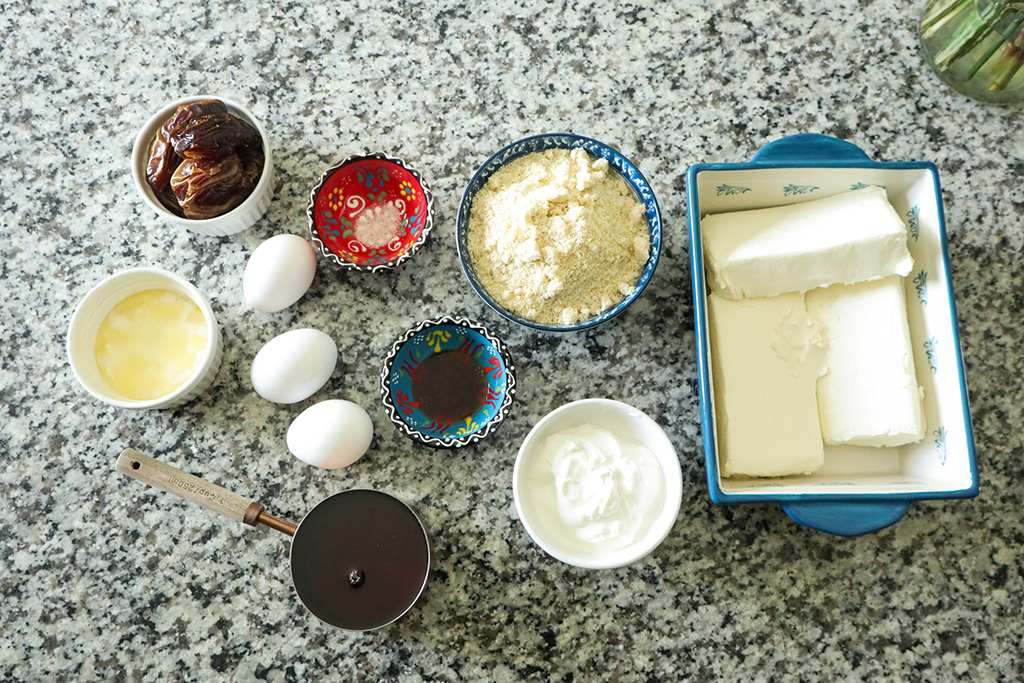
Ingredients for refined sugar free peanut butter cheesecake
This recipe has four parts. Make this cheesecake a couple days before you plan on eating it for the best flavor and for an easier time in the kitchen.
For the Crust
You can absolutely go with whatever crust you’d prefer. An Oreo or graham cracker crust are classics for cheesecake. But if you’d like something a little healthier here’s what you’ll need.
- Almond flour – you can easily make this yourself with whole almonds that you’ve blanched, blended with water and dried. This gives you almond milk and almond flour all in one go.
- Dates – this crust isn’t really sweet but the dates help hold it together and gives you a bit of extra fiber.
- Butter – you can also use coconut oil
For the filling
- Cream cheese – you want the cream cheese to be room temperature so that it’ll blend smoothly, not the cream cheese spread.
- Natural peanut butter – Even though peanuts are one of the easiest crops to grow where we live, we have yet to produce enough to satisfy my love of peanut butter. Make sure the only ingredients in your peanut butter are peanuts and salt.
- Maple syrup – you can also use honey if you’d like. Peanut butter and honey are a match made in heaven after all. If you have kiddos under one year old, they can’t safely eat honey yet. We have an eight month old who loves sharing our food, so we opted to use maple syrup.
- Eggs – those from pastured hens are the most nutritious, or those raised in your backyard. However, good quality eggs are expensive, so buy what you can afford.
- Sour cream – you could also use yogurt here if that’s what you have on hand. This helps give a bit of tang to the cheesecake.
- Vanilla – pure vanilla extract, never in any circumstance use the imitation garbage. (Sorry if that’s harsh, I just want the best for you!)
- Salt – a good quality unrefined mineral salt goes a long way to boosting your overall health. We love Redmond’s Real Salt.
Chocolate Ganache
- Dark chocolate – this three ingredient chocolate is our favorite. We only use it for special occasions.
- Heavy cream – this mixed in with the dark chocolate… oh, my 🤤
Whipped cream
I like to keep this simple since the star of the show is the filling and ganache. You can also use premade whipped cream or cool whip if you’d like, but homemade whipped cream isn’t expensive and the cream can be used in all sorts of recipes, like this marry me chicken.
- heavy whipping cream
- maple syrup
To finish off the whole cheesecake, top with some homemade peanut butter cups. With all of this being homemade, making parts of the cake every day for a few days really simplifies this refined sugar free peanut butter cheesecake.
How to make refined sugar free peanut butter cheesecake
Before you begin you will need some simple equipment.
- Spring form pan – this recipe makes an 8″ cake, but you can also use a 9″ pan. Cook for about ten minutes less. The cake won’t be as thick, but it’ll still be delicious.
- Stand mixer or large bowl and a hand held beater
- Blender – for making our crust
Day 1
This should be at least 24 hours before you plan on eating the cake. Although, I’ll urge you all to give the cake another 24 hours or even 48 hours more before serving. (I know it’s so hard!) Cheesecakes taste their best after some aging.
First, we need to make the crust.
Preheat your oven to 350F and line your spring form pan with parchment paper. Set aside.
In a blender add your almond flour, melted butter and pitted dates. Pulse and scrap down the sides as needed until the mixture is cohesive and can hold together when pressed. It’ll still look crumbly, but it will hold it’s shaped when pushed together.
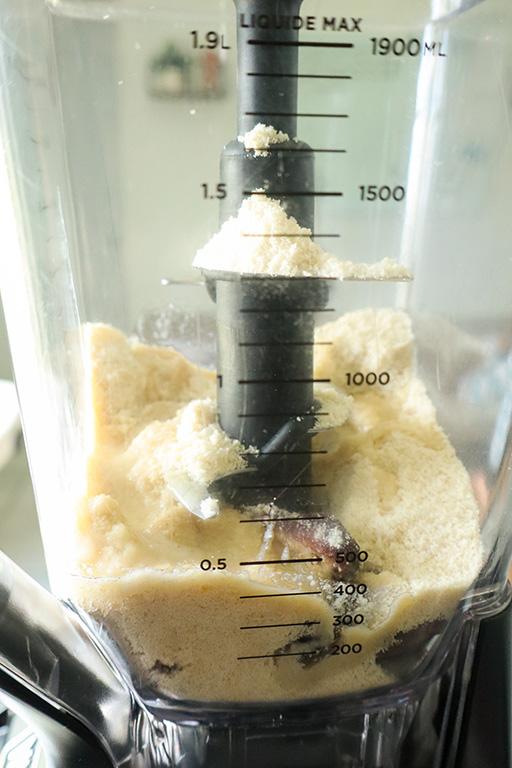
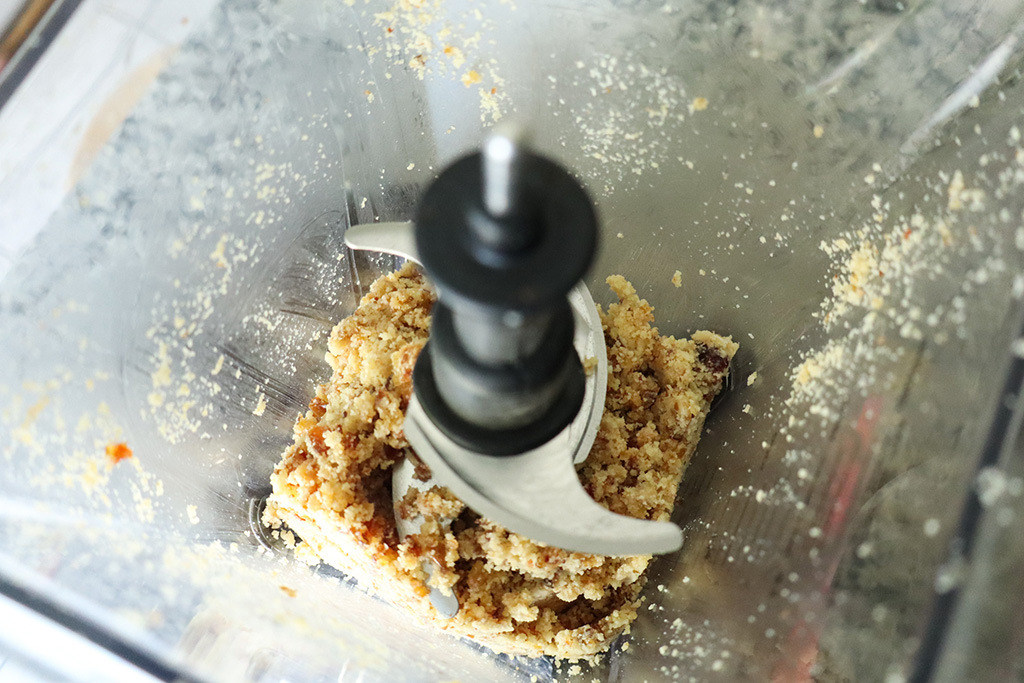
Add the crust mixture to your spring form pan and press it out with your hands or the bottom of a cup. Spread it out evenly and up the sides a inch or so.
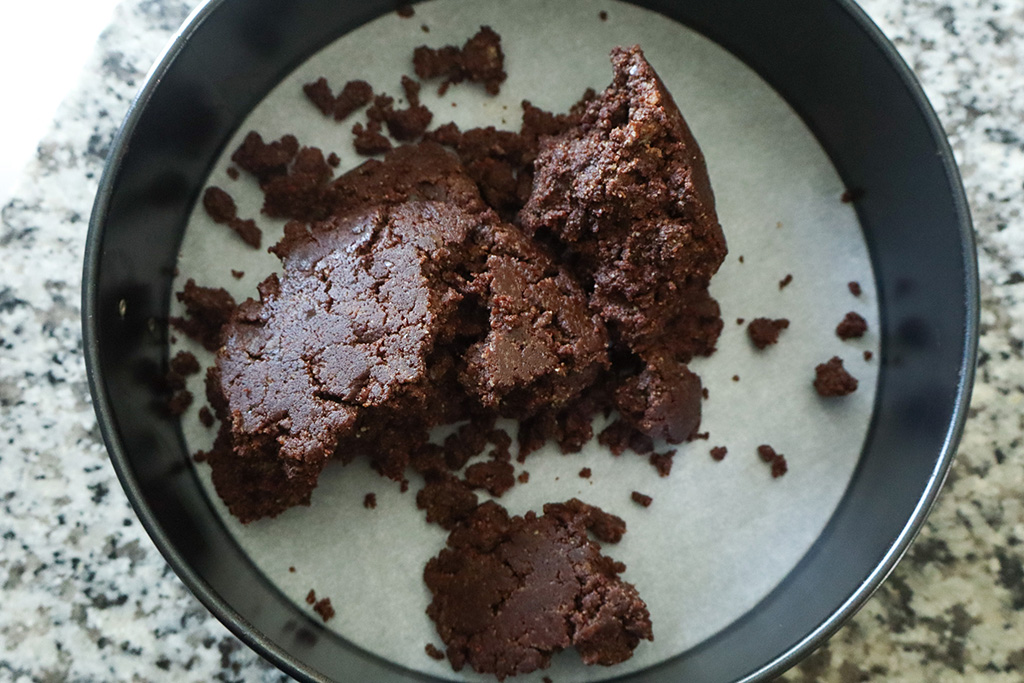
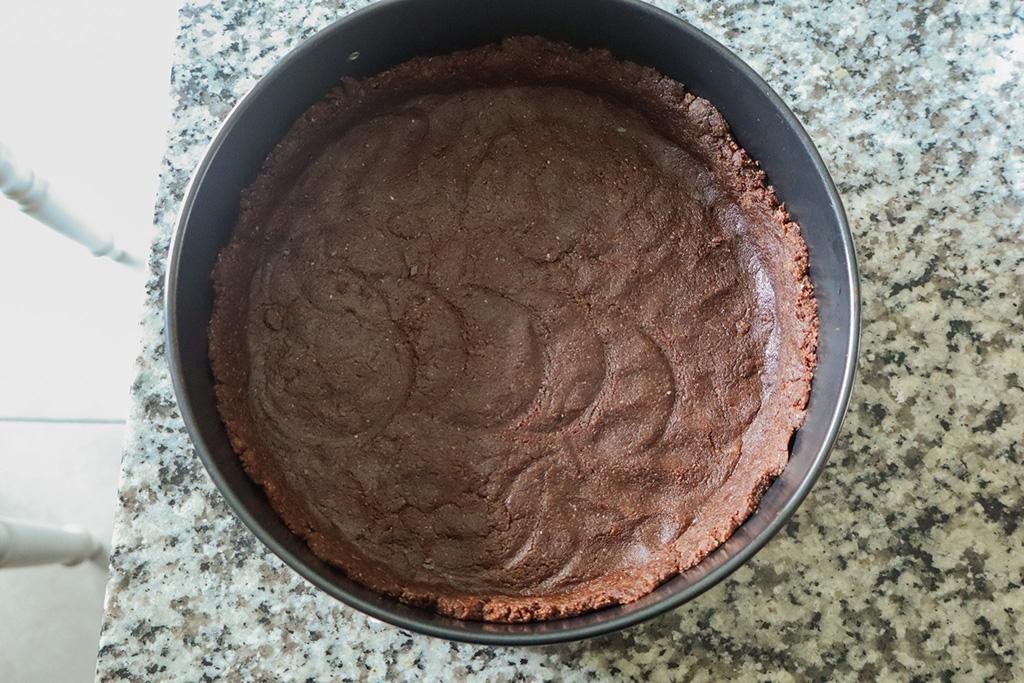
This crust is a chocolate version that we made for an upcoming cookies and cream cheesecake recipe. It would also go great with this refined sugar free peanut butter cheesecake.
Bake for 10-15 minutes or until golden brown. Let the crust cool completely before adding the filling. This would be a great time to pull out your cream cheese, sour cream and eggs so that they warm up to room temperature.
With the crust cooled and ingredients room temp, we can go ahead and preheat the oven to 325F. Place your oven racks so one is in the middle and one on the bottom.
The filling is super easy to make. You can simply throw all the ingredients into a bowl, mix it all up and call it good. If you want to add in an extra step, beat the cream cheese first so that it’s smooth, then add the remaining ingredients and mix.
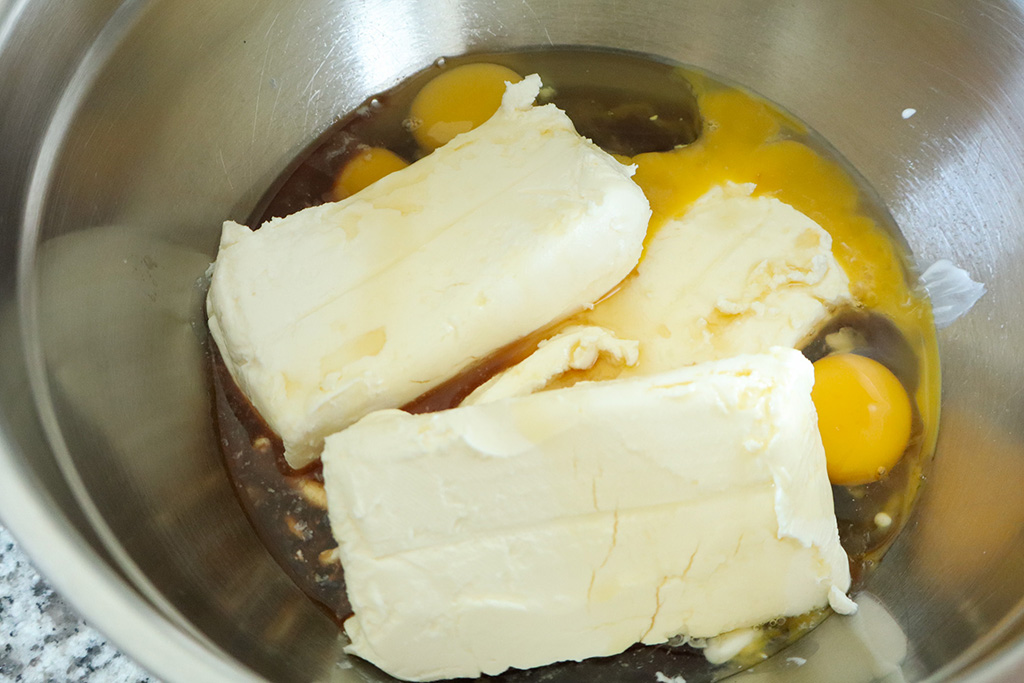
Take a rubber spatula and scrape the bottom of the bowl to make sure everything has been thoroughly mixed, then pour the filling into the cooled crust.
Now, this cheesecake is high moisture thanks to the maple syrup, so I opted not to use a water bath. However, on the rack below the cheesecake, I filled a baking sheet with water just in case.
Bake for 50-55 minutes or until the edges have puffed slightly, look set and the cake jiggles a lot. If you’ve never made cheesecake before you are gonna think this is nuts. You want your cheesecake jiggling like your post partum belly (sorry for the visual, but you mom’s know what I mean). The cheesecake sets as it chills and this is what makes it so creamy!
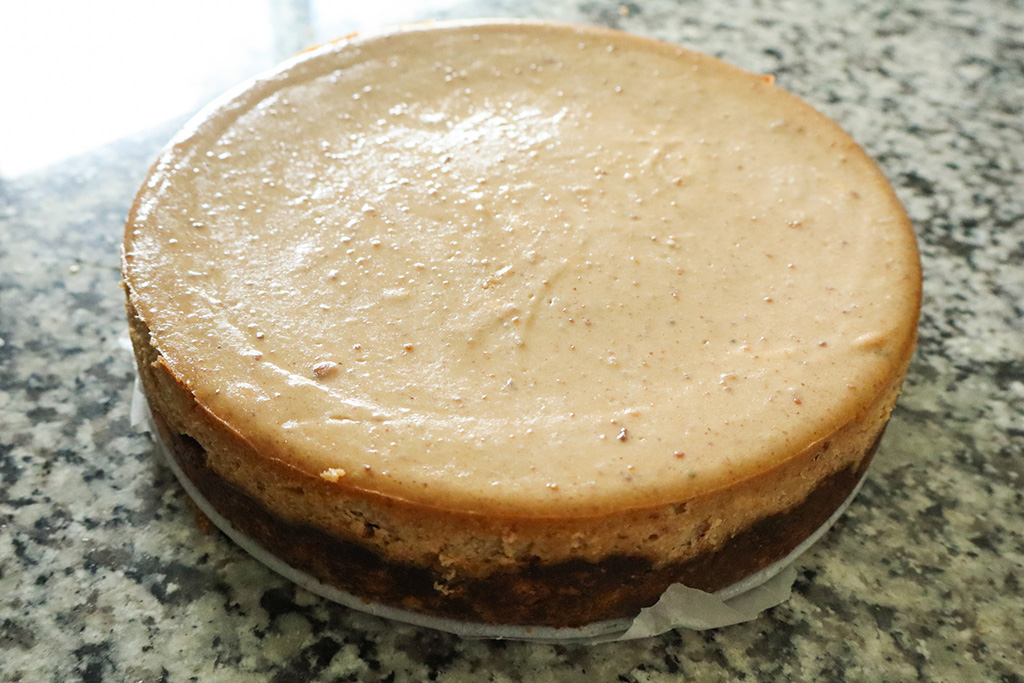
Day 2
Now that the cheese cake has set you can go ahead and top it off with your ganache and whipped cream if you are serving today. If you are going to give the cake another day of chilling, make your homemade reeses today!
To make the ganache melt 3oz of dark chocolate with 1/2 cup of heavy whipping cream.
Stir until the chocolate and cream are fully combined and the mixture is smooth. Remove your cheese cake from the spring form pan now if you haven’t all ready. Pour the ganache over the top of your cheesecake and spread it over the cake allowing some of the chocolate drip down the sides.
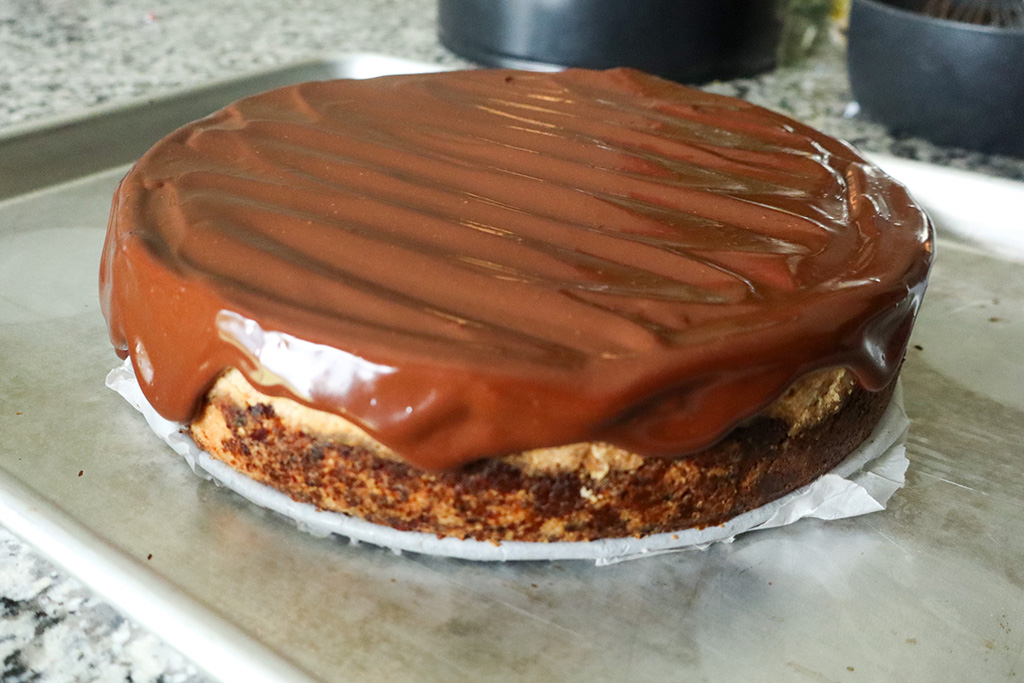
Return the cheesecake to the fridge to allow the chocolate to set.
Make the whip cream right before serving. Beat together cream and maple syrup until thick. Dump the cream over the cake and spread it around. If you want it to look super pretty, you can pipe the whipped cream instead of dumping it on.
Chop your homemade peanut butter cups and sprinkle them on top.
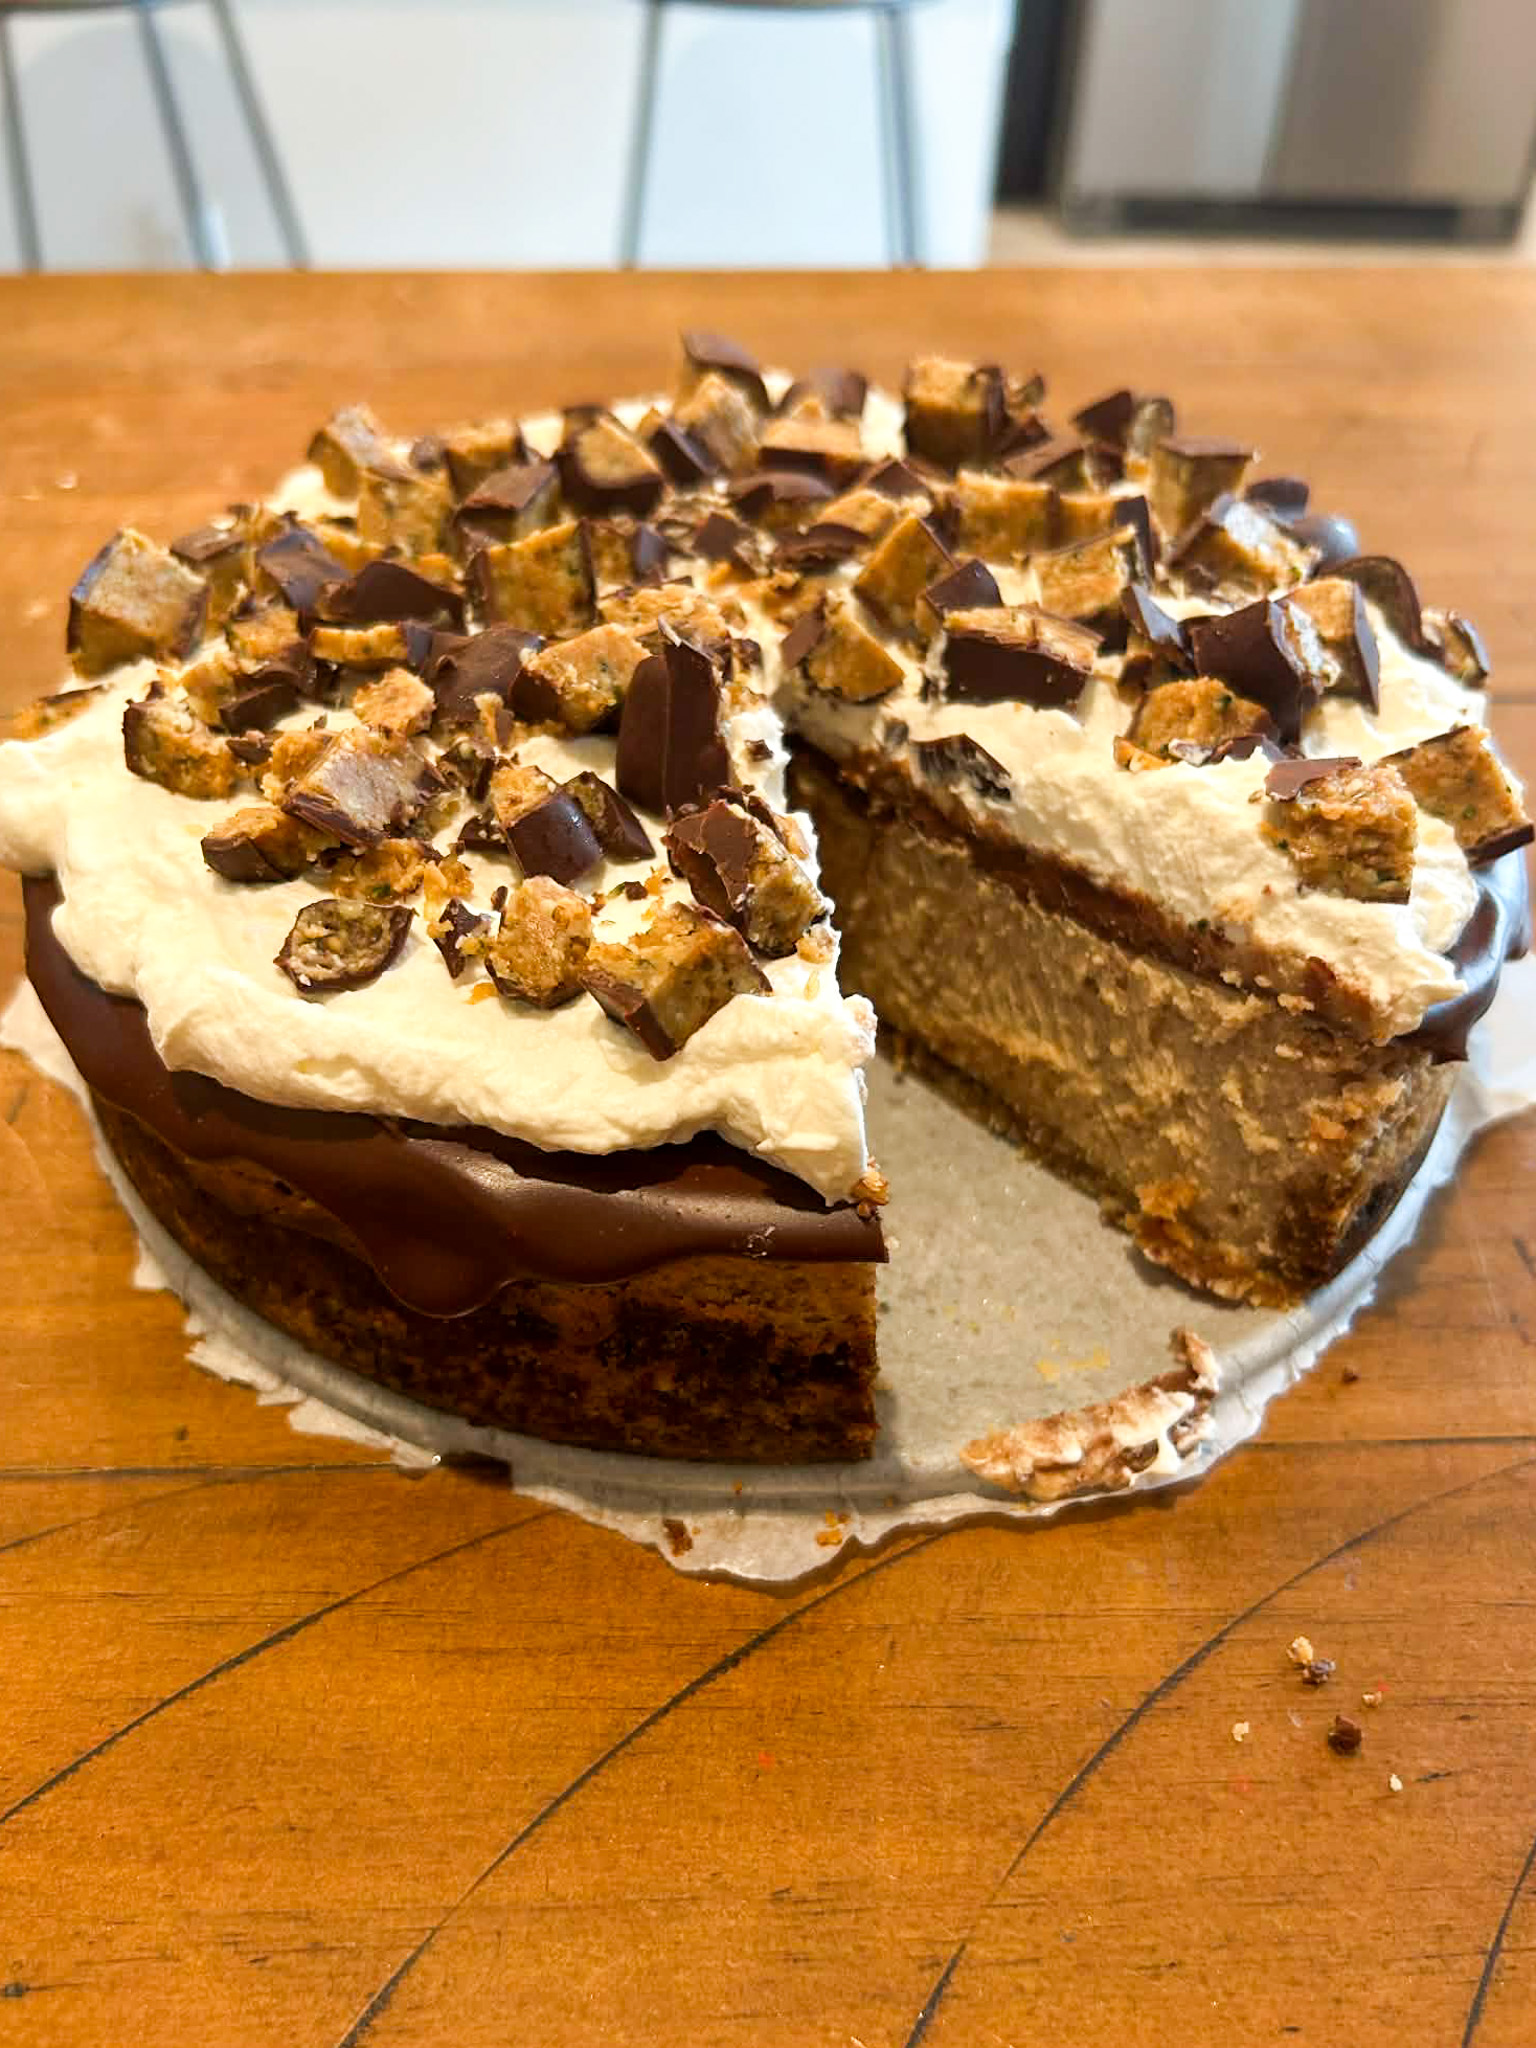
With your refined sugar free peanut butter cheesecake now fully assembled, it’s finally time to serve!
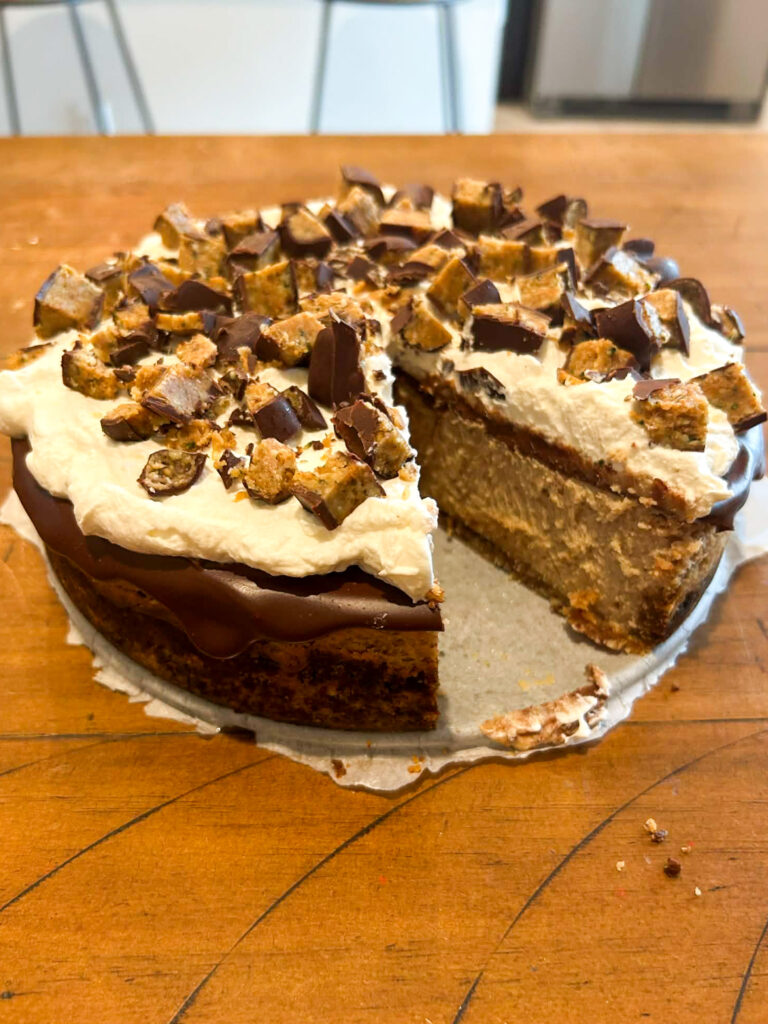
If you give this refined sugar free peanut butter cheesecake recipe a try, let me know what you think in the comments below!
Happy Baking 😊

Refined Sugar Free Peanut Butter Cheesecake
Ingredients
Equipment
Method
- Preheat oven to 350F. Line 8" spring form pan with parchment paper, set aside.
- Add almond flour, butter, and dates to a blender or food processor. Pulse, scraping down the sides as needed until combined. Texture will be crumbly but hold together when pressed.
- Pour crust mixture into spring form pan and press to form crust, allowing it to go up the sides of the pan about an 1".
- Bake for 10-15 minutes or until golden brown. Allow to cool completely.
- Place one oven rack in the middle and one on the bottom of your oven. Place a tray in the bottom rack and fill with water. Preheat oven to 325F.
- In a large mixing bowl, beat softened cream cheese until smooth.
- Add room temperature eggs, maple syrup, sour cream, peanut butter, vanilla, and salt. Mix together until smooth.
- Pour mixture into cooled crust. Gently bang on the counter to release air bubbles.
- Bake for 50-55 minutes or until the sides are set and slightly puffed up and the middle is still very jiggly.
- Cool for about an hour before placing in the fridge to chill for the next 24-72 hours.
- After the cheese cake has chilled for at least 24 hours, release the cake from the spring form pan.
- Place dark chocolate chips and heavy whipping cream in a microwave safe bowl, or the bowl of a double boiler.
- Microwave for 30 seconds on high, then whisk until smooth.
- Pour over the cheesecake and spread the ganache allowing some to pour over the sides.
- Return to the fridge for 10-15 minutes to allow chocolate to set.
- In a large mixing bowl beat together whipped cream and maple syrup until thick then spread onto cake.
- Top with chopped homemade peanut butter cups and serve.
This looks amazing! Love that it’s refined sugar free!
Yum, what a delicious recipe!
Cheesecake is my weakness… this one makes it seem guilt free haha! Definitely adding it to my list of summer treats to try. YUM!
OMG! Peanut butter cheesecake?! Best thing ever!!! Thank you for this recipe!!