
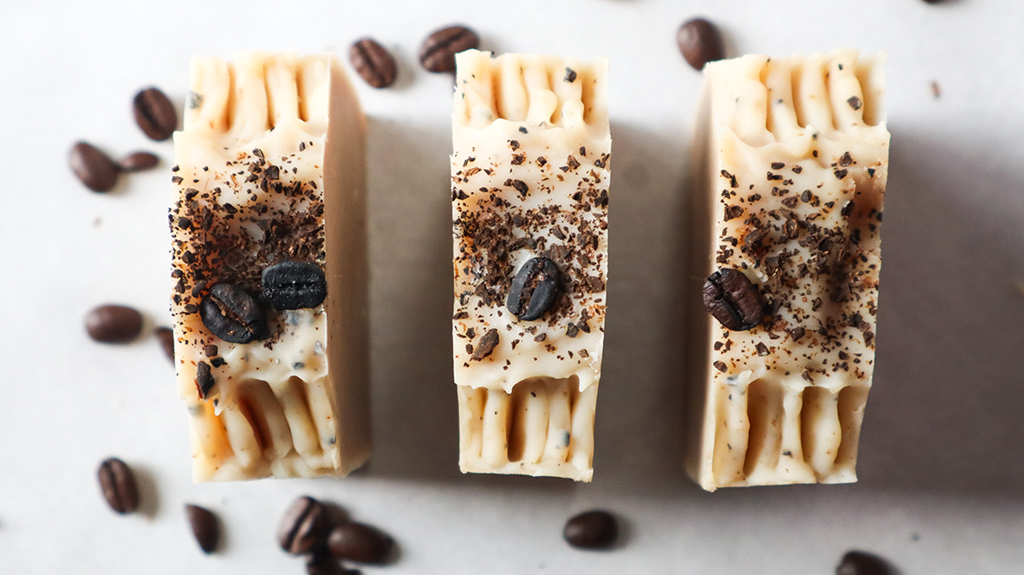
This coffee tallow soap recipe is so fun to put together and it makes a beautiful, luxurious bar. This coffee soap is made with natural, nourishing ingredients your skin will love. Making your own homemade soap is also a great way to save some money while enjoying the best ingredients.
This post may contain affiliate links. As an Amazon Associate, I earn from qualifying purchases. Read full disclosure here.
What you need to make coffee tallow soap
First off, if you’ve never made soap before, go check out this post. Here, I explain the basics of making soap and how to safely work with lye. Once you’ve read through that, meet me back here.
You’ll need:
- Mixing bowls – you can use a plastic bucket or jug, heat proof glass like pyrex, or stainless steel. Never use any aluminum products in your soaping adventures!
- Digital Kitchen Scale – I like to work in grams when making soap. It’s more accurate, in my opinion, than ounces. So make sure your scale can display grams.
- Safety Gear – when working with lye, wear long sleeves, aprons, gloves, and goggles/glasses to protect your eyes from splashes.
- Mold – I like this 42oz mold. This recipe was designed to fit it perfectly.
- Thermometer – a meat thermometer or infrared work great.
- Immersion Blender – these things are a God send for homemade soap. Otherwise, you’d have to sit through a couple hours stirring caustic soap batter just for it to reach trace… probably not what you’d like to be doing on a Tuesday night 😅
Ingredients
Avocado Oil
I absolutely love this oil in my soaps. It’s high in oleic and palmitic acids which benefit dry skin. It makes the bubbles feel creamy and leaves your skin feeling soft. I love it so much I use it in my shampoo bars. If you cannot get avocado oil, or need to cut costs, olive oil is a perfect substitute.
We will need 291g.
I love using tallow in all my homemade skin products. As a face cream, it leaves my skin moisturized and clear. In soap, tallow makes for a long lasting hard bar. Tallow is high in palmitic and oleic acid, just like avocado and olive oil. Use grass fed beef tallow if possible.
For this recipe we will need 388g.
Coconut
Coconut oil is cheap, even the good stuff. We buy ours from Costco and it’s about 13 cents per ounce. Coconut oil is high in lauric acid which is very cleansing. It makes a great dish soap because of its powerful cleaning acids. Paired with the tallow and avocado oil, the addition of coconut oil makes for a gentle, soothing bar with nice bubbles that doesn’t strip your skin dry after every wash.
You’ll need 194g.
This oil is high in ricinoleic acid. In fact, it’s the only source of ricinoleic acid we soapers can use. Ricinoleic acid helps to lock in moisture and soothes irritated skin. Added to soap, it makes beautiful bubbles, and adds even more moisturization to your soap bars.
We’ll use 97g.
Coffee
Use distilled water to make your coffee for this soap. Using distilled water ensures your soap doesn’t have minerals in it that may shorten its shelf life or cause unplanned orange spots in your soap. Make up about 2 cups worth of coffee for this recipe. Save the coffee grounds for decorating the soap later.
260g coffee.
Lye NaOH
To make soap, we need lye. After you’ve measured out all your other ingredients, it is time to make the lye solution. Carefully weigh your lye granules, fully donned in your safety gear. As soon as it’s measured, replace the lid on your lye container and put it away. Lye is hygroscopic; the longer it sits out, the more water it will absorb from the air.
We will need 128g.
Coffee Grounds
In addition to the brewed coffee, we are going to infuse coffee grounds into the oil.
2 tbsp.
How to make coffee tallow soap
This coffee tallow soap recipe is made using the cold process method. We will make a soap batter, mix it to trace, mold it, and then cut and cure the soap bars for 4 to 6 weeks before use.
Step 1) Weigh the oils
First things first, weigh out the oils. Then place them into a pot, stainless steel bowl, or a crock pot and melt over low heat. Add in 2 tbsp of coffee grounds and stir occasionally until it’s fully melted. Allow the oils to infuse for at least 2 hours. I like to start mine in the morning and then make the soap at night once the kiddo’s have gone to bed.
***Including kids in soap making.*** My kids are so anxious to help with every project I do. While making soap is not a kid friendly activity, they can help weigh out the oils and even stir the fats while they melt. Just note that this is the only part of soap making that is safe for kids. Once you pull out the lye, they should not be involved.
Step 2) Brew the coffee
With the oils melted and infusing, go ahead and make two cups of coffee using your distilled water. Put the brewed coffee into the fridge to chill until it’s time to make the lye solution.
Step 3) Make the lye solution
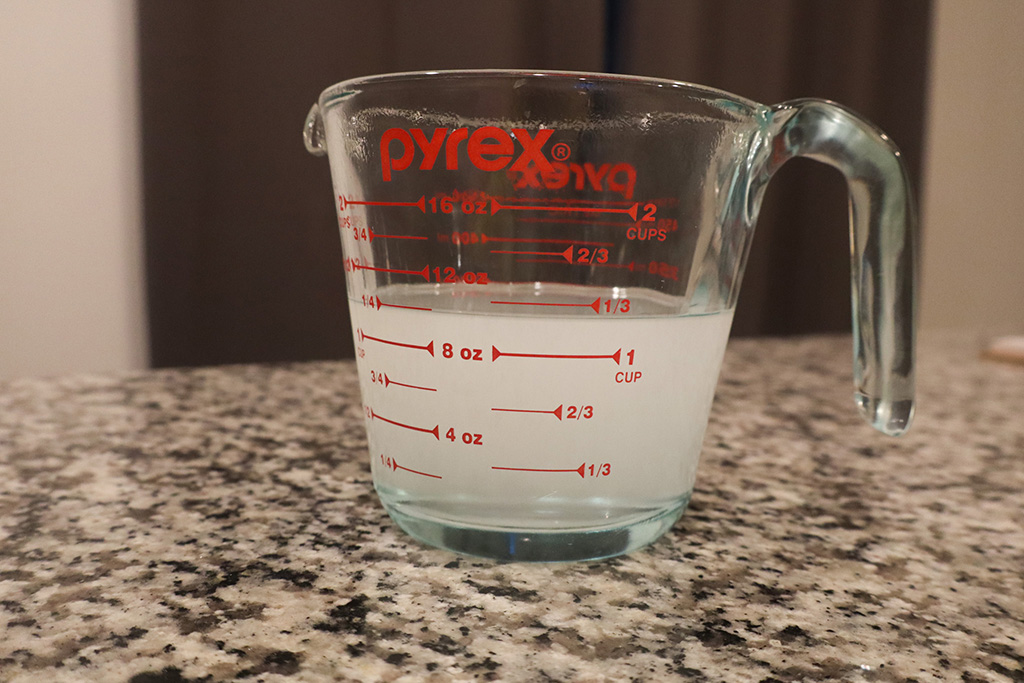
Pictured above is a lye solution made with plain distilled water. Note that your coffee lye solution will be brown.
Before you begin this step, make sure that you can work distraction free for at least two hours. Kids need to be in bed or watched by another adult. They must not have access to the lye solution and caustic soap batter. Pets, too. Put them away.
Now, put on your long sleeves, apron, gloves, and goggles. If your hair is long, tie it back.
Weigh out the coffee first into a lye safe container, then in a separate bowl weigh out the lye. In a well ventilated area, carefully pour the lye into the chilled coffee. Fair warning, this will not smell pleasant. If you can, do this outside so that you don’t stink up your house.
Stir continuously until the solution turns clear and no remnants of lye granules can be seen. Be careful not to inhale any of the fumes produced while mixing the lye. A face mask is another useful tool here. With that done, set the lye solution aside to cool to about 130F.
Step 4) Make the soap batter

Check the temperatures of the oils and the lye solution. Our goal is to get the temps under 140F and within ten degrees of each other.
Many cold process soap recipes use cooler temperatures when mixing the soap batter. However, tallow is a main ingredient in this soap, and tallow contains stearic acid. This can leave white spots behind in your soap when the oils and lye are mixed lower than 130F. Stearic acid spots are totally safe, and don’t impair the quality of your soap; it’s simply an aesthetic issue. But to avoid them and to eliminate the chance of a false trace, I like to soap at higher temperatures when working with tallow.
Before making the soap batter, you have the option to strain out the oils we’ve been infusing for the past several hours. If the coffee grounds you used were coarse, I do recommend straining out the grounds, leaving only the finest grounds behind in the soap. However, if the grounds you used were fine to begin with, then you can leave them in the oils for some more gentle exfoliation. This is all a matter of preference.
Now, it’s time to make the soap batter. Place your immersion blender into the bowl with your oils, burp it to release any air bubbles trapped under the bell. Carefully pour the lye solution over the shaft of your immersion blender. This helps to reduce air bubbles in the soap batter.
Pulse your immersion blender for 15 seconds or so, then stir. Repeat this process, pulsing and stirring until you have reached a medium trace. If you’d like to add any fragrance or essential oils, mix those in now.
Carefully pour the soap batter into your prepared mold. This recipe fills this mold perfectly.
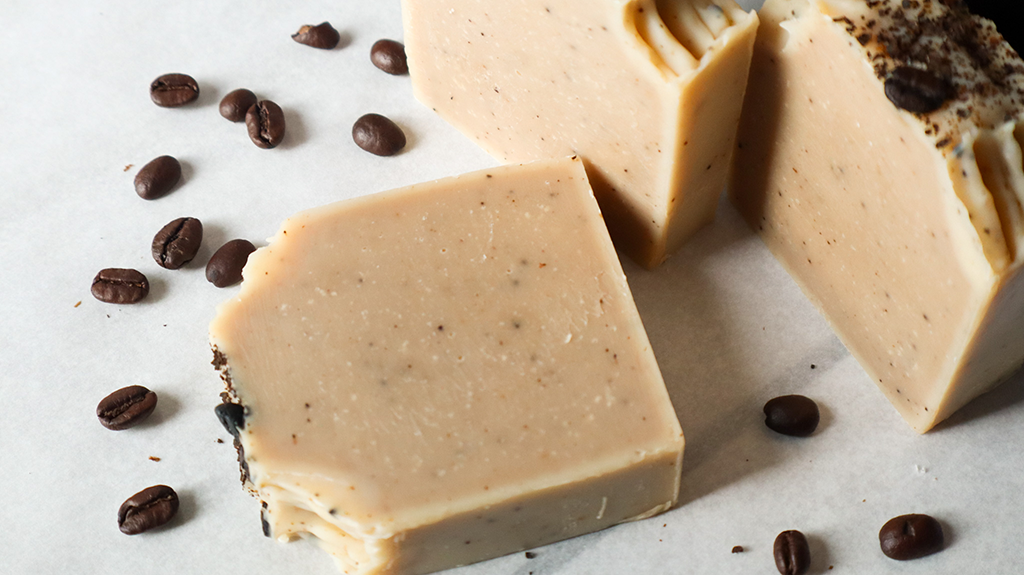
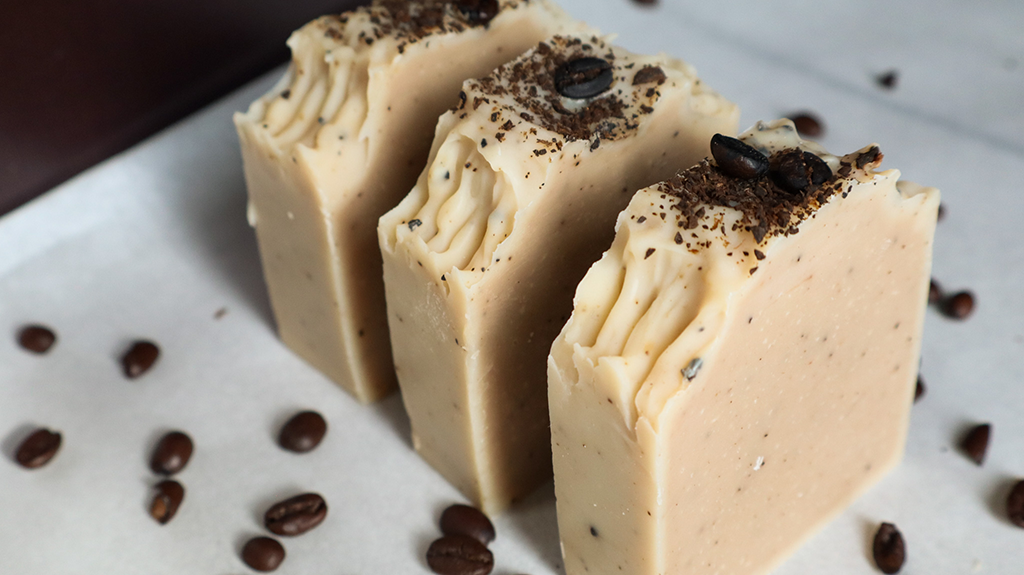
Finish off your soap by decorating it to your hearts content. Sprinkle some coffee grounds over the top and add a few coffee beans if you’d like. To help prevent soda ash formation, spritz the top of the soap with 99% rubbing alcohol or cover it with plastic wrap. Soda ash is another purely cosmetic issue. It’s perfectly safe and doesn’t ruin the quality of the soap. If soda ash does form, you can rinse it off later.
Step 5) Cut and Cure
Leave the soap in the mold for 24-48 hours. Then carefully unmold it (I’ve found chilling the soap in the freezer makes unmolding a breeze.) Cut the loaf into 1″ bars and set aside in a cool, well ventilated area to cure for the next 4-6 weeks.
And finally, at long last, you can enjoy your beautiful hand crafted coffee tallow soap 🙂
If you have any questions, drop them in the comments below and I’ll help you out the best I can.
Happy soaping! 😊
Coffee Tallow Soap
Ingredients
Equipment
Method
- Brew about two cups of coffee using some distilled water. Save the coffee grounds for later. Let it cool to room temperature, then store it in the fridge until you are ready to make the soap.
- Meanwhile, go ahead and measure out your oils. Melt the oils over low heat and add 2 tbsp of coffee grounds. I like to use a stainless steel bowl for this, but you can also use a crockpot on low. You can use the leftover grounds from your batch of coffee, or fresh grounds. Let the oils infuse for at least two hours.
- Before beginning, make sure you can work distraction free for at least two hours. No kids or pets running around. Don your safety gear: long sleeves, apron, gloves, and goggles.
- Weigh out 260g of cold coffee into a heat proof bowl. Stainless steel, heat proof glass or thick plastic.
- Next, in a separate bowl, weigh out your lye granules. Carefully pour lye into your chilled coffee. This will produce a rather unpleasant odor. Never fear! The final product smells lovely.
- If you are using sodium lactate, add that to the lye solution now.
- Set your lye solution aside to cool to 120-130F.
- This step is optional, especially if you have used very fine grounds to infuse your oils. If your grounds are a bit on the larger size, strain the oils through a fine mesh strainer. If the oil's temperature is above 140F, let it cool to 120-130F before moving on to the next step. If it's too cool, warm it over low heat until it reaches the desired temperature.
- Once the oils and lye solution are under 140F and within ten degrees of each other, carefully pour the lye solution into the oils. You can pour over a spatula or the shaft of your immersion blender.
- Burp your immersion blender to remove any air bubbles that might be trapped under the bell. Pulse your blender for about 20-30 seconds, then stir with the blender off. Continue to pulse and stir until the soap batter reaches a thin to medium trace.
- Pour the soap batter into your mold. Tap the soap on the counter or floor to remove air bubbles from the batter. Then decorate the top as desired. This is a great time to use leftover grounds and some coffee beans.
- Cover the mold with plastic wrap or spritz the top with 99% isopropyl alcohol. This is optional, but it helps prevent the formation of soda ash.*
- After 24-48 hours have passed, remove the soap from the mold and cut into 1" bars, or bars of your desired size.
- Store the bars in a cool, well ventilated area to dry and harden over the next 4-6 weeks before use.
Leave a Reply